A bad Configuration d'éclairage YouTube is one of the fastest ways to lose a viewer before they’ve even heard your first sentence. Thumbnails get people to click, but lighting is what decides whether they stay past the first ten seconds — a face lit by nothing but an overhead ceiling fixture or a laptop screen reads as unwatchable almost instantly, no matter how good the script or editing turns out to be. New creators tend to spend their entire budget on a camera upgrade before realizing the camera was never the problem.
Below is a look at the single most common lighting mistake that quietly kills new channels, how a one-light setup compares to a full three-light rig for someone just starting out, how to light effectively in a small room or apartment, and which beginner-friendly light actually holds up once you start filming regularly.
The Lighting Mistake That Makes New YouTube Channels Look Unwatchable
There’s one mistake that shows up in nearly every early-stage YouTube channel, and it’s rarely about equipment — it’s about relying entirely on whatever light happens to already be in the room.
Overhead ceiling lights create harsh, unflattering shadows under the eyes and chin, since the light source sits directly above the subject with nothing to soften or redirect it. Window light, while genuinely beautiful when used deliberately, shifts constantly throughout the day and disappears entirely after dark, meaning a creator filming at different times ends up with wildly inconsistent lighting across videos — sometimes within the same video if a session runs long.
The deeper problem isn’t that ambient light is bad — it’s that it’s uncontrolled. A creator has no way to adjust brightness, direction, or color temperature on a ceiling fixture or a window, which means every filming session becomes a gamble on whatever conditions happen to exist that day. This inconsistency is often what makes early videos feel unprofessional even when the content itself is genuinely good — viewers register the lighting instability even if they couldn’t articulate exactly why a video feels “off.”
The fix isn’t complicated or expensive. It’s simply introducing one controllable, adjustable light source instead of depending entirely on whatever’s already in the room.
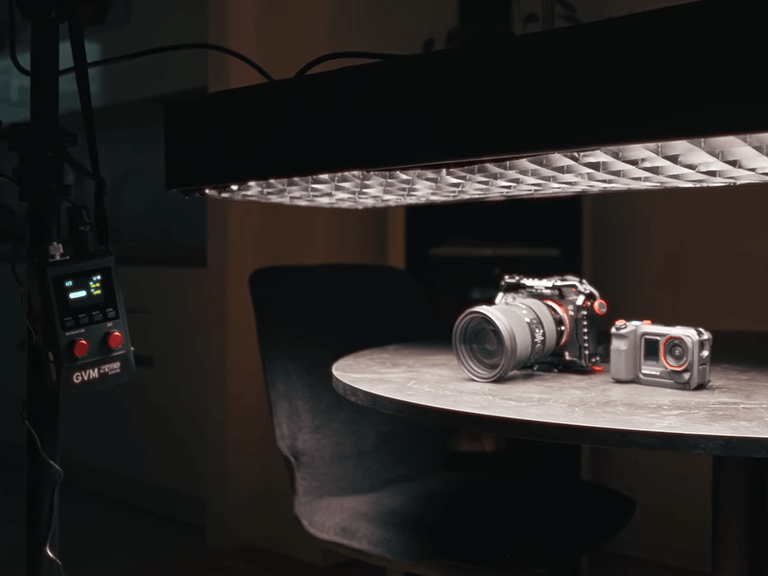
One-Light YouTube Setup vs. Three-Light Setup
New creators often assume they need a full three-point lighting rig immediately, but that’s rarely the right starting point — and sometimes it’s actually a step backward.
A one-light setup — a single key light positioned at roughly 45 degrees from the subject, slightly above eye level — is genuinely sufficient for the vast majority of talking-head YouTube content. It provides consistent, controllable illumination, eliminates the harsh shadows caused by overhead lighting, and is dramatically easier to learn than managing multiple fixtures at once. Many successful YouTube channels run entirely on a single well-positioned light for years.
A three-light setup — adding a fill light to soften shadows and a back or rim light for separation from the background — produces a more polished, dimensional look, but it introduces real complexity: more equipment to buy, more stands to manage in a small space, and more variables to balance correctly. For a beginner still learning how light and shadow behave, three lights often means three things that can go wrong instead of one.
The practical recommendation for most new creators: start with one light, learn how positioning, brightness, and color temperature actually affect your footage, and only add a second or third light once you’ve identified a specific problem — like flat lighting or lack of background separation — that a single light genuinely can’t solve.
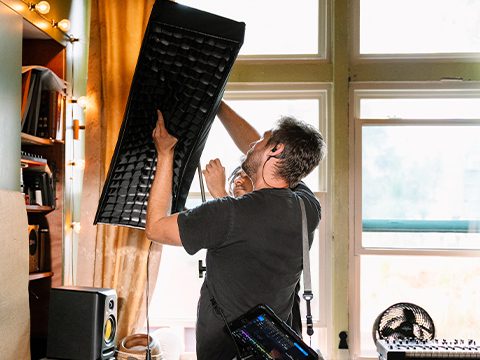
YouTube Lighting for Small Rooms and Apartments
Many new creators are filming from bedrooms, apartments, or shared spaces, which introduces constraints a dedicated studio never has to deal with.
Limited floor space rules out bulky stands and multiple fixtures. A compact, lightweight light that can clamp to a shelf, mount on a small desktop stand, or tuck against a wall matters far more in an apartment setup than raw output power.
Low ceilings change how light needs to be angled. A light positioned too close to a low ceiling or an awkward corner can create unflattering upward shadows or bounce light in ways a taller room wouldn’t produce — a slim, easily angled fixture gives more flexibility to work around these constraints.
Background distance is often minimal. In a small room, the subject may be sitting just a few feet from the wall or background behind them, making it easy for light to spill unevenly across both. A light with more precise brightness control helps manage this without needing a separate background light immediately.
Shared spaces mean setup and teardown happen constantly. Creators filming in a room used for other purposes during the day need lighting that sets up and breaks down quickly, rather than a permanent rig that has to stay assembled between sessions.
A single flexible, foldable, or easily adjustable light solves most of these constraints better than a heavier, fixed-shape fixture designed with a larger studio space in mind.
Best Beginner Light for YouTube Creators
For beginners filming out of small rooms, apartments, or shared spaces, the GVM Z200B ZipTile addresses several of the constraints covered above directly. Its flexible, foldable mat-style LED panel can be bent, shaped, or mounted in ways a rigid fixture simply can’t, which matters significantly in tight or awkwardly shaped rooms where a standard panel might not fit comfortably.
Its lightweight, compact design makes it easy to store when not filming — a real advantage for creators sharing a room between recording sessions and everyday use — and its bi-color adjustability lets beginners match their light to whatever ambient conditions exist in their space, rather than fighting against mismatched color temperatures from windows or overhead fixtures. A CRI/TLCI rating of 95+ keeps skin tones looking natural, which matters enormously for talking-head content where the creator’s face is the entire focus of the frame.
App and wireless remote control also removes a common beginner frustration — having to physically walk over to a light to adjust brightness or color temperature mid-recording, which interrupts flow and often ends up in the final take.
| Fonctionnalité | Specification / Benefit |
|---|---|
| Modèle | GVM Z200B ZipTile |
| Conception | Flexible, foldable mat-style LED panel |
| Portabilité | Lightweight, compact — fits easily in small rooms |
| Température de couleur | Bi-color adjustable |
| CRI/TLCI | 95+ for natural skin tones |
| Contrôle | App and wireless remote control |
| Meilleur pour | Beginner YouTube setups, small rooms, apartments, talking-head content |
Conclusion
A watchable YouTube video starts well before the camera settings or editing software — it starts with replacing uncontrolled ambient light with a single, adjustable light source. Most beginners don’t need a three-light rig on day one; they need to learn how one light behaves and solve the specific problems that come up from there. For creators working out of small rooms or apartments, a flexible, easy-to-store light like the GVM Z200B ZipTile removes the space and setup constraints that make traditional lighting rigs impractical, giving new channels a genuine shot at looking professional from the very first upload.
Ready to fix your YouTube lighting? Explorer le GVM Z200B ZipTile to bring consistent, flattering light to your next video.