Good Fotobeleuchtung is the single biggest factor separating amateur snapshots from professional-looking images. Whether you’re shooting portraits, products, or content for social media, understanding how light behaves — and choosing the right gear — can transform your results overnight.
For beginners, the sheer number of lighting options on the market can feel overwhelming. This guide breaks down the main types of photography lighting, shows you how to apply them to product photography, and walks you through building your first lighting kit and setup in 2026.
Inhaltsverzeichnis
Types of Photography Lighting
Before buying any gear, it helps to understand the categories of lights available to photographers and videographers today.
Panel lights are flat, broad-surfaced fixtures that produce soft, even illumination across a wide area. They’re popular for interviews, beauty shots, and anywhere a gentle, flattering light is needed. Their large surface naturally diffuses light, reducing harsh shadows.
COB (Chip-on-Board) lights use a single, densely packed LED chip instead of many small bulbs. This design concentrates enormous output into a compact point source, making COB lights significantly brighter per watt than panel lights of similar size. Because the light originates from one focused point, COB fixtures pair beautifully with modifiers like softboxes, reflectors, and Fresnel lenses, giving you tighter control over beam angle and shadow quality. There are many COB lights on the market now, ranging from budget mono-color units to advanced bi-color, high-CRI professional models.
Compact handheld or “flashlight-style” lights are small, battery-powered units designed for portability. They’re useful for run-and-gun shooting, fill light on location, or as a lightweight backup when a full studio setup isn’t practical.
Each type has trade-offs: panel lights excel at soft, wraparound illumination; COB lights deliver raw power and precise beam control; compact lights prioritize portability over output. Most beginners eventually build a kit that combines at least two of these categories.
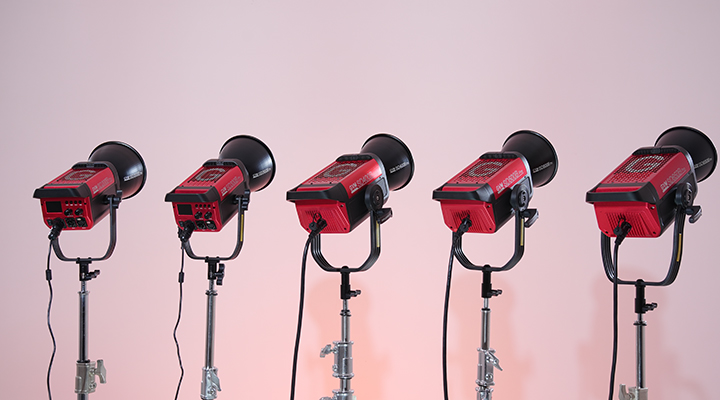
Product Photography Lighting
Product photography has its own lighting logic. The goal is usually to eliminate distracting shadows, render true-to-life colors, and highlight texture and shape.
A common beginner setup uses two lights: a Hauptlicht positioned at roughly 45 degrees to the subject for primary illumination, and a Aufhelllicht on the opposite side to soften shadows. A third light — often a small COB or panel unit — can be aimed at the background to separate the product from the backdrop and prevent it from looking flat.
Color accuracy matters enormously here. A light with a high CRI/TLCI rating (ideally 95 or above) ensures that fabric colors, skin tones, and packaging design translate accurately from camera to screen — something buyers scrutinize closely for e-commerce listings.
Diffusion is equally important. Bare COB lights are extremely bright and directional, so pairing them with a softbox or umbrella is standard practice for product work, turning a harsh point source into soft, wraparound light.
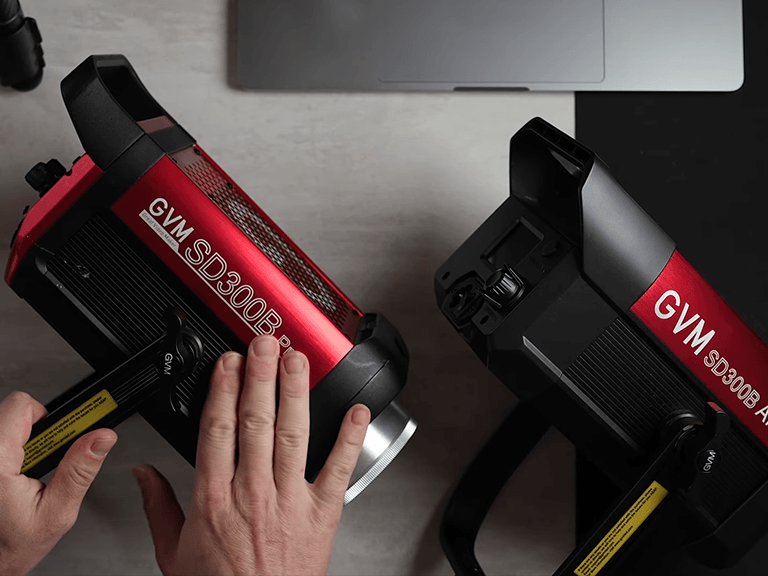
Best Photography Lighting Kit for Beginners 2026
If you’re assembling your first serious lighting kit in 2026, the GVM PRO SD300B is worth strong consideration. It sits right at the intersection of the two light types beginners need most: it has COB-level output in a form factor flexible enough to handle both portrait and product work.
Here’s why it fits a beginner’s first kit so well. Its bi-color range (2700K–6800K) means you don’t need separate warm and cool fixtures — one light adapts to daylight, tungsten, or mixed-lighting scenarios with a simple dial adjustment. Its CRI/TLCI rating of 97+ addresses the color-accuracy concerns that matter most for both product photography and skin tones in portraits. And because it uses a single COB light engine, it produces far more usable output than an equivalently priced panel light, giving beginners more room to work with modifiers, distance, and diffusion.
The built-in lighting effects and light-source simulations (Sunset, Fireworks, HMI, Overcast Sky, and more) also mean beginners can experiment with cinematic looks without owning gels or additional gear — a genuine shortcut while learning.
| Merkmal | Specification / Benefit |
|---|---|
| Lichtintensität | 65,700 lux @ 1 meter — strong enough for both studio and diffused product setups |
| Farbtemperatur | 2700K–6800K bi-color — covers warm and cool scenarios in one fixture |
| Farbwiedergabe | CRI/TLCI ≥ 97+ — accurate color for products, skin tones, and fabrics |
| Dimmen | 0–100% stepless — fine control for delicate exposure work |
| Kontrollmethoden | Knob, GVM App, DMX 5-pin, Bluetooth Mesh — flexible for solo or multi-light setups |
| Built-in Effects | 12 cinematic effects + 12 light source simulations — creative options without extra gear |
| Kühlung | Silent cooling system — safe for quiet indoor shoots and livestreams |
Photography Lighting Setup
Setting up your first photography lighting rig doesn’t need to be complicated. Here’s a simple beginner workflow using a light like the PRO 300B as your key light:
- Position the key light at a 45-degree angle to your subject, slightly above eye level, and attach a softbox to soften the output.
- Set your color temperature to match your environment — daylight-balanced (around 5600K) for most indoor shoots, or warmer settings for mood-driven portraits.
- Add a fill light or reflector on the opposite side to control shadow depth. A second, dimmer light works well here.
- Use a background light if shooting products or portraits against a backdrop, to prevent the subject from blending into the background.
- Fine-tune brightness with stepless dimming rather than moving the light physically — this preserves your framing while adjusting exposure.
- Experiment with built-in presets (like Overcast Sky or Sunset) once your base setup is dialed in, to add mood without additional hardware.
This setup — one strong bi-color COB key light, a fill source, and a background light — covers the vast majority of beginner needs, from portraits to product shots to livestream backdrops.
Schlussfolgerung
Die richtige Wahl Fotobeleuchtung doesn’t have to be complicated once you understand the basic categories — panel, COB, and compact lights — and how each applies to real shooting scenarios like product photography. For beginners building a first kit in 2026, a versatile bi-color COB light like the GVM PRO SD300B offers the output, color accuracy, and control flexibility to grow with you as your skills develop.
Ready to build your setup? Explore the GVM PRO SD300B and start lighting your shots like a pro today.