Good lighting is rarely about having the largest possible kit. On real productions, the challenge is usually more practical: the location changes, daylight shifts, rooms are smaller than expected, and there is rarely enough time to rebuild the entire setup from scratch.
A useful lighting system should give you enough output to shape the scene while remaining flexible when conditions change. This is particularly important for independent filmmakers, commercial videographers, interview crews, and content creators who often work with limited equipment and small teams.
This guide looks at a practical approach to videography lighting—from choosing the right fixture to evaluating the location and building a lighting setup that works with the space rather than against it.
Inhaltsverzeichnis
What Should a Practical Lighting Kit Include?
A lighting kit does not need to contain every type of fixture. It needs to cover the situations you are most likely to encounter.
For many filmmakers, three things matter from the beginning: power, control, and flexibility.
A stronger key light gives you more room to work when dealing with daylight or larger spaces. A flexible color temperature range helps the fixture fit naturally into different environments. And straightforward control becomes increasingly valuable once several lights are being used at the same time.
The goal is not to carry more equipment. It is to make each fixture useful in more situations.
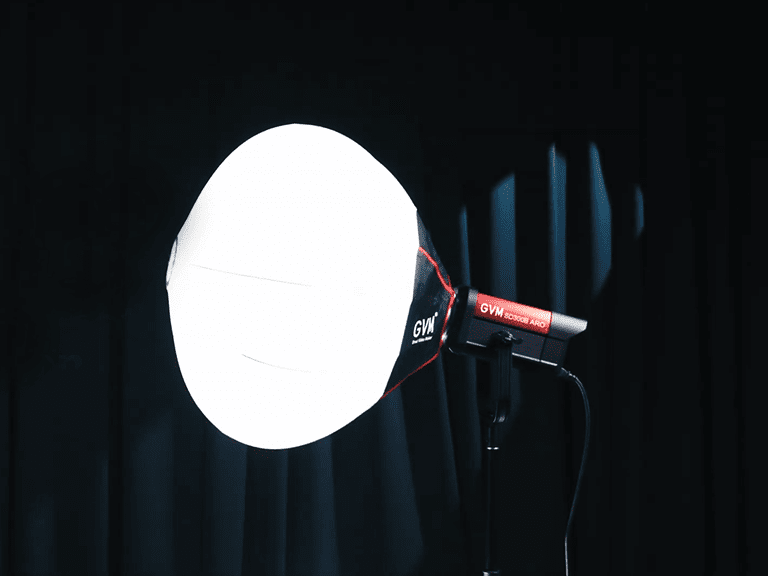
Start With a Light That Has Enough Output
Output becomes especially important when you are working with daylight.
A weak fixture may look perfectly adequate in a controlled room, but once sunlight enters through a window, the available output can disappear quickly. This limits where you can place the subject and often forces you to redesign the shot around the existing light.
A higher-output COB light gives you more freedom. You can soften it with a modifier, bounce it into a larger surface, or keep enough intensity to work through a brighter environment.
This does not mean every production needs an extremely powerful fixture. The better question is whether the light gives you enough headroom for the situations you actually shoot.
For a compact production kit, 300W is already a useful level of output. It can serve as a key light, background source, or stronger fill depending on the modifier and distance.
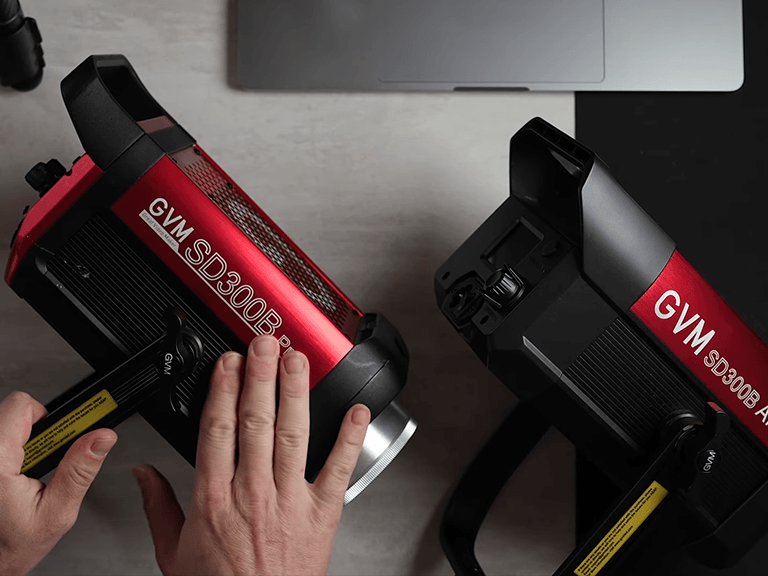
Color Temperature Should Follow the Location
Once output is covered, color becomes the next consideration.
A location rarely has a single color temperature. Daylight may enter through a window while practical lamps create a warmer environment inside. LED fixtures, overhead lighting, and decorative lights can introduce additional variations.
A bi-color fixture makes these situations easier to manage.
Instead of correcting the entire scene in post-production, you can adjust the light to work with the existing environment. A cooler setting can complement daylight, while a warmer setting can blend more naturally with tungsten-style practicals or a warmer interior.
For this reason, a portable LED light for filmmaking is more useful when its color range is broad enough to adapt to real locations.
That flexibility is particularly useful when moving between interviews, narrative scenes, product work, and location-based content.
Color Accuracy Is More Than a Specification
Color temperature tells you whether a light is warm or cool. It does not tell you how accurately the light renders the subject.
This distinction becomes obvious with skin tones, clothing, products, and colored surfaces.
A light with inconsistent color reproduction can create subtle problems that become more noticeable during editing. Skin may appear slightly unnatural. Product colors may shift. Matching two different fixtures can also become difficult.
For video work, CRI and TLCI are useful reference points, although they should not be treated as the only indicators of lighting quality.
When the light is being used close to a person’s face, this becomes especially important. A good key light should support the image rather than become something that needs to be corrected later.
Think About the Location Before the Light
One of the easiest mistakes is to decide where the light goes before deciding what the frame should look like.
Start with the camera.
Walk through the room. Look at the windows, practical lights, walls, ceiling height, and available space. Consider where the subject can stand and which background provides the most depth.
Then ask a more useful question:
Which existing light sources are helping the image, and which ones are working against it?
A window may become a natural backlight. A practical lamp may add useful warmth to the background. An overhead fixture may create unwanted shadows and need to be turned off.
Not every light in a room needs to be replaced.
Sometimes the best lighting decision is simply to remove one source and let another do more of the work.
How to Build the Scene
Once the frame is established, build the lighting around the subject rather than placing fixtures simply because there is space for them.
1. Establish the Key Light
The key light usually carries the greatest responsibility.
Its position determines the direction and character of the main illumination. Moving it slightly higher, lower, closer, or farther away can change the shape of the face and the relationship between the subject and background.
A modifier can make the same fixture behave very differently.
A softbox produces a broad, controlled source. A reflector can create a harder beam. A lantern can spread light through a small room.
This is why a versatile fixture can be more valuable than a collection of specialized lights that each perform only one job.
2. Shape the Background
The background does not always need another large fixture.
A small amount of carefully placed light can create separation and prevent a flat-looking frame. You might brighten a wall, highlight a practical object, or create a subtle pool of light behind the subject.
The important part is restraint.
If every area of the frame receives equal attention, the image can lose its visual hierarchy. Background lighting should support the subject, not compete with it.
3. Use Existing Light When It Works
Production lighting does not always mean adding more fixtures.
If a room already has attractive window light, use it. If a practical lamp gives the background a natural sense of depth, keep it. If the available light creates the right mood, there may be no reason to replace it.
The job of artificial lighting is often to fill the gaps.
That approach can also make a scene feel less constructed. The audience does not need to know where every light came from. They only need to feel that the image makes sense.
Where a Portable 300W Light Fits
A compact 300W fixture sits in a useful middle ground.
It is powerful enough to function as a primary source in many small and medium-sized spaces, while remaining easier to transport than larger cinema fixtures.
Die GVM SD300B AIO follows this approach with an all-in-one design intended for creators working on location. Its 300W output is paired with a 2700K–6800K bi-color range, CRI/TLCI 97+ color performance, and stepless dimming. The fixture can reach up to 221,950 lux at 1 meter with the standard reflector, according to GVM’s published specifications.
The AIO design also reduces the number of separate pieces that need to be managed during setup. That matters when working alone or moving between several locations during the same production.
It is not about making the equipment disappear. It is about reducing the amount of equipment that gets in the way.
| Merkmal | GVM SD300B AIO |
| Am besten für | Film & Video, Interviews & Content Creation |
| Leistung | 300W High Output |
| Max Output | 221,950 Lux @ 1m with Reflector |
| Color Temp | 2,700K – 6,800K |
| Color Modes | Bi-Color + 12 Lighting Effects |
| CRI / TLCI | 97+ / 97+ |
| Dimmen | Stepless Dimming |
| Besondere Merkmale | 12 Lighting Effects + APP Control |
| Tragbarkeit | Lightweight AIO Design |
| Steuerungstyp | GVM APP + On-Board Control |
| Berg | Bowens-Montage |
| Stromquelle | Wechselstrom |
In Conclusion: Build Around the Shot
A useful lighting kit should give you options without making production unnecessarily complicated.
Output gives you room to work. A wide color-temperature range helps you adapt to different environments. Accurate color keeps skin tones and products consistent. A portable all-in-one design makes location work easier, while smart control can shorten the time spent adjusting the setup.
Die GVM SD300B AIO brings these elements together in a 300W bi-color fixture designed for mobile production, with 2700K–6800K color adjustment, CRI/TLCI 97+ performance, an AIO form factor, and app-based control.
But equipment is only one part of the equation.
The stronger habit is to look at the space before reaching for the light. Find the frame. Understand what the existing light is already doing. Then add only what the image needs.
A good lighting setup should not make the production feel heavier.
It should make the scene feel easier to control.