Professional studio lighting isn’t a specific product category so much as a threshold — a point where your current setup stops keeping up with what you’re actually trying to shoot. Most creators don’t wake up one day and decide to “go professional.” Instead, the signs accumulate quietly: footage that looked fine six months ago suddenly looks flat next to a competitor’s, a client asks for a look your current lights simply can’t produce, or you find yourself fighting the same lighting problem on every single shoot instead of solving it once and moving on.
After watching enough creators go through this transition — some successfully, some by buying gear they didn’t actually need — a few patterns show up consistently. Below is what actually signals it’s time to upgrade, what genuinely changes once you cross into professional-grade equipment, a practical checklist for the upgrade itself, and where to land if you’re ready to make the jump.
Índice
Signs Your Current Lighting Setup Has Outgrown You
A few specific, repeatable problems tend to show up right before creators realize their lighting is the bottleneck, not their camera or editing.
You’re color-correcting the same issue in every edit. If every single project needs the same white balance fix, the same shadow lift, or the same skin tone adjustment in post, that’s not an editing habit — it’s your lighting quietly failing to deliver accurate color at the source, and no amount of correction fully recovers detail that wasn’t captured properly to begin with.
You’ve started avoiding certain shots because your lights can’t handle them. Turning down a booking, reframing a shot, or steering clients toward “safer” setups because you know your current lights will struggle is one of the clearest signs equipment has become the limiting factor rather than skill or creativity.
Your lighting takes longer to set up than it should. Professional-grade equipment tends to consolidate what consumer gear requires multiple steps to achieve — if you’re managing separate ballast boxes, juggling limited dimming ranges, or manually recalculating exposure every time you move a light, that friction adds up across every single shoot.
Clients or collaborators have started commenting on lighting specifically. Feedback like “can we make this look a bit more polished” or “the last shoot looked more professional” is rarely about your camera — it’s almost always about lighting, whether the person giving the feedback realizes it or not.
You’ve hit a wall on distance or output. Needing to light a subject further from the camera, cover a larger space, or push through a softbox without losing usable brightness is one of the most common — and most objective — signs that consumer-grade wattage has reached its ceiling.
What Changes When You Go From Consumer to Professional Lighting
The jump from consumer to professional lighting isn’t just “brighter” — several specific things shift at once, and understanding which ones matter for your work helps avoid overspending on features you won’t use.
Color accuracy stops being approximate. Consumer lights often advertise CRI in the high 80s or low 90s, which sounds close to professional-grade 95+ but produces a noticeably different result on skin tones and product colors once you’re comparing footage side by side. This is usually the single biggest quality jump creators notice after upgrading.
Dimming becomes genuinely precise rather than stepped. Many budget lights offer a handful of brightness presets or coarse increments. Professional fixtures typically offer stepless dimming — sometimes down to 0.1% increments — which matters enormously for slow fades, matching multiple light sources, or fine exposure control that stepped dimming simply can’t achieve.
Output holds up at real working distances. Consumer lights are often tested and marketed based on close-range output. Professional lights are built to maintain usable brightness through modifiers, at distance, and under sustained use — differences that only become obvious once you’re shooting in conditions consumer gear wasn’t designed for.
Control systems scale with your production. A single light with a smartphone app is fine for a solo creator. Professional setups typically add DMX compatibility, multi-light Bluetooth syncing, and wireless control systems designed for coordinating several fixtures at once — something you may not need on day one, but which matters the moment a second or third light enters your kit.
Build quality changes what “reliable” means. Professional-grade housings, better thermal management, and more robust internal components translate into fixtures that hold consistent output over long shoots and repeated use, rather than degrading or overheating under sustained professional workloads.
Not every creator needs every one of these upgrades simultaneously — which is exactly why the checklist below matters before making a purchase.
Professional Studio Lighting Setup Checklist
Before buying anything, run through this list to figure out what you actually need versus what simply sounds impressive on a spec sheet.
- Identify your single biggest current limitation. Is it color accuracy, output at distance, dimming precision, or setup speed? Most upgrades solve one primary problem — know yours before shopping.
- Check CRI and TLCI ratings before wattage. A 95+ rating on both should be treated as close to non-negotiable for professional work; wattage matters far less if color rendering isn’t accurate.
- Confirm the color temperature range covers your actual work. A wide bi-color range (roughly 2700K–6800K or broader) covers most professional use cases without needing separate warm and cool fixtures.
- Test — or research — real dimming behavior, not just the advertised range. Stepless dimming with a fine adjustment resolution avoids the visible jumps that stepped dimming produces during slow brightness changes.
- Match output to your actual working distance, not your current room. If you plan to shoot larger spaces, through modifiers, or at greater distances than before, prioritize a fixture with genuine headroom rather than one that barely covers your current setup.
- Evaluate control options against your workflow, not against every available feature. Solo creators may only need reliable app control; anyone coordinating multiple lights or working with a crew should prioritize DMX or multi-light syncing.
- Consider modifier compatibility before you’re locked in. A standard mount (like Bowens) keeps future softbox, reflector, and modifier options open, rather than restricting you to a single manufacturer’s proprietary system.
- Factor in setup speed for your actual shooting pace. If you’re shooting multiple locations or setups in a single day, an all-in-one design without a separate ballast box saves real time across a busy schedule.
Best Professional Studio Light to Upgrade To
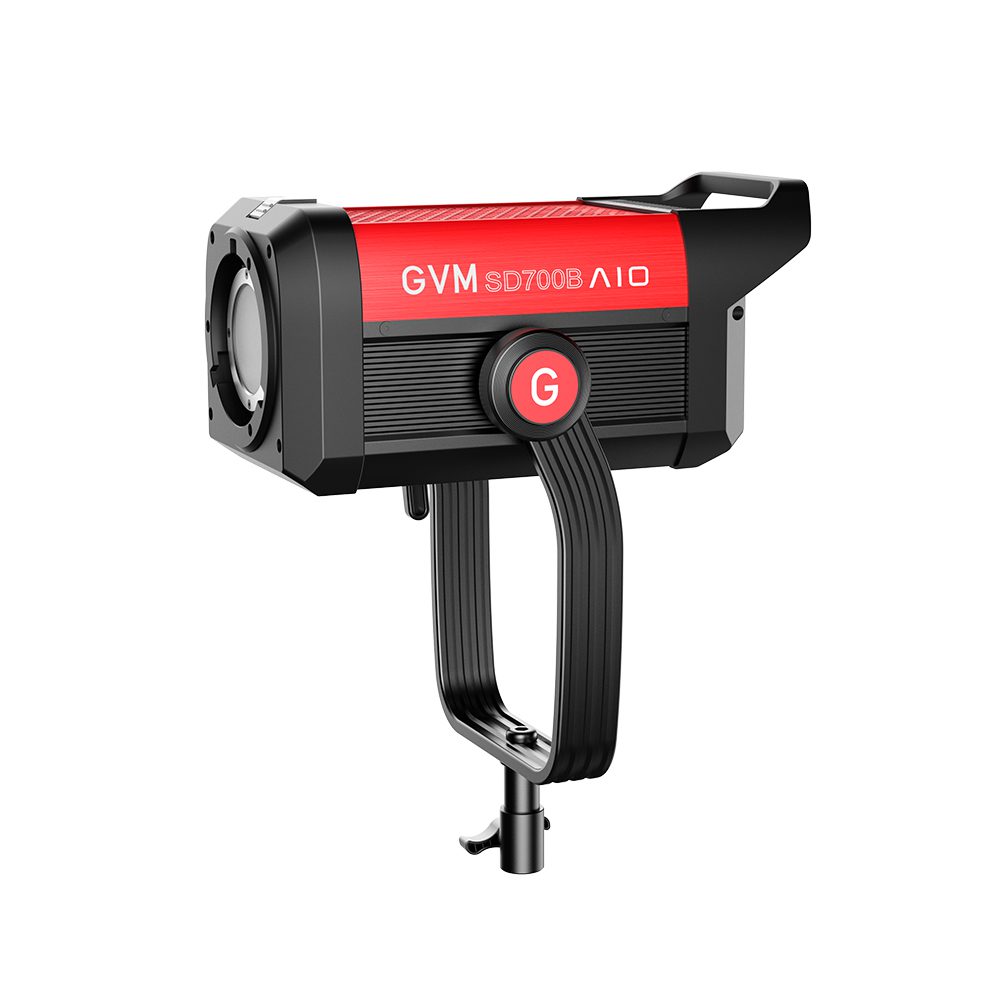
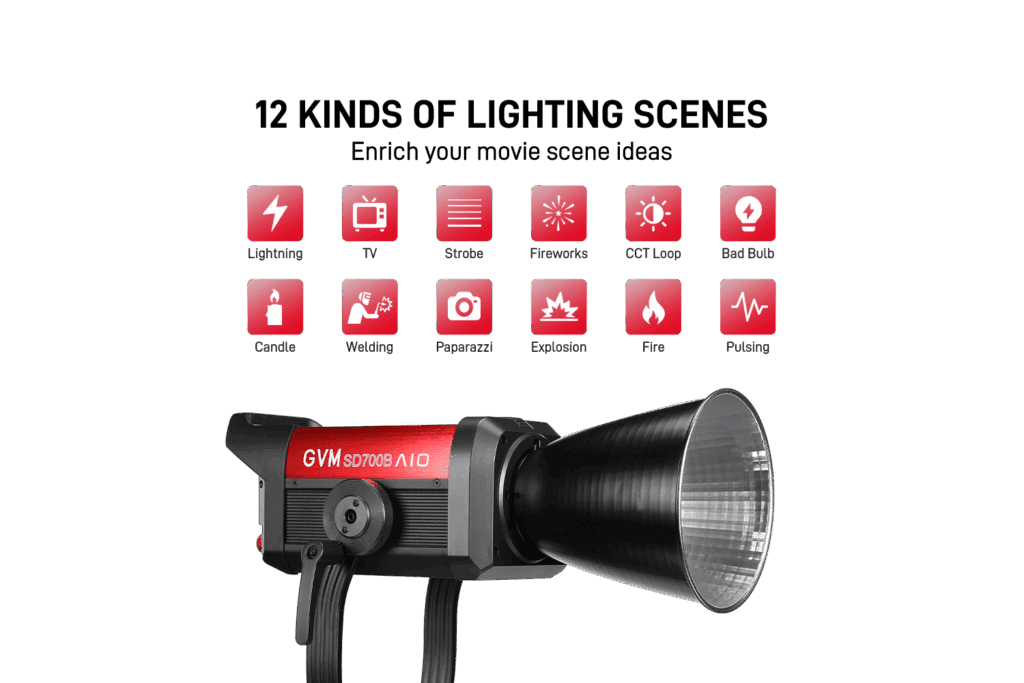
For creators checking most or all of the boxes above, the GVM SD700B AIO is built around exactly the gap between consumer and professional lighting described throughout this guide.
Its 700W output delivers 26,200 lux at 3 meters with the standard reflector, giving genuine headroom for larger spaces, longer throws, and shooting through softboxes or diffusion without the output collapsing — solving the distance and modifier-compatibility limitations that push most creators to upgrade in the first place. Color performance holds at CRI/TLCI 97+ across a 2700K–6800K bi-color range, addressing the color accuracy gap that’s usually the most noticeable quality jump after moving off consumer-grade lighting.
Dimming is stepless from 0.1% to 100%, maintaining consistent color temperature across the entire brightness range rather than shifting as output changes — a detail that matters far more in practice than it sounds on paper. Control options scale with your production: Bluetooth app control for solo use, plus full 5-pin DMX and wireless CRMX support for anyone coordinating multiple lights or working alongside a lighting console. Its all-in-one design eliminates the separate ballast box that slows down setup on many high-output fixtures, and its standard Bowens mount keeps softbox, reflector, and modifier options open as your kit grows.
| Recurso | Specification / Benefit |
|---|---|
| Modelo | GVM SD700B AIO |
| Potência de Saída | 700W, 26,200 lux @ 3m with standard reflector |
| Temperatura de Cor | 2700K–6800K bi-color |
| CRI/TLCI | 97+ for professional-grade color accuracy |
| Escurecimento | 0.1%–100% stepless, consistent color across the range |
| Controle | Bluetooth app, 5-pin DMX, wireless CRMX |
| Projeto | All-in-one, no external ballast |
| Montanha | Standard Bowens — compatible with softboxes and reflectors |
| Melhor para | Creators upgrading from consumer lighting to professional-grade output and control |
Conclusão
The decision to upgrade to professional studio lighting usually isn’t dramatic — it’s a slow accumulation of small frictions that eventually add up to a clear signal. Color that needs constant correcting, shots you’ve started avoiding, and setups that take longer than they should are all worth taking seriously before they quietly limit what you’re able to shoot and deliver. Running through a real checklist — rather than chasing the biggest number on a spec sheet — leads to a purchase that solves your actual bottleneck. For creators ready to make that move, the GVM SD700B AIO addresses the color accuracy, output, and control gaps that most commonly separate consumer from professional lighting in one fixture.
Ready to make the upgrade? Explore the GVM SD700B AIO to see what professional-grade output and control actually change on your next shoot.

Perguntas frequentes
How do I know if my lighting is actually the problem, versus my camera or editing skills?
A useful test is whether the same correction shows up in every edit — repeated white balance fixes, shadow lifting, or skin tone adjustments across nearly every project usually point to a lighting issue rather than a camera or editing limitation.
Do I need to replace all my lights at once when upgrading?
No. Most creators upgrade their primary key light first, since it has the biggest impact on overall image quality, and add secondary or fill lights later as budget and need allow.
Is a higher CRI rating really worth prioritizing over more output?
For most creators, yes. A fixture with high CRI but moderate output will generally produce more usable, professional-looking footage than a brighter light with mediocre color rendering, since color accuracy affects every single frame rather than just overall brightness.
What’s the actual difference between stepped and stepless dimming in practice?
Stepped dimming moves brightness in visible jumps, which becomes obvious during slow fades or when trying to match a second light source exactly. Stepless dimming adjusts smoothly and continuously, which matters most for precise exposure work and seamless brightness transitions.
Do I need DMX control if I’m shooting solo?
Not necessarily. DMX becomes valuable once you’re coordinating multiple lights or working with a lighting technician, but a solo creator with one or two fixtures can usually rely on app-based control without missing much functionality.