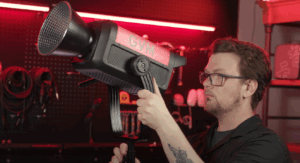
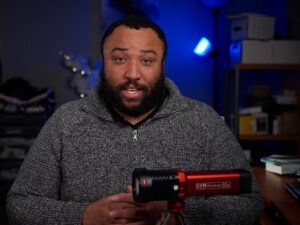
001. Ring light (single light) for front lighting
The ring light illuminates every part of the subject evenly and separates it from the background. For most photographers, the preferred method is to set the lights in front of the subject, which always seems to be the obvious choice. In most cases it is. But you have to keep in mind that ring lights are very bright, so they often require the treatment of a diffuser.
The best front arrangement is to place the ring light further away from the main body. The farther you go, the softer the light will be. It’s not as harsh as a spotlight. Then, you shoot through the center of the ring light.
Ring lights are great for product photography, but keep in mind that it’s harder to take pictures of eye-catching color products. This is because they can cause many parts to be overexposed. Try turning the exposure down a bit.
If you find that the ring lights aren’t enough, you can use overhead lights for additional fill.
002. Dome lights create atmosphere
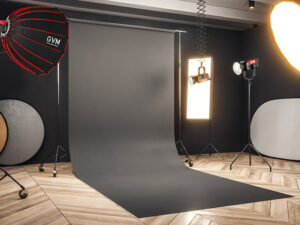
Quite a few octagonal softboxes have adjustable heads. They allow you to tilt the light downward. Use it with a high stand for overhead lighting.
This is very useful for shooting dark products with a unique atmosphere. You can create an angular look with strong lines. I often see this lighting arrangement used for high-end wine bottle shots.
003, front light (single light) – simple choice
Front lighting is a lighting setup that almost everyone tends to use. If done right, it can be quite flattering. However, there are a few things to keep in mind about this method.
There will be little separation between your subject and background, so make sure your background isn’t too cluttered.
If you can’t control the background, try a wide aperture lens and drop it down to a very low f-stop. I personally like to use an F1.8 aperture with this lighting setup.
When setting up your headlight, make sure it’s eye-level with the subject you’re photographing. The lights might be a little too bright. Try dimming it down, then increase the exposure (ISO + shutter speed combination) by a stop or two. If your product has strong reflectivity, the lighting method of the front single lamp will not be suitable. Unless light reflections are to be eliminated during post-processing.
004. Uniform lighting of reflective products (dual lights)
The center of the object is where the reflection problem is most severe. Shooting two lights at right angles to the subject will fix this. By using two lights, you can even completely cover the body of the product. By placing them at an angle to the side, you can eliminate pesky reflections.
Depending on the size and shape of the product, this setting may require some adjustment. It is much more convenient to use constant lighting, where you can see how changes in the light source arrangement affect the outline of objects under lighting.
005. 3 light setup to capture all the details
What if you have a low-reflection product that needs to bring out all the details and angles? This is a very logical usage of 3 lights. This ensures that all angles of the subject are illuminated. But use this setting with caution.
Some products look flat. Depending on the shape of the product, you either want the lights all on the front or 2 on the side.
006. Triangle settings to emphasize the shape
As the name suggests, triangular settings are arranged in a triangular shape. This lighting is very popular with portrait studio photographers. It also works well for still lifes and product photos. First you lighten evenly on the front of the product. A little backlight is then shot from the back angle to help isolate the object from the background. This allows you to shoot a very beautiful and prominent three-dimensional look. This setting ensures that the product does not appear flat at any volume. After careful editing, you will find that the look under this light setting works for a variety of products.
007. Separate background settings (3 lights)
Do you find that the product blends in too much with the background? You can modify the triangle settings to achieve your goals. The only difference between this setup and the previous one is that the 2 light sources on the back are aimed at the wall instead of the back of the product.
008. Extra: Use natural light for soft, even lighting
No studio-grade lighting? no problem! Sometimes a window can also help you take great product photos. Use curtains to diffuse light and take advantage of the softness created by natural light.
If you plan to use this method, try not to shoot when the sun is too high. It can make your photo look overexposed. Take pictures when the sun is low. You will find that the lighting is much better this way.
