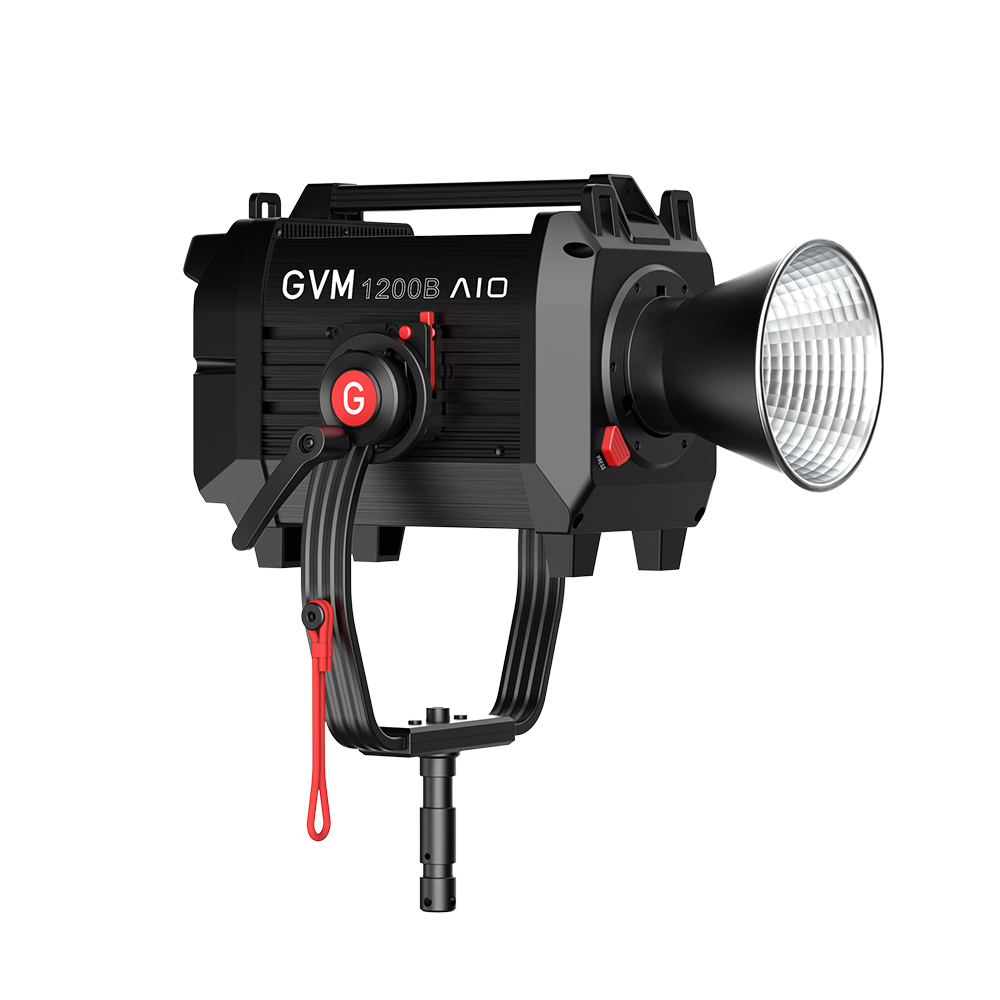
Hey there, fellow shutterbugs! If you’re anything like me, you’re obsessed with capturing the perfect shot. I’ve spent years chasing light, learning its nuances, and wrestling with its quirks. And let me tell you, good lighting is not a “nice to have” – it’s the very soul of a stunning image.

If you’re stuck with a bad ceiling fixture or weak natural light, it’s time to talk about studio LED lights. As a professional, they’ve become my go-to, and I want to share the reasons why you should consider them as well.
We aim to provide the best gear for photographers at all levels. Especially if you are new to photography, it can be difficult to master.
In this article, we will dive into the above topics so you can have a general understanding.
- Frustrations of Bad Lighting
- Common Misconceptions About Lighting Equipment
- Consequences of Bad Lighting
- Don’t let bad lighting hold you back
- Emotional Impact of Poor Lighting
- Risk of Continuing with Bad Lighting
- Solution to Perfect Lighting
- First Studio LED Lights Key Features to Consider
- Beginner Studio LED Light Setups
The Frustrations of Bad Lighting: Why You Need to Upgrade
We’ve all been there, right? You nail the composition and the subject is fantastic. But, your images look… not quite right. They’re too dark, shrouded in unflattering shadows. Or the colors may feel off. The truth is, bad lighting can completely derail a great photo. It’s frustrating. I’ve seen many passionate beginners get discouraged by it.
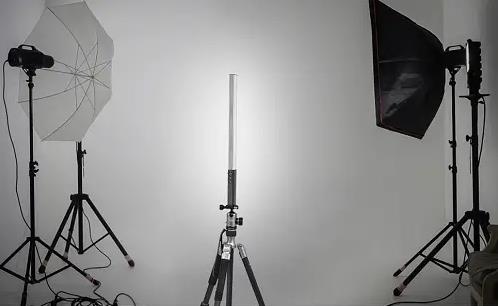
Have you ever struggled with harsh shadows in a portrait? They can ruin details and frustrate you. Or have you struggled with a product shot due to bad lighting? It looks completely wrong. I know the feeling all too well. As a photographer, I’ve experienced the frustration of being there. That’s why it’s so important to have a reliable lighting solution. The studio led light delivers professional results. It lets you create images with perfect color. They match your vision exactly.
The Common Misconceptions About Lighting Equipment
Before I fell head over heels for studio LED lights, I had a few misconceptions too. I used to think that relying on natural light was the only “authentic” way to shoot. But let’s face it, natural light is fickle – it changes by the hour, the weather, and even the season. It’s not reliable if you want consistent results. And when clients expect specific results, consistency is key.
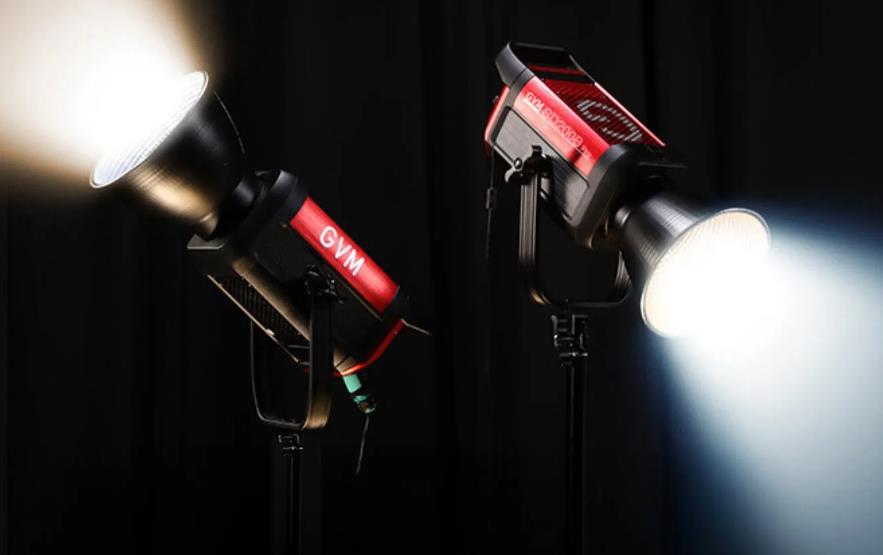
Another common myth is that great lighting gear has to cost a fortune. Sure, you can spend thousands on pro-grade equipment. Many affordable options designed for beginners can create a significant impact. Brands like GVM aim to make quality lighting affordable. Their GVM PRO SD200B shows this with its high-end features and low price. Don’t let the cost scare you away. I’ve seen people create stunning content even on a small budget. The key is knowing what to look for, and with GVM, you get the best of both worlds – quality and value.
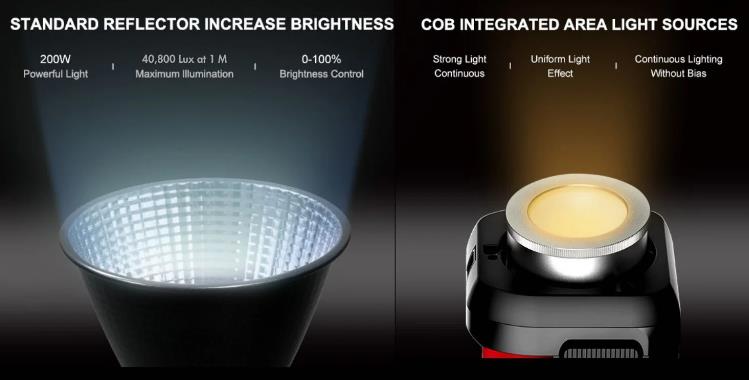
Many beginners feel a sense of overwhelming confusion about the world of lighting. It’s true, there are a lot of technical terms and options to consider, and I get it – it can be intimidating. But trust me, it’s easier than you think. A solid beginner lighting setup is easy to choose. The GVM PRO SD200B has an intuitive design and features. You’ll be a pro in no time! This is why I often suggest it to my photography students.
The Consequences of Bad Lighting
Bad lighting isn’t annoying. It can hurt your photography. It can cause a significant decrease in the quality of your work. Photos and videos that have poor lighting appear unprofessional and lack visual appeal. If you’re trying to build a portfolio or attract clients, this is not the kind of first impression you want to make. In the competitive world of photography, professional results come first. And this all starts with how you light your shots. I trust my brand of choice, GVM, to ensure perfect results. I rely on the GVM PRO SD200B for a great shot. It delivers consistent, professional results for my clients.
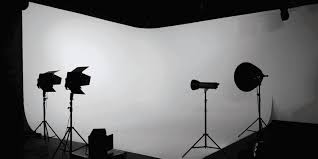
I know, it sounds harsh, but it’s the truth. Bad lighting doesn’t impact the visual appeal; it erodes your credibility. If your images lack clarity, detail, and color, people will doubt your skills as a photographer. This can be disastrous if you’re trying to build a career.
Let’s not forget, time is money. You may spend hours tweaking colors and brightness in editing. You may also wrestle with shadows and other issues that proper lighting could fix. You could use this time to refine your creativity, grow your business, or shoot more.
Don’t let bad lighting hold you back
Imagine, for a moment, how much better your photos and videos could look with the right lighting. Picture sharp, vibrant, professional images that capture your vision with precision. No harsh shadows or hours of retouching. A powerful, dependable light like the GVM PRO SD200B makes all the difference. That’s why it should be in your toolbelt.
Think of all that wasted time tweaking exposure settings. You were trying to fix shadows and uneven lighting. What if, instead of hours of editing, you could create even better content? The GVM PRO SD200B’s constant brightness will cut your post-processing time.
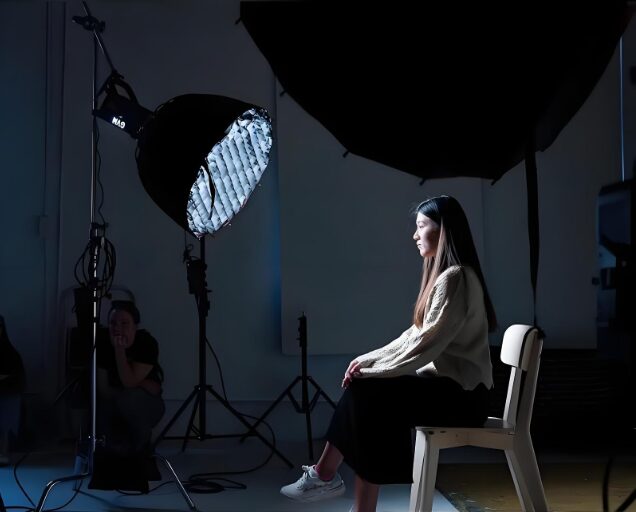
using the right lighting, like GVM’s, sets you apart from the crowd. It will improve your images, too. You’re making stunning work that grabs attention. It helps you stand out in a competitive world. I know for me, using GVM gear elevates my work to another level. The GVMPRO SD200B is thefirst bit of kit I grab for any job because it helps me stand out with top-tier quality.
The Emotional Impact of Poor Lighting
Beyond the technicalities, bad lighting also takes a real emotional toll. It can leave you feeling frustrated, disappointed, and downright discouraged. It’s disheartening to put your heart into a project, only to have it fall flat because of the lighting. Trust me. Dependable gear that works when you need it is key. It boosts your confidence and peace of mind. For me, having the GVMPRO SD200B gives methat; I never have to worry about it.
Knowing the work could be better chips away at your confidence. When your images don’t match your vision, it dims your passion for photography. But it does not have to be this way! Knowing that your light is consistent will ease much of your stress while shooting.It’s time to leave those feelings behind and move forward into a world of well-lit images.
The Risk of Continuing with Bad Lighting
Look, it’s tempting to keep putting up with subpar lighting. But if you continue to use bad lighting, your images will continue to be subpar. This will hurt your portfolio, limit clients, and kill your joy in photography. And that is a sad waste of talent and passion, to be honest. Don’t let poor lighting be the reason that you aren’t succeeding. With the solutions available from the GVM brand, this is completely avoidable.
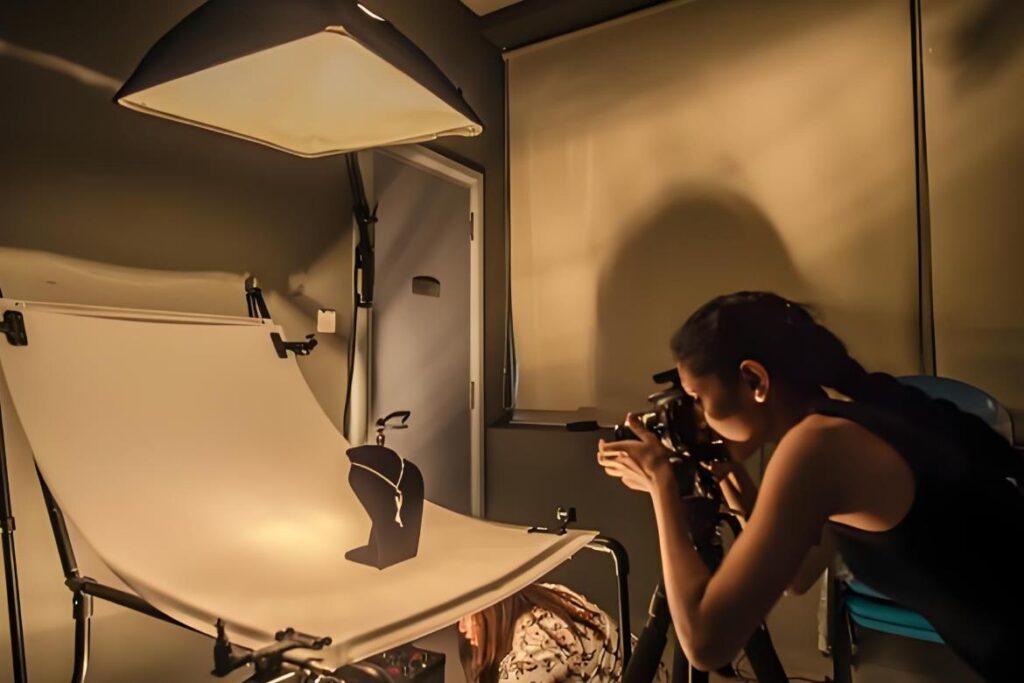
You might want to save money now. But poor lighting could hold you back. It can limit your opportunities and hurt your growth as a photographer. You might miss out on new opportunities and clients who value quality images. But investing in reliable gear,boosts your confidence. It helps you to produce your best work on a regular basis. This leads to more opportunities in the long run.

And finally, imagine the time you’ll save in post-production. Less time on color correction and shadow removal means more time for shooting. And what’s more, Studio LED Lights helps you be even more creative. You can use the time saved on retouching in a more creative way. As I said before, the Studio LED Lights cuts your editing time. It gives you more time to do what you love — shooting. And that’s all without sacrificing quality. It achieves this while giving you the highest possible color accuracy, thanks to its CRI of 97+ and TLCI of 97+. Also, it’s not about accuracy. With its 12 special light effects and 12 light source styles, you’ll spend less time setting up each shot. The easy lighting selection makes it quick to choose. So, you’ll be creating more and wasting less time.
Essential Features and Functions in Professional Studio Lighting
Alright, let’s dive into what to look for. I know it can be a little overwhelming, so let’s break down the key features you need to consider. For the best results, look for these features when purchasing a light:
- Color Temperature (Kelvin): This measuresthe color of your light. Lower Kelvin values produce warm light, and higher Kelvin values produce cooler light. Usually, you want a color temperature that matches natural light (around 5500K). Or, you want to adjust it to match the scene. You need a wide range of adjustability.
- Lumen Output and Brightness: Lumen outputmeasures how much light the bulb puts out. A higher lumen output means a brighter light. A good light will have a dimmer. You need to adjust the light for different scenarios. So, the range of the light is very important. You need a light that gives you options.
- CRI (Color Rendering Index): It measures the accuracy of light in rendering colors. A higher CRI means colors will look more lifelike. The more accurate the colors, the better your images will look. You will appreciate high CRI very soon.
- Size and Portability: Studiolights come in a variety of sizes and form factors. The right size for you will depend on how large the space is that you are using. Consider portability if you’ll be moving them around a lot.
- More Features: You may need color adjustability and dimming. Also, the ability to mount and attach light modifiers. These will impact how much control you have over your lights.

The GVM 200B meets all these requirements, which is a positive outcome. It offers a complete lighting solution for any photographer or videographer.
Introducing Studio LED Lights: Your Solution to Perfect Lighting
I know I’ve painted a grim picture. But trust me, I wouldn’t be talking about it if there weren’t an awesome solution. And that, my friends, is the beauty of studio LED lights. These little wonders have revolutionized the photography world, and for good reason. GVM has led this revolution. I’ve seen firsthand the difference their lights make. The GVMPRO SD200B, in particular, is a testament to the power of quality gear.
LED lights offer a remarkable combination of power and control. They provide a consistent, flicker-free light source. You can adjust them to match any shooting condition. You’ll fall in love with them before you know it; I know I have. And don’t get me started on their ease of use and versatility. Designers create them for ease of use, and users can apply them in various applications. The GVMPRO SD200B is aperfect example of a light that offers this versatility; it works. You’ll also notice its strong, durable design. It lets the device work in the harshest conditions.
But studio LED lights can transform your work in a significant way. The GVM PRO SD200B is the best. Colors pop with intensity, shadows soften, and every detail comes into sharp focus. That’s the power of consistent, controllable light. That’s the difference between a good shot and a great one. The GVM PRO SD200B lights will amaze you with the results. And you’ll find that the color is accurate and true, thanks to its high CRI and TLCI ratings of 97+. It will maintain that color with stable data, regardless of whether it runs for one minute or 10 hours.

Recommended Beginner Studio LED Light Setups
Good photography lights are a great start. But, to unlock their potential, you must learn effective setup techniques. Whether you use one light or a four-light setup, mastering these skills will help. You’ll get great results. Let’s explore some beginner-friendly lighting setups that prove great effectiveness.
- Basic One-Light Setup: If you’re starting, use a single LED spotlight with a reflector. The GVM PRO SD200B is a good option. It’s a great way to improve your lighting. The light can give a nice, diffused main source. The reflector will help illuminate the shadows. This will create a more balanced image. And if needed, you can adjust the light output from 0 to 100%.
- Two-Light Setup: A second light gives you much more control and flexibility. Use one main light as your key, and another to provide fill. You may want to add a softbox to one or both lights. For many shoots, I use two GVMPRO SD200Bs to giveme the best results.
- Three-Light Setup: This isthe gold standard lighting setup. You have a main key light, a fill light, and a backlight (or rim light). The fill light softens shadows. The backlight separates your subject from the background. This gives you a very powerful professional level of flexibility. And when it comes to three-light setups, you know I always grab three GVMPRO SD200B’s. And with its convenient app control function, you can control all your lights from one device. You can also control other GVM devices via Bluetooth mesh. These include the SD300D and SD80D. For precise control, the standard DMX interface offers 8-bit and 16-bit options.

Quick Tips for Setting Up Your Studio LED Lights
- Light Placement: Try different positions for your lights. See how they affect the shadows and highlights in your photo. Start with lighting from the side and move the light to the front or back to adjust to different looks. The GVM PRO SD200B’s U-shaped bracket lets you adjust the beam angle 360°. You can point your light in any direction.
- Using Light Modifiers: Softboxes, reflectors, and grids can shape and control the light. They create a more nuanced, professional look. The GVM PRO SD200B has a Bowens mount. It is compatible with many modifiers.
- Experimentation: The most important thing is to try different settings. See how they affect your images. There is no one right way, and you will soon develop your own style. The GVM PRO SD200B is robust enough to let you experiment. Its advanced algorithm keeps brightness constant. It adjusts power levels when changing color settings. So, it gives you consistent lighting across all colors and temperatures.
Take control of your lighting today!
I know, this may seem like a lot. But, once you grasp the basics, you’ll see the power of lighting. It will elevate your photography. You don’t need to stay frustrated with poor lighting. You can take charge and learn to improve your craft. And as always, I would suggest using reliable gear from brands like GVM to ensure perfect results. Especially, do yourself a favor and check out the GVMPRO SD200B.

Studio LED lights are an investment, not in your equipment, but in your creative journey. With the right lighting, you will produce high-quality work. It will look professional. You will gain confidence and a passion for the craft. It’s a game changer, trust me. And I know that when you pick up your GVMPRO SD200B for thefirst time, you will understand how amazing it is. Its high CRI and TLCI will amaze you. Its consistent performance and tough body can withstand daily use.
Ready to take the next step?
- Shop the GVM PRO SD200B now (direct linkto the product page).
- Get our free checklist for choosing the perfect studio LED lights. (Link to a downloadable resource)
- Read our detailed guide on light modifiers (link to a blog post).
We believe that with professional lighting equipment and a mastery of lighting techniques, you’ll be able to capture truly breathtaking images. Happy shooting, and may your light always be in your favor!


