Studio lighting is paramount to image quality in photography. Whether you’re shooting portraits, products, or creative compositions, a well-executed lighting setup dramatically elevates the visual impact. Even seasoned photographers face recurring lighting challenges, though. This article explores 5 frequently encountered problems and offers solutions to help you create the perfect shooting environment.
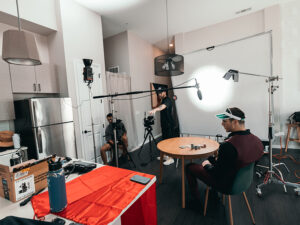
Before tackling those issues, it’s important to understand the basics of choosing the right studio lighting. When considering light sources, I highly recommend the affordable GVM SD200B LED light. It offers stable, continuous lighting at a great price point, making it perfect for beginners and video work, thanks to its WYSIWYG illumination. Beyond the type of light, consider power (watt-seconds), portability, modifier compatibility, and adjustable color temperature for accurate results. Understanding these factors is key to effective troubleshooting and better studio photography.
5 Common Photoshoot Studio Light Problems & Solutions
1. Uneven Lighting: How to Avoid Hotspots and Shadows
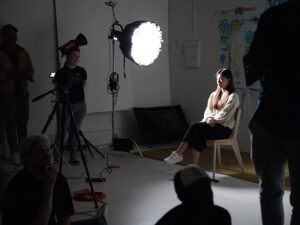
Uneven lighting is a common frustration in photo studios, particularly noticeable when shooting large backgrounds or group scenes. Imagine attempting to capture a group portrait, only to find that some individuals are brightly illuminated while others are shrouded in shadow – hardly ideal! This inconsistency is distracting and detracts from the overall photo.
The Solution:
- Employ Multiple Light Sources:Don’t rely solely on a single light. Use a combination of a key light, fill light, and back light to ensure that light is distributed evenly across the scene.
- Adjust Light Angles:Position your lights at a 45-degree angle to the subject to avoid the strong, unflattering shadows that result from direct illumination.
- Utilize Light Modifiers:Softboxes, umbrellas, and reflectors are invaluable tools for softening the light and reducing brightness differences.
- Softboxes:These are fabric-covered boxes that diffuse the light, creating a soft, even glow.
- Umbrellas:These are reflective or translucent umbrellas that spread the light over a larger area.
- Reflectors:These are reflective surfaces (white, silver, gold) that bounce light back into the scene.
2. Harsh Shadows: Taming the Darkness
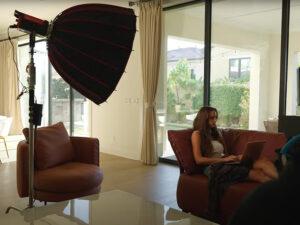
Overly harsh shadows can detract from the overall impact of a photograph. This is especially true in portrait photography, where severe shadows can make faces look unnatural.
The Solution:
- Introduce a Fill Light:Position a fill light on the opposite side of the key light to reduce the intensity of shadows.
- Adjust Light Distance:The closer the light source is to the subject, the softer the light will be.
- Use Reflectors:Reflectors are an invaluable tool for bouncing light back into shadow areas.
- White Reflector:Provides a soft, neutral fill.
- Silver Reflector:Provides a brighter, more specular fill.
- Gold Reflector:Adds warmth to the fill light.
3. Inconsistent Color Temperature: Ensuring Accurate Colors

Variations in color temperature between different lights can lead to color distortion in your photos. This is particularly critical in commercial photography.
The Solution:
- Use Consistent Lighting Equipment:Stick to the same brand and model of lights.
- Use a Color Meter:A color meter measures the color temperature of light sources.
- Shoot in RAW Format:Shoot in RAW format for more flexibility to adjust white balance.
- Understand Kelvin:Understand the Kelvin (K) scale, which measures color temperature.
4. Too Much or Too Little Light: Finding the Optimal Brightness

Too much light results in blown-out highlights, while too little light makes photos look dull. Finding the right balance is essential.
The Solution:
- Use a Light Meter:A light meter accurately measures light intensity.
- Adjust Light Power:Most lights have adjustable power settings.
- Use Light Modifiers:Softboxes and umbrellas soften and reduce intensity.
- Understand the Exposure Triangle:Master aperture, shutter speed, and ISO.
5. Poor Light Placement: Creating Depth and Dimension
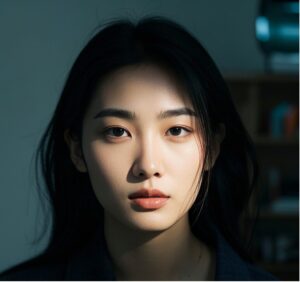
Incorrect light placement can make the subjects in your photos look flat and lifeless. Creating depth and dimension is crucial.
The Solution:
- Use Three-Point Lighting:Implement the classic three-point lighting technique (key, fill, back).
- Key Light:The primary light source.
- Fill Light:Fills in shadows.
- Back Light:Separates the subject from the background.
- Adjust Based on Subject:(Portraits: 45-degree angle; Products: experiment with angles).
- Use Adjustable Lighting Fixtures:Light stands are essential for control.
- Learn Lighting Patterns:Explore patterns like Rembrandt, butterfly, and loop lighting.
Conclusion: Elevate Yo ur Studio Photography
Mastering studio lighting is both an art and a science. By understanding these problems and implementing the solutions, you can significantly improve your photos. Experiment and find your own unique style!

