Have you ever arrived on location for a shoot, everything seemingly ready, only to realize you’re in a “power desert” – no wall outlets, no generator, nothing? It’s in moments like these that we truly distinguish gear that’s theoretically useful from gear that can genuinely save a shoot.
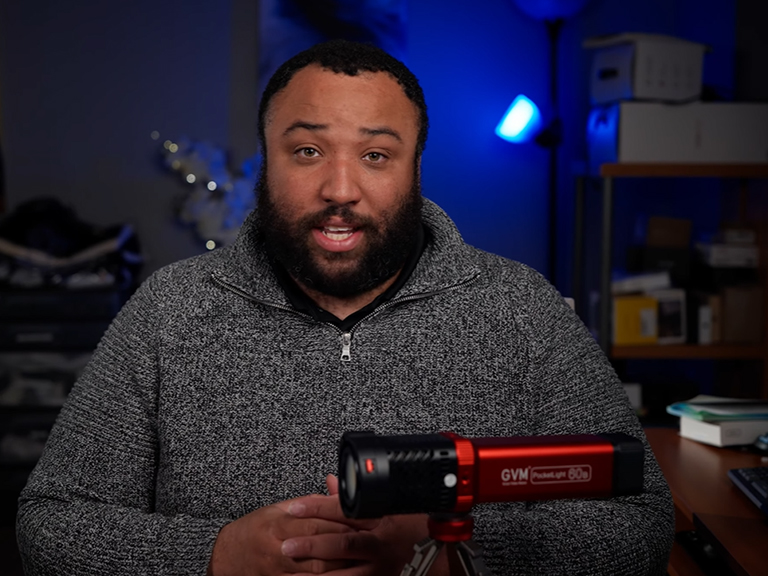
Today, we’re not talking about complex lighting systems tethered to the grid. Instead, we’re diving deep into an underestimated yet incredibly powerful tool – especially modern portable spotlights with built-in batteries – and how you can leverage them to master hard light portrait photography. Even in the most challenging environments, you can achieve stunning, professional-grade visual effects with low-budget lighting. This article is your practical guide to mastering this unique single-light photography style, elevating both portability and creativity to new heights.
What is Hard Light? And Why Should You Embrace It?
Before we dive into techniques, we must understand our main subject: hard light.
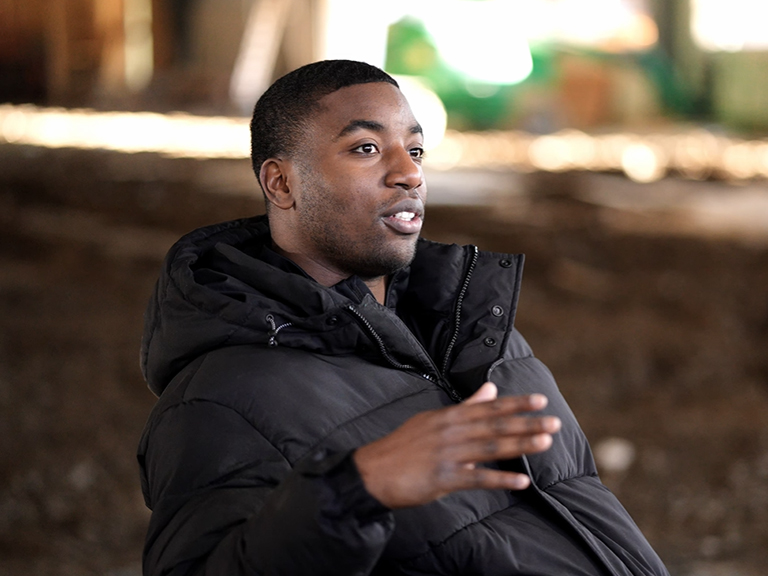
- Defining Hard LightHard light, as the name suggests, originates from a relatively small or distant light source. Its signature characteristics are clearly defined, sharp-edged shadows and the ability to create high contrast and rich textural detail on the subject’s surface. Think of the midday sun – nature’s most prominent example of hard light.
- Hard Light vs. Soft LightIn contrast, soft light typically comes from a larger light source (or is modified by diffusion accessories). It’s characterized by blurry-edged shadows, smooth transitions, and lower contrast. It’s crucial to emphasize that neither hard nor soft light is inherently superior; they are distinct visual languages. Soft light is often used for gentle, flattering effects, while hard light carries a unique sense of power and style.
- The Appeal of Hard Light: Drama & ImpactProfessional photographers often choose hard light because it can:
- Create Drama: High contrast and deep shadows instantly establish a strong mood, perfect for portraits that are narrative-driven, powerful, or emulate classic film noir styles.
- Sculpt Features: Hard light precisely defines facial structures like cheekbones and jawlines, adding dimensionality and visual impact to the photograph.
- Accentuate Texture: For rendering fine details in skin, fabric, or other materials, hard light is exceptionally effective.
Why Choose a Modern Portable Spotlight for Hard Light Photography?
You might ask, “Studio strobes can create hard light too, why focus on portable spotlights?” The answer lies in the unique combination of advantages offered by modern portable LED spotlights, especially models with built-in batteries, like the GVM PD60B I’ve been using recently.
- Naturally a Hard Light SourceMost portable spotlights, due to their compact design and relatively small Light Emitting Diodes (LED COB), act as point sources. They naturally produce crisp hard light effects without needing complex accessories to achieve a punchy style.
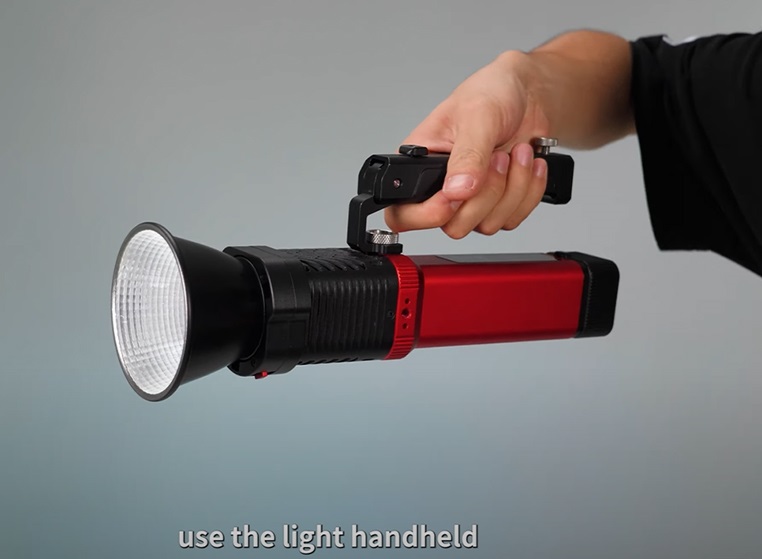
- The Freedom Factor: Battery PowerThis is perhaps the most revolutionary aspect. Take the GVM PD60B as an example; its built-in 6600mAh battery allows it to run at full power for up to 2 hours. What does this mean? As I experienced during a shoot on a construction site, when no power is available, lights like these are lifesavers. No need to lug heavy V-mount batteries or hunt for outlets, no worries about cables tripping crew members. Whether on a remote location, in a cramped interior, or during shoots requiring rapid movement and repositioning (like documentaries or wedding videography), this complete untethered freedom drastically enhances efficiency and flexibility. You can place the light exactly where needed, unbound by power constraints.
- Portability & WYSIWYG (What You See Is What You Get)Spotlights are typically compact and lightweight (the PD60B is about 2.7 lbs), making them easy to pack and carry. More importantly, as a continuous light source, the effect is WYSIWYG. You see the light falling on your subject, the shadow placement, and shape in real-time. This is incredibly helpful for precise lighting adjustments and aids focusing in low light, making it particularly beginner-friendly.
- Surprising AffordabilityCompared to a full professional studio strobe system, high-quality portable LED spotlights and their accessories are often more budget-friendly, allowing photographers with limited budgets to experiment with professional-level lighting effects.
- Understanding the LimitationsOf course, we must be objective. The power output of portable spotlights usually can’t compete with high-power studio strobes; overpowering the sun mid-day might be challenging. Some models might have issues with color temperature stability or color accuracy (CRI/TLCI), or lack Green/Magenta Shift adjustments (like the PD60B), requiring careful calibration in mixed lighting or color-critical situations. Fan noise can also be a consideration (the PD60B allows turning the fan off but reduces brightness). Understanding these limitations helps leverage their strengths effectively.
Your Minimalist Hard Light Portrait Kit
You don’t need a mountain of gear to start shooting hard light portraits with a portable spotlight:
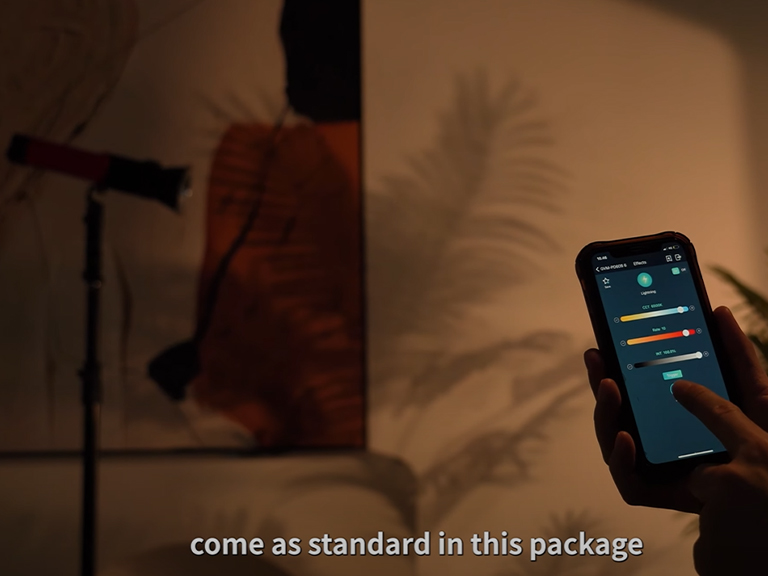
- The Star: Your Battery-Powered Portable SpotlightChoose a model with sufficient brightness, reliable battery life, and preferably bi-color temperature adjustment (like the GVM PD60B’s 2700K-6800K range). Pay attention to its accessory ecosystem (reflectors, Fresnel lenses, etc.).
- Camera & LensAny camera with manual exposure controls (DSLR or mirrorless). A standard portrait lens (like a 50mm, 85mm prime, or a mid-telephoto zoom).
- Essential: A Sturdy Light StandThis is crucial for precise control over light placement and is indispensable.
- Optional: Simple ReflectorA white foam board, cardstock, or even a white wall can be used to slightly soften shadow contrast when needed.
- Optional: Clean BackgroundDark or neutral-colored backgrounds (fabric, wall, paper) usually complement hard light effects best.
Practical Guide: Setting Up Your Hard Light Portrait Shot
Let’s combine theory with practice and start lighting:
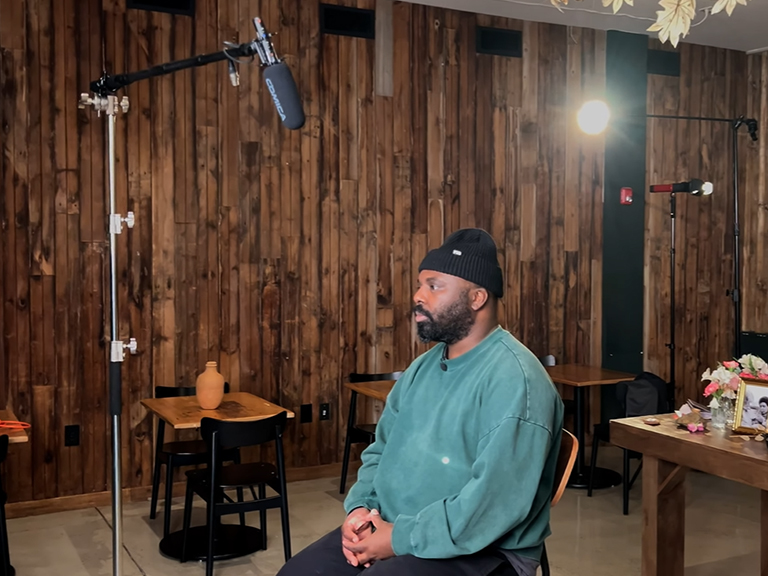
- Step 1: Positioning Your SpotlightThe light’s position is the soul of hard light photography. Try these classic setups:Distance: Closer light creates a relatively larger source, slightly softening shadow edges; farther light creates a smaller source, sharpening shadows, and light intensity falls off with the square of the distance.Height: Placing the light above eye level often looks more natural and sculpts features; low angles create more unusual or even eerie effects. Experiment constantly and observe the shadow changes.Pro Tip: As I often do in interviews, you can use the spotlight as a hair light or rim light, hitting the hair and shoulders from behind and to the side to separate the subject from the background and add dimension. The compact size of lights like the GVM PD60B makes them easy to hide in corners or behind furniture for these effects.
- Side Lighting: Place the light at roughly a 45-degree angle to the side of your model.
- Rembrandt Lighting: Creates a small triangle of light on the shadow side cheek.
- Split Lighting: Divides the face into one lit half and one shadow half, highly dramatic.
- Step 2: Working with ShadowsIn hard light photography, shadows are not the enemy; they are a vital compositional element. Don’t try to eliminate them completely.
- Observe & Shape: Focus on how the shape, size, and placement of shadows affect the model’s face and the photo’s mood. Control shadows by fine-tuning the light’s angle and distance.
- Moderate Fill: If shadows are too deep and losing detail, use a white reflector or card on the shadow side to bounce some light back. The key is “some” – maintain the overall hard style. Avoid using a second light source for direct fill, as that weakens the hard light effect.
- Use Negative Fill: If you want deeper shadows and stronger contrast, place a black object (black cloth, card) on the shadow side of the subject to absorb reflected light.
- Step 3: Camera Settings Secrets
- Mode: Use Manual mode (M) for full exposure control.
- ISO: Set to your camera’s base ISO (usually 100 or 200) for the best image quality.
- Aperture: Decide based on your desired depth of field and the light intensity. F/4 to F/8 is a common range for portraits.
- Shutter Speed: Since it’s continuous light, shutter speed mainly affects ambient light inclusion (if any) and prevents camera shake. Set it above your safe shutter speed (e.g., 1/125s or higher).
- White Balance: Best to set manually (if the light’s color temp is known and stable) or use a grey card. Shooting RAW allows lossless adjustment later.
- Focusing: Autofocus is generally reliable with continuous light; you can also easily use manual focus peaking or magnification for precision.
Creative Practice: Crafting Different Styles with Hard Light
Once you grasp the basics, start exploring styles:
- Classic Film Noir StyleUse a single hard source to create large areas of deep shadow, fostering mystery and suspense. Low Key lighting is key.
- Edgy Fashion & Character PortraitsLeverage the high contrast and texture rendering of hard light to emphasize the model’s personality, clothing details, or facial features for a bold, powerful look.
- Sculpting Features with Light and ShadowPrecisely control the light direction to “sculpt” cheekbones, nose bridge, and jawline with shadow and highlight, creating highly dimensional portraits.
Pro Tips & FAQs for Portable Spotlight Photography
- How to Control Unwanted Light Spill?If the spotlight beam is too broad, use black cardstock (flags) or dedicated accessories like barn doors to restrict the light spread and make it more focused. Barn doors are often included in kits like the GVM PD60B’s and are very useful.
- How to Deal with Fan Noise?Some portable spotlights can have fan noise at high power. If shooting interviews requiring audio recording, check for a silent mode (like the PD60B’s fan-off option, which limits max brightness), place the light slightly farther away, and use a directional microphone.
- How to Choose Backgrounds Wisely?Generally, clean dark or neutral backgrounds best accentuate the subject under hard light. Avoid cluttered backgrounds that distract.
- How to Direct Your Model for Hard Light?Since hard light is angle-sensitive, guide your model to make subtle adjustments in head and body posture to find the optimal light and shadow patterns. Help them understand the light’s direction and your intent.
- Is IP Rating Important for Outdoor Shoots?If you frequently shoot outdoors or in unpredictable environments, the light’s Ingress Protection (IP) rating is worth noting. For instance, the PD60B’s IP25 rating means it’s protected against low-pressure water jets from all directions (like light rain or splashes). This offers some peace of mind in damp or dusty conditions. While not submersible, basic protection is reassuring.
Conclusion: Pro Lighting Effects on a Budget with Your Portable Spotlight
Forget the myths about hard light being difficult or requiring expensive gear! A modern portable spotlight, especially a battery-powered one, is an incredibly valuable and versatile tool in your arsenal. It not only provides an affordable entry point into hard light portrait photography but its unparalleled portability and placement flexibility open up endless creative possibilities – whether in a fully equipped studio or on a remote location with no power in sight.
Embrace the power of hard light, master the art of shadow, and you’ll find that with a little creativity and this unassuming yet potent light, you can create remarkable, professional-grade work.

