Instagram video lighting for beginners is one of the fastest ways to make your Reels, Stories, and talking-head videos look professional. Flat, oily, or dark faces are rarely a camera problem—they are almost always a lighting problem.
The good news? You do not need expensive cinema gear. With a phone and low-cost continuous light, you can achieve clean, flattering results that improve watch time and make color grading easier.
Tabla de contenidos
Why Lighting Matters More Than the Camera
Modern phone sensors need light to produce sharp, low-noise images. Good lighting gives you:
- Higher completion rates (viewers stay longer)
- Easier color correction
- Better performance in the algorithm
Instagram is vertical (9:16) and often shot with the front camera. Avoid shooting with a bright window behind you—this creates silhouettes and forces the phone to underexpose your face.
3 Lighting Concepts Every Beginner Must Know
- Luz principal – The main light that shapes the face (usually placed at 45°).
- Luz de relleno – Softens shadows on the opposite side (can be a second light or a reflector).
- Rim / Hair Light – A light behind the subject that separates them from the background.
Also understand luz dura (strong shadows, more dramatic) versus luz suave (gentle, flattering, preferred for most Instagram content).
Solution 1: $0 Window Light Setup
Face a large window at roughly 45°. Use a sheer curtain as diffusion. Best times are golden hour or overcast days.
Common mistakes:
- Window behind you (backlight)
- Mixing window light with warm indoor bulbs
Upgrade: Use a white foam board as a reflector to bounce light into the shadow side of the face.
Solution 2: One-Light Setup (Under $80)
A single LED panel or compact monolight is enough for most talking-head, GRWM, and skincare content.
Place the light at 45° in front of you, set color temperature between 4800–5600K, and start around 40–60% power. Keep it slightly above eye level and angled down. This simple setup already looks far more professional than ceiling lights.
Solution 3: Two-Light Setup (Under $150)
Add a second light or reflector as fill at about one-third the power of the key light. Keep the background slightly darker than your face so you stand out. Look for lights with CRI 95+ to keep skin tones natural.
Solution 4: Three-Light Mini Studio
- Key light at 45°
- Fill light or reflector on the opposite side
- Rim light behind and slightly to the side
Mark your light-stand positions with tape so you can rebuild the setup quickly for batch filming.
Recommended Portable Light for Beginners: GVM CL100B
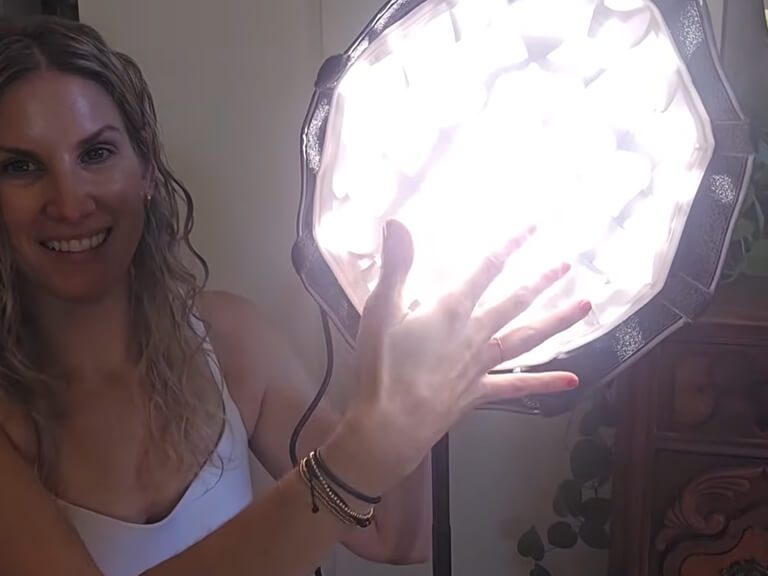
For creators who want more power and flexibility than a basic panel, the GVM CL100B is an excellent step-up option. It is a compact 100W bi-color LED monolight that weighs only 357 g—small enough to slip into a bag yet bright enough for serious Instagram work.
Key advantages:
- 100W output with 18,500 lux at 1 meter
- CRI/TLCI 97+ for accurate skin tones
- 2700–6800K bi-color range
- Three power options: DC adapter, NP-F batteries, or USB-C PD power bank
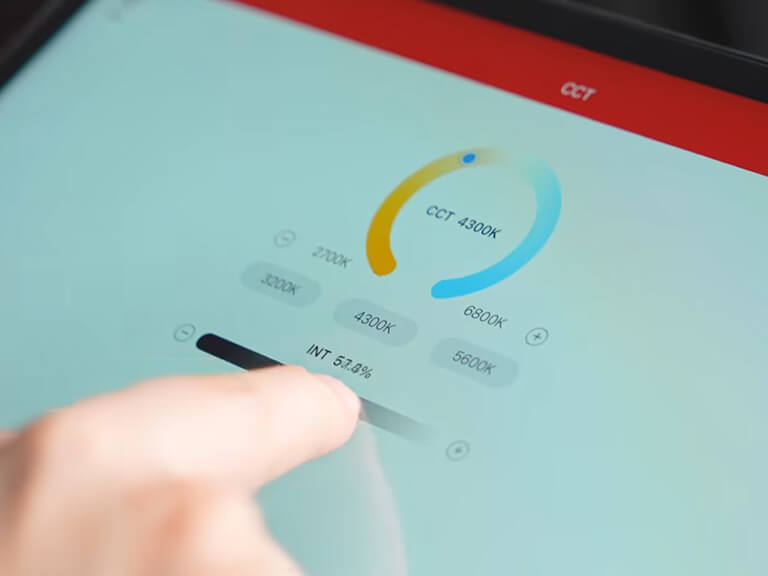
- Dual control: onboard knobs + GVM app with Bluetooth Mesh
- Includes silicone diffuser dome, small reflector, and tabletop tripod
- Quiet cooling with Smart / High / Silent modes
It works well on a desk for live streaming, on a stand with soft modifiers, or handheld for on-the-go content. The high CRI and portable power options make it especially practical for Instagram creators who shoot both at home and on location.
Product Snapshot Table
| Característica | GVM CL100B |
|---|---|
| Poder | 100W |
| Brillo | 18,500 lux @ 1 m |
| Precisión del color | CRI / TLCI 97+ |
| Temperatura de color | 2700–6800K bi-color |
| Peso | 357 g |
| Power Options | DC / NP-F battery / USB-C PD |
| Control | Onboard + App (Bluetooth Mesh) |
| Included Accessories | Diffuser dome, reflector, mini tripod |
| Mejor para | Instagram, vlogging, product, interviews |
Color Temperature & White Balance Tips
- 3200K = warm indoor look
- 5600K = daylight look (most versatile for Instagram)
Never mix different color temperatures in the same shot. Lock white balance on your phone and do a quick flicker test (record a short clip and check for banding).
6 Common Mistakes Beginners Make
- Relying only on ceiling lights
- Shooting with bright light behind you
- Mixing daylight and tungsten sources
- Placing a ring light too close (causes flat, shiny skin)
- No background separation
- Dirty phone lens
Quick Lighting Guide by Content Type
| Content Type | Recommended Approach |
|---|---|
| Talking head | Three-point or strong single key |
| Beauty / Makeup | Soft frontal light |
| Producto | Side light + reflector |
| Moody / Emotional | Low-key + strong rim light |
| Outdoor | Open shade or large diffuser |
Budget Roadmap
- $0 – Window light + white foam board
- $30–60 – One basic LED panel or ring light
- $80–150 – Two lights + simple stands
- Upgrade – Compact high-CRI light such as the GVM CL100B for more power and portability
Optional extras: RGB light sticks for creative backgrounds and a simple diffusion cloth.
Conclusión
Dominio Instagram video lighting for beginners does not require a big budget or a full studio. Start with window light, then add one good continuous light. Focus on placing a soft key light at 45°, keeping your face brighter than the background, and matching color temperature. A portable, high-CRI option like the GVM CL100B gives you room to grow from simple talking-head videos to more polished content—without outgrowing your setup in 2026.