Good photography lighting is the single biggest factor separating a beginner’s photos from work that looks professionally shot — and it has almost nothing to do with camera gear. Most people starting out assume they need an expensive camera body before results improve, when in reality a $50 kit lens under the right light will consistently outperform a $2,000 body under bad light.
This guide walks through what photography lighting actually covers, the types of setups worth knowing, and how to build a home lighting setup that gets you to professional-looking product shots without a studio.
Tabla de contenidos
Product Photography Lighting
Product photography has its own set of demands that differ from portrait or landscape work. The goal isn’t atmosphere or mood — it’s accuracy. A buyer needs to see a product’s true color, texture, and shape without distortion, which means product photography lighting needs to be even, color-accurate, and controllable enough to eliminate harsh shadows or blown-out highlights.
This is also where beginners run into trouble fastest. Overhead room lighting mixes color temperatures, window light shifts throughout the day, and a single desk lamp creates hot spots that no amount of editing fully fixes. Getting product lighting right at the source saves hours of post-processing later.
Types of Photography Lighting
Before building a setup, it helps to know the categories of gear actually in play:
- Continuous LED lighting — stays on at a steady output, letting you see exposure and shadow placement in real time. This is the most beginner-friendly category since there’s no guesswork involved.
- Flash/strobe lighting — fires a single burst timed to the shutter, offering high peak output but requiring more experience to judge exposure without test shots.
- Luz natural — window or outdoor light, free but inconsistent and dependent on time of day and weather.
- Practical light — lamps, string lights, or ambient room fixtures, useful for mood but rarely accurate enough for product work.
For most home setups — and especially for product photography — a bi-color continuous LED panel hits the best balance of control, consistency, and ease of use for someone still learning how light behaves.
Product Photography Lighting Setup
A simple, repeatable setup works better than an elaborate one for beginners. The core structure looks like this:
- Key light — one bi-color LED panel positioned at roughly 45° from the product, angled slightly downward.
- Fill — a white foam board or reflector on the opposite side to soften shadows without adding a second powered light.
- Background — a plain white or neutral seamless surface, which keeps focus on the product and simplifies later editing.
- Diffusion — a light box, softbox, or even a bedsheet between the light and the product to soften hard edges and prevent glare on reflective surfaces.
This four-part structure covers roughly 90% of product photography lighting needs without requiring multiple fixtures or a dedicated studio room.
Photography Lighting at Home
The advantage of a home setup is that it doesn’t need to look like a studio to function like one. A corner of a bedroom, a section of a garage, or even a kitchen table can work as long as the light source is controllable and consistent. The main things to manage at home are:
- Ambient light contamination — mixing daylight with your LED panel can shift color temperature unpredictably, so either shoot with curtains closed or match your panel’s Kelvin setting to the window light.
- Space constraints — a compact, lightweight panel matters more at home than in a studio, since it needs to tuck away when not in use.
- Repeatability — marking light and product positions with tape lets you recreate the same setup session after session without re-measuring every time.
El mejor kit de iluminación para fotografía para principiantes
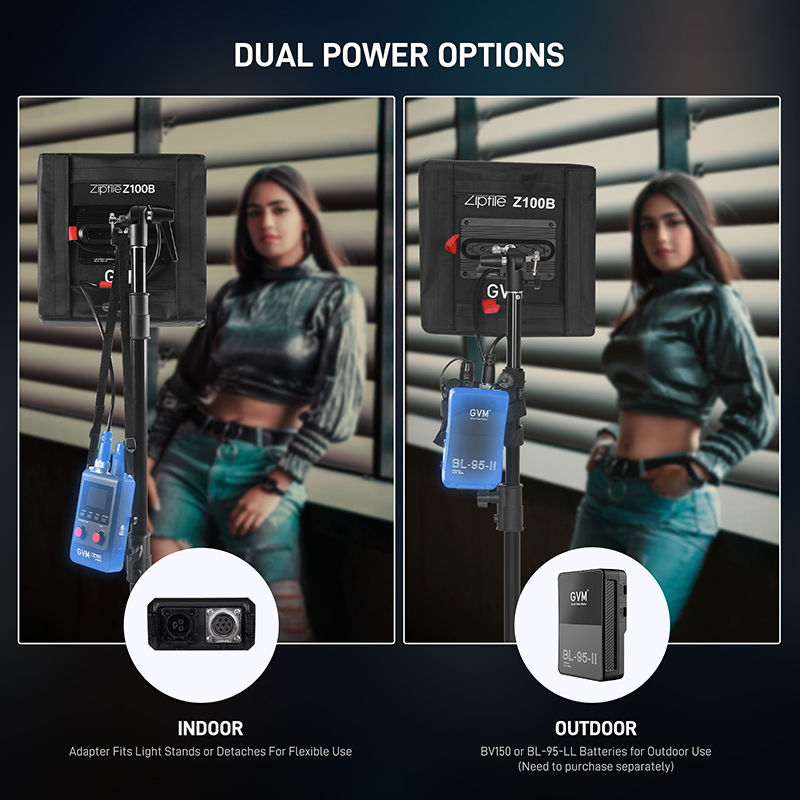
For someone just starting out, the ideal first light isn’t the most powerful one on the market — it’s the one that’s easy to control, portable enough to store, and accurate enough that colors don’t need heavy correction later. The GVM Z100B fits that description closely.
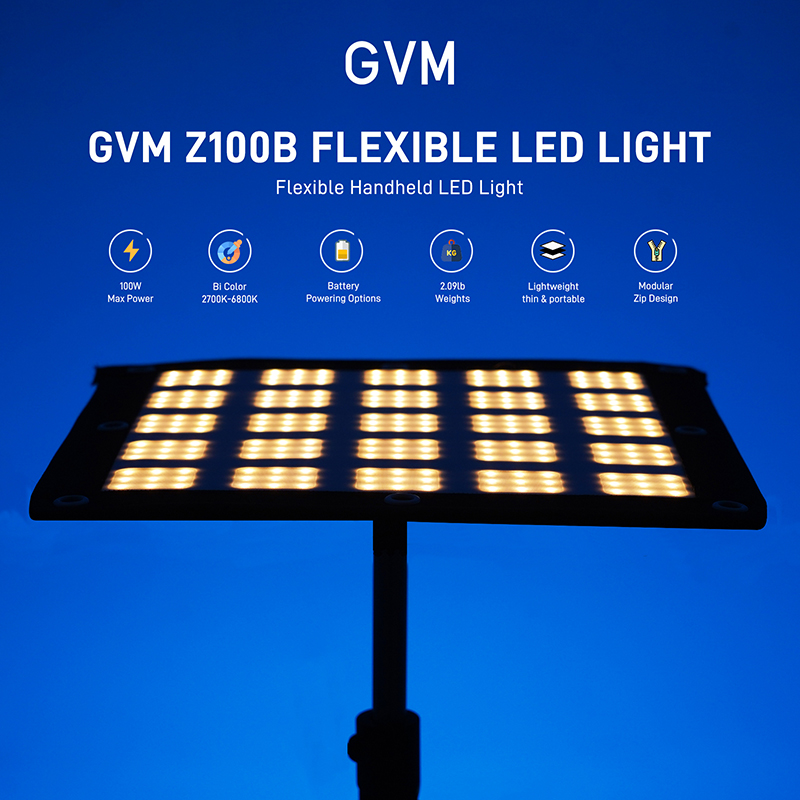
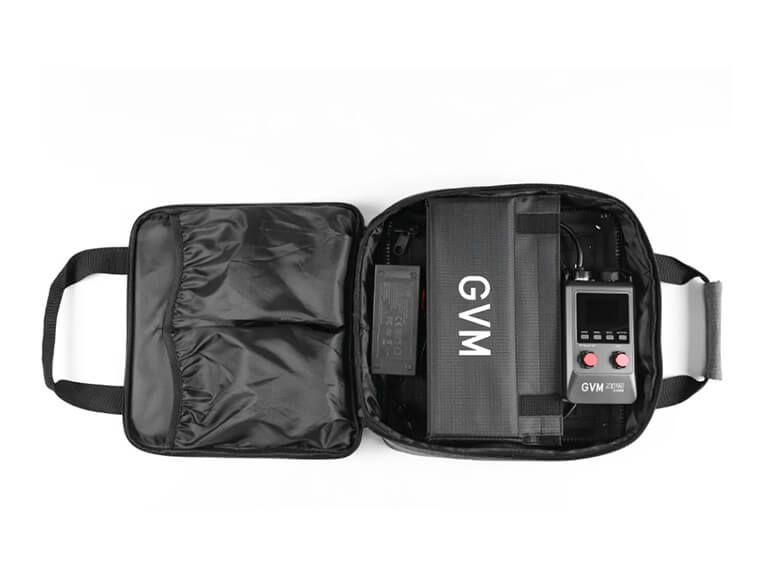
It’s a 100W bi-color LED panel with a fully tunable 2,700K–6,800K range, so it can match daylight, tungsten, or anything in between without needing gels. Twelve built-in lighting presets — covering sources from Tungsten and Daylight to Candlelight and Overcast Sky — let a beginner recreate accurate lighting conditions with one tap instead of guessing at manual settings. Its ultra-slim, lightweight body and integrated control box also mean there’s no tangle of external cables to manage on a small desk, and a zipper-based modular design lets multiple panels connect later if the setup ever needs to scale up.
| Característica | GVM Z100B |
|---|---|
| Poder | 100W bi-color LED panel |
| Temperatura de color | 2,700K–6,800K, fully tunable |
| Lighting Presets | 12 presets (Tungsten, Daylight, HMI, Candlelight, Overcast Sky, etc.) |
| Diseño | Ultra-slim, lightweight, integrated control box |
| Expandability | Zipper connection to link multiple panels, no tools required |
| Mejor para | Home studios, product photography, compact spaces, beginners |
Case Study: A Recent Graduate’s First Product Shoot
Consider a recent design graduate freelancing for the first time, tasked with photographing a small batch of handmade jewelry for an online shop — with no studio, no assistant, and a one-day deadline. Working from a cleared corner of an apartment, they set up a single Z100B on a desktop stand at 45° to the jewelry, added a white foam board as fill on the opposite side, and used a plain white poster board as a seamless background.
Instead of guessing at white balance, they switched the panel to its Daylight preset to match natural light coming through a nearby window, keeping colors consistent across every shot. The tunable brightness meant no blown-out highlights on reflective metal surfaces, and because the whole setup broke down into a bag afterward, there was no dedicated studio space needed before or after the shoot. The entire kit — one light, one reflector, one background — proved enough to deliver a full, color-accurate product set on schedule.
Conclusión
Building a home photography lighting setup doesn’t require a studio budget or years of experience — it requires understanding what each type of light does and choosing one fixture that’s flexible enough to grow with you. A single tunable bi-color panel like the GVM Z100B, paired with a reflector and a plain background, covers the vast majority of what a beginner needs for product photography lighting at home, and scales naturally once the work does too.