How to make up for physical flaws in portrait photography
When shooting portraits, the physiological defects of individual characters can be used with different light lighting, and take different shooting Angle to make up for them appropriately. The following several main remedial methods are now introduced now.
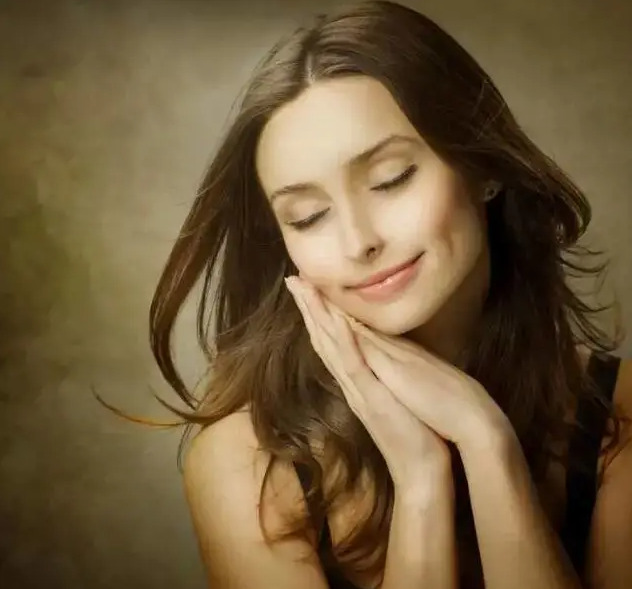
1.Face-shaped fat figure should not take the front image, the face can be slightly lateral, and appropriately improve the position of the camera, take a bent Angle shooting. The irradiation Angle of the main light should be slightly higher and slightly higher side, so that the projection on the face, can make the face appear thinner. For the thin face shape, it can be compensated for by the opposite method.
2.For people with different size of the eyes, according to the perspective principle, from the slightly side Angle, and make the smaller side of the eyes near the camera, you can take the smaller eyes a little larger, so that the size of the two eyes appear close. You can also use the light to handle, the specific method is, the larger eyes in the bright part of the smaller eyes arranged in the dark, in order to cover up the defect. For people with deep eyes, lower the main light and shoot with softer light. Shooting people with prominent eyes can reduce the line of sight appropriately, thus making up for the defect.
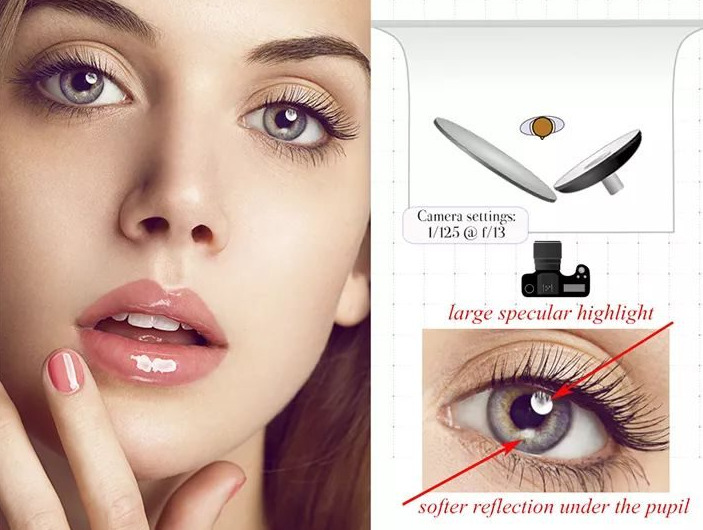
3.Match-synching characters, can take a slight Angle, and use different light to make up for.

4.For people with a too long nose, put the main light and the camera position down, and make the person’s head slightly higher to shoot from the front. The figure with a flat nose, should not take a side image, but to use the side light lighting, so that the side of the nose produces a shadow, it will not appear flat.

5.For people with a too long nose, put the main light and the camera position down, and make the person’s head slightly higher to shoot from the front. The figure with a flat nose, should not take a side image, but to use the side light lighting, so that the side of the nose produces a shadow, it will not appear flat.

6.For people with too many wrinkles on your face, lower the main light and use soft light to shoot from the side.

7.Shooting eyed eyes, it is easy to produce reflection, if he makes his head slightly lower. Push the frame slightly higher, and adjust the side auxiliary light to reduce the reflection on the glasses.
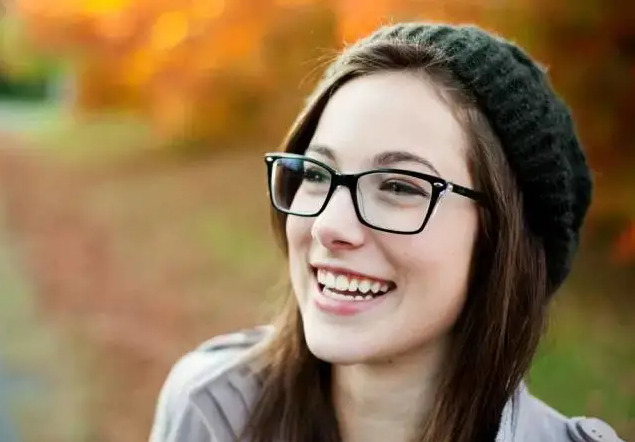
8.Other defects such as cheeks, forehead and eyebrows can be made up by changing the shooting Angle and adjusting the light position.
How to make good pictures for women
When taking naturally, the subject does not need to stare at the camera. In fact, the subject’s eyes are in the center of the lens, around 10 centimeters range, can take a positive photo, not necessarily not staring at the center of the lens.
Take a good photo, the subject does not have to laugh, in fact, a little smile, but the subject of the character don’t not forget to show the eyes, make the eyes full of brilliance, so as to appear spirit.
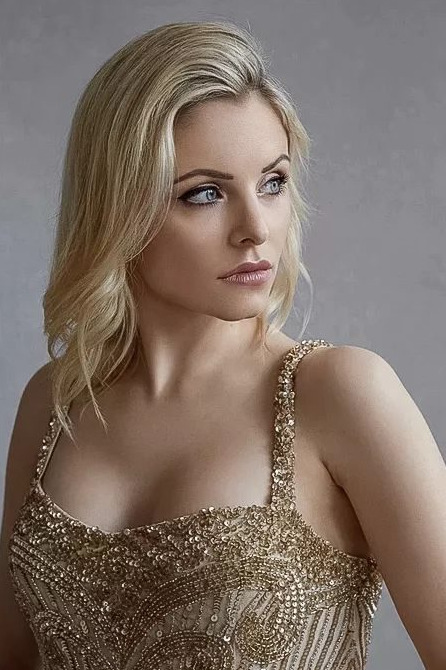
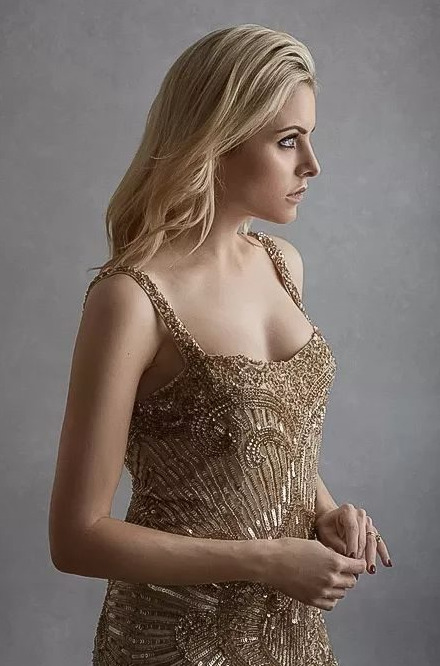
It is easier for the subject to pose with something in his hand. When taking photos, the subject body should be slightly straight chest, relax the shoulders, and, a certain shoulder end should be slightly inclined to the chest, because the slightly inclined standing posture has the natural beauty of women.
How to prevent red eyes
Photographs often have “red eyes” when photographing the subject in dark environments. At this point, photographers can use the digital SLR’s anti-red eye mode function to further alleviate the red eye phenomenon. In addition, photographers can also improve the indoor lighting situation, in order to narrow the pupils to reduce the “red eye” phenomenon.
How to shoot a good portrait photography
Keeping the position of the eye horizontal line is the easiest way to improve portrait photography. This method starts with the horizontal eye line of the subject. For example, when taking pictures of a young child, you should bend your knees so that the camera is roughly on the same level as the child’s eyes. When taking the subject is based on the eye horizontal line as the benchmark, the photo appears more “intimate”, because the viewer will feel the “eyes” of the subject, and the eyes are often the most vivid place for a person.
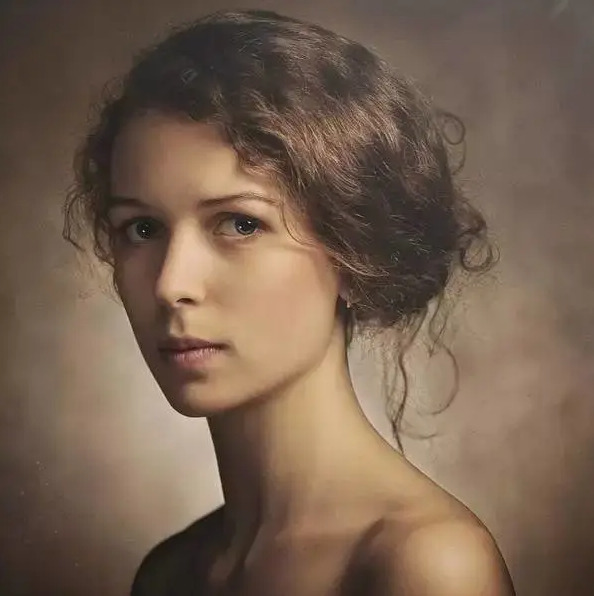
If you’re shooting indoors, make sure your model doesn’t stand too close to the wall when shooting, or the model’s shadow may be cast on the wall, making the photo look unprofessional. For outdoor shooting, it is recommended to separate the subject from the background as much as possible. At this time, we can choose to shoot with a large aperture to achieve the effect of blurring the background.
How to shoot clear characters in a backlight situation
If photographers want to use the very gorgeous sky before sunset as the background of portrait photography, and don’t want to make characters become silhouette effect, but use flash picture is not good enough, this situation, photographers can try to turn off the flash, the lens at the sky, and then half press the shutter, record the exposure of the sky or open the exposure lock on the camera, and then lens at the people, to photo composition, turn on the flash, with flash light illuminate the character. That way, the characters flash enough, but the sky behind the characters still looks good.
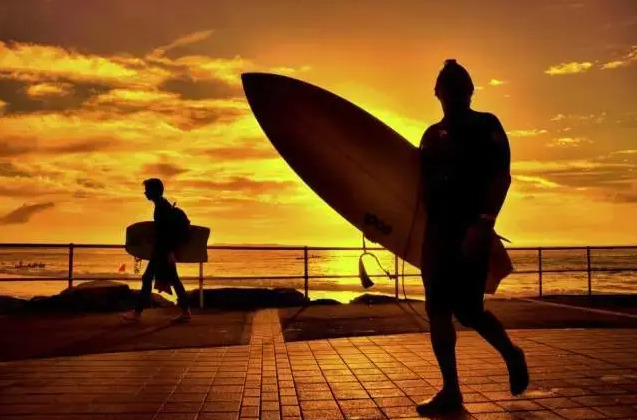
How to show a person still in the dynamic shadow
In order to highlight the effect of a person in the flow of people, then you need to arrange the people in the places with a large floating population, such as in the subway stations or in the rapidly changing bustling streets. To achieve this effect, a slower shutter speed is required, so it is best to have a tripod. After fixing the camera with a tripod, the appropriate exposure is then set so that the shutter speed is more than about 0.2s, and then the shutter is pressed.
At this point, the photographer can use the viewfinder to observe the effect of the shooting, and if the blur effect of the crowd walking in the background does not satisfy you, then the photographer can try to adjust the shutter speed and exposure value several more times. Of course, shooting this effect in the late evening block is more conducive to setting the exposure values, and photographers can enjoy taking photos.

How to capture the moment of the jump
To capture a jump moment, you first choose the jump subject and the background of the picture. Using the sky as the background enhances the overall effect of the picture. After selecting the photography location, attach the camera to the tripod, reduce the height of the tripod, and choose the composition. To capture the character’s leaping posture in the air, the photographer has to speed up the camera’s shutter speed. Of course, photographers can also play themselves, they need to use the camera’s selfie mode. First set the composition and exposure combination, and then set the selfie timer to 10 seconds. Next, the photographer can show their jumping posture in front of the camera.
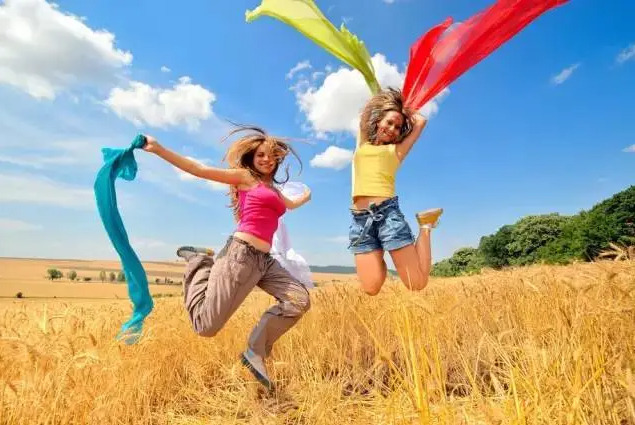
How to shoot a character silhouette
If you want to shoot the silhouette of the character, the photographer should first choose a location opposite the sun or other light source. The manual mode was then selected to determine the exposure values from the then environment. For the metering of the silhouette effect, the photographer can choose the point metering, and then aim at the light of the background to form the metering, using the exposure lock button to lock the exposure value. Next, the composition of the character subject is shot.

How to focus on sports photography
In sports photography, focus is a difficult skill to master, because the subjects of sports photography are very dynamic, very fast, photographers do not have much time to think about focus. The easier way for beginners is to use an autofocus system on the camera. While the autofocus system can quickly focus good focus, it cannot work if it is not used correctly. That is to say, only the purpose of accurate focus is achieved by leaving the subject properly in the ranging frame in the center of the viewfinder window. If the lens focal length of the camera is not very long and the viewing angle is large, it is easy for the moving subject to arrange in the ranging frame in the center of the viewfinder frame; If the lens of the camera is a telephoto lens above 200 mm, it may be difficult to track the subject and target the ranging frame. In order to adapt to this occasion, film friends may as well change the above habits, can temporarily do not consider the scope of the view frame, only use the ranging frame to track the subject, so that the feeling may be more relaxed.

Another common focus method for taking sports photos is pre-focusing, which presses the shutter of the camera when the subject enters a predetermined focus. Pre-focus is good for sports photography, for example, this is ideal for high jumpers flying over the bar. When shooting, you can first set the focus at a certain point where the athlete may cross the bar, and then lock the focus, so that it no longer moves back and forth. Finally, by pressing the shutter depending on the bar, the photographer can take sharp pictures.
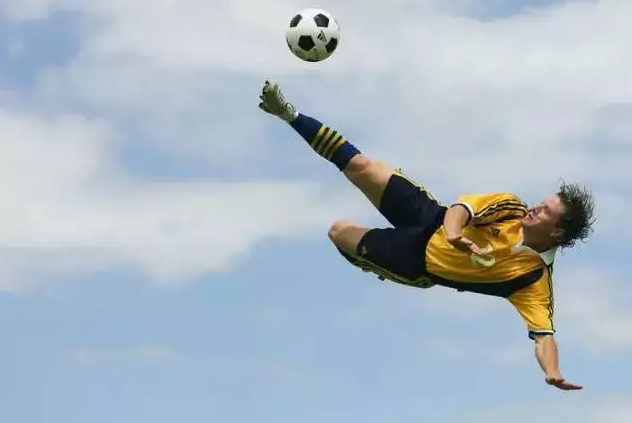
How to shoot the sprint sports project
The starting position of the sprint is strong and powerful, it should be shot with low Angle and side direction, pay attention not to let the athletes overlap before and after. When the starting bridge rings, the athlete’s right leg rushed out and his left leg just kicked off the ground is very expressive. Use an 85-135mm lens with a shutter speed of 1 / 250 seconds. The finish line is a wonderful moment of the sprint, with a shutter speed of 1 / 500 seconds. The shooting point is more flexible, in front of the finish line, directly in front of the finish line, high and low Angle are worth a try.
