Struggling with harsh shadows and unflattering light in your videos? Discover how to use a softbox to create soft, professional lighting. Follow our step-by-step guide and explore GVM’s easy-to-use softboxes for your studio today!
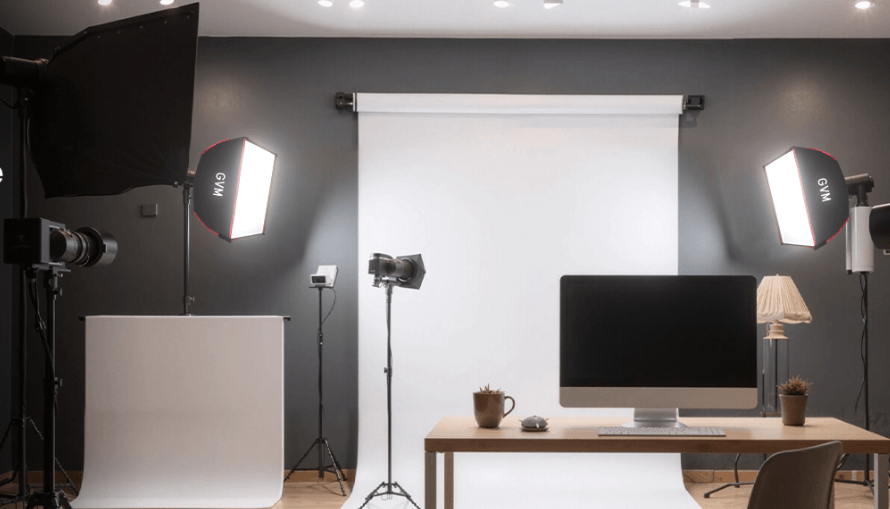
Table of Contents
How to Use a Softbox for Video Lighting: Soften Harsh Light in Minutes | GVM
Do your videos look harsh and shadowy, even with expensive lights? The problem isn’t your light. It’s how you modify it. A softbox is the single most important accessory to transform hard, directional light into soft, flattering illumination. In this guide, you’ll learn exactly how to use a softbox for video lighting, whether you’re filming YouTube videos, interviews, or product shots. Plus, we’ll show you how GVM’s quick-release softboxes make the process faster than ever.
What Is a Softbox and Why Do You Need One?
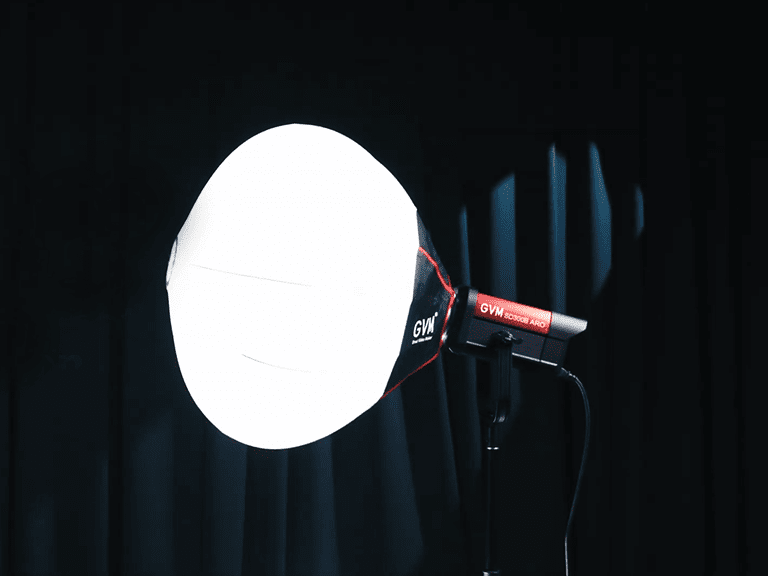
A softbox is a light modifier that attaches to your LED light or strobe. It works by bouncing light inside a reflective interior and passing it through one or more diffusion layers. The result? A large, even light source that wraps around your subject, reducing harsh shadows and softening skin textures.
Why every creator needs a softbox:
- Eliminates unflattering hard shadows on faces and products
- Creates a natural, window‑light look
- Reduces glare on shiny surfaces (glasses, jewelry, screens)
- Gives you a beautiful, square catchlight in your subject’s eyes
If you’ve been shooting with a bare LED panel or COB light, adding a softbox is the fastest way to elevate your production quality.
How to Choose the Right Softbox Lighting Kit for Your Needs
Not all softboxes are the same. Here’s what to look for:
1. Mount Type – Stick with Bowens Mount Softbox
The Bowens mount is the industry standard. It allows you to use the same softbox across different brands of lights. All GVM softboxes feature a standard Bowens mount, so they work seamlessly with GVM lights like the SD80D, SD200D, SD300D, as well as many other brands.
2. Size–Bigger = Softer
As a rule: the larger the softbox, the softer the light.
- 24”–36” (60–90cm): Perfect for interviews, YouTube videos, and small product shoots. Easy to move and store.
- 36”+ (90cm+): Ideal for full-body portraits, group shots, and professional studio work.
3. Shape–Square, Octagonal, 16-Sides(Deep Parabolic)or Lantern?
| Softbox Shape | Light Effect | Best Uses |
| Square/Rectangular | Clean, highly directional light, regular shadows | Product photography, simulating window light (precise control of light edges, highlighting product edges and textures) |
| Octagonal | Soft light, broad light field, smooth transitions | Portrait photography, fill light / top light (octagonal catchlight, softer than square, suitable for creating soft aesthetics) |
| 16-sided / Parabolic Deep | Soft yet directional: soft light with delicate shadow transitions, excellent directionality and highlight control, adjustable by changing distance | Fashion portraits, professional makeup styling, commercial advertising (combines the softness of a softbox with the “punch” of a reflector, producing a “crisp” rather than “muddy” texture, especially suitable for showing fine skin details) |
| Lantern / Spherical | Omnidirectional soft light: provides 180°-270° wrap‑around diffused light, almost no shadows | Filling large spaces, creating soft overhead light, softening ambient light (especially suitable for podcasts or scenes needing to fill ambient light) |
Step-by-Step: How to Set Up a Softbox for Video Lighting
Step 1–Assemble Your Softbox in Seconds
Traditional softboxes require inserting metal rods one by one-a frustrating, time‑consuming process. GVM’s quick‑release rod design changes that. Simply pull each rod outward until it clicks, and your softbox snaps into shape in under 30 seconds. To break it down, pinch the release latches and collapse the rods.
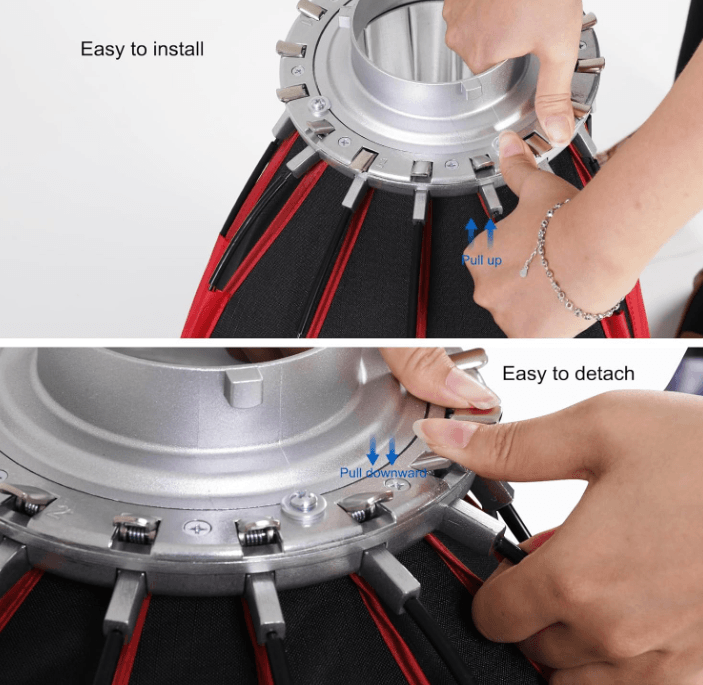
GVM quick-release softbox assembly in seconds
Step 2–Attach the Softbox to Your Light
Line up the Bowens mount on the softbox speedring with your light’s mount. Twist clockwise until it locks into place. Always double-check that it’s secure before lifting the light.
Step 3– Position Your Softbox for Flattering Light
For interviews and YouTube videos:
- Place the softbox at a 45°angle to your subject, slightly above eye level.
- Keep the softbox 2-3 feet away from your subject for soft, even light.
- Add a fill light or reflector on the opposite side to control contrast.
For product photography:
- Use one softbox as your main light at a 45°angle.
- Add a second softbox on the opposite side for fill, or use a white card to bounce light.
For a soft, overhead “studio” look:
- Mount the softbox directly above and slightly in front of your subject (45° down angle).
- This creates natural shadows under the chin and nose -very flattering for most face shapes.
Step 4 – Optional: Add a Honeycomb Grid for Directional Control
If you want a more focused beam (e.g., to light only your subject’s face and keep the background dark), attach the included honeycomb grid. It narrows the beam angle to about 45°, giving you precise control while maintaining softness.
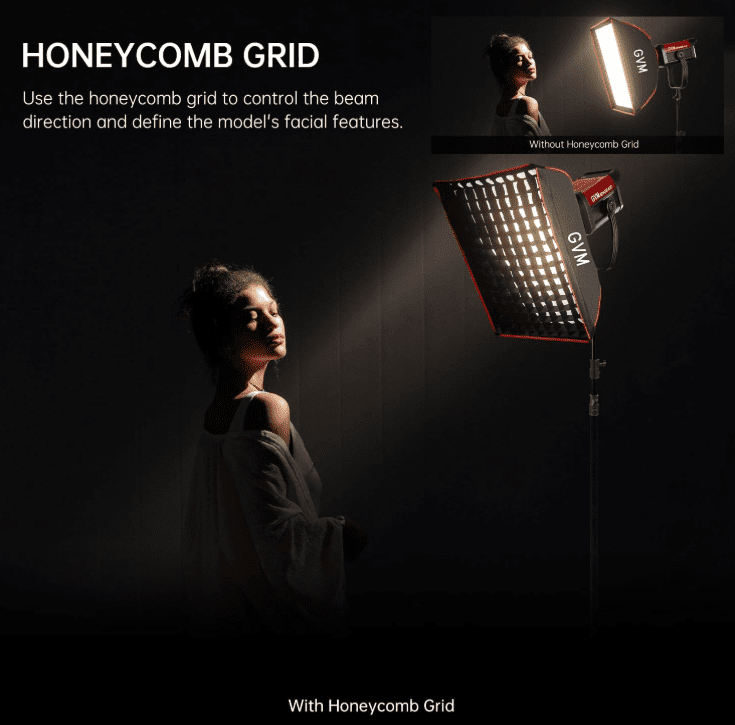
GVM softbox with honeycomb grid for directional lighting
Best GVM Softbox Photography Lighting Kits for Every Creator
All GVM softboxes feature quick‑release rod design, Bowens mount, and durable construction. Here are the top picks:
| Model | Size | Shape | Best For |
| GVM Portable Quick-Release Softbox (24″) | 24″ | Octagonal | YouTubers, streamers, on-location shoots |
| GVM Lantern Softbox (26″) | 26″ | Spherical | Interviews, podcasts, filling large rooms |
| GVM Deep Parabolic Softbox (35″) | 35″ | Octagonal deep | Professional portraits, commercial product shots |
Why GVM softboxes stand out:
- Ultra‑fast setup – no more fumbling with rods
- Lightweight & portable – includes a carrying bag
- Compatible with most lights – standard Bowens mount
- Accessories included – diffusion cloth and honeycomb grid
Common Softbox Mistakes (And How to Avoid Them)
Mistake 1 – Placing the Softbox Too Far Away
If your softbox is more than 5 feet from your subject, the light becomes smaller and harder. Keep it close – within 2-3 feet – for the softest results.
Mistake 2 – Using a Softbox Without Diffusion Cloth
Some softboxes ship with an inner baffle and outer diffusion cloth. Always use both layers for maximum softness. If you need more output, you can remove the inner baffle, but the outer cloth should always stay on.
Mistake 3 – Forgetting to Check Your Catchlight
Position your softbox so that the catchlight (the reflection in your subject’s eyes) appears in the upper half of the eye -not covering the pupil. This keeps eyes looking lively and natural.
Conclusion & Next Steps
Now you know how to use a softbox for video lighting – from choosing the right size to setting it up for interviews, YouTube, or product shoots. The jump from harsh, unflattering light to soft, professional illumination is just one accessory away.
Ready to soften your light and elevate your visuals? Check out our full collection of GVM softbox lighting kits to find the perfect match for your studio.