It can be disheartening to come home from a photoshoot only to find the photos don’t quite meet your expectations, feeling like a crucial element is missing. This happens often, especially when you’re just starting your photography journey. To overcome this challenge, you need to build a repertoire of portrait photography techniques, particularly mastering the use of beautiful lighting.
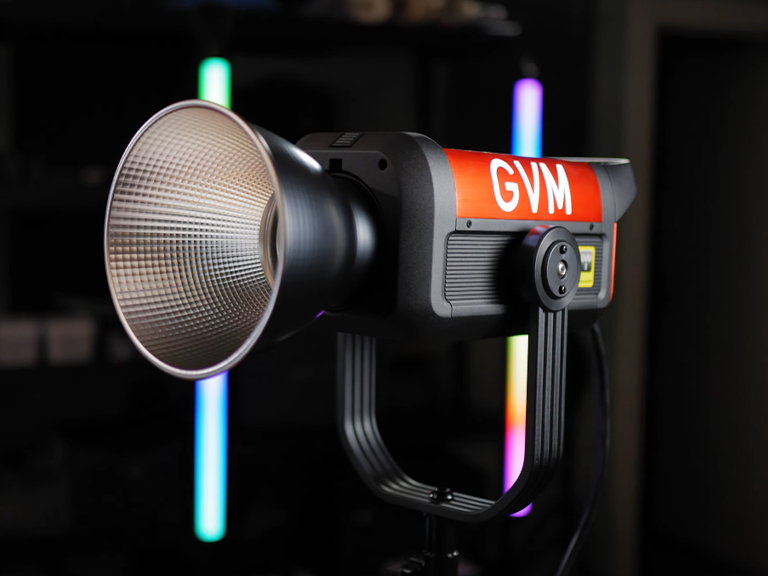
For beginners, portrait lighting techniques might seem daunting, but they aren’t as complex as they appear. As you explore further, you’ll notice many photos share similar lighting principles, just with different subjects. So, what techniques are worth learning? Let’s dive into the key aspects of portrait lighting, using the GVM SD500B as our example.
Using continuous LED studio lights like the GVM SD 500B for portrait photography offers many benefits. The most obvious is “what you see is what you get” (WYSIWYG) – you can instantly see how shadows fall and how light shapes your subject, allowing for real-time adjustments to achieve the final look. Plus, the ability to seamlessly switch between stills and video without changing your lighting setup is a significant advantage. This post will explore practical techniques using the GVM SD500B, incorporating insights to help you avoid common beginner mistakes.
Tip 1: Master Main Light Placement & Embrace Softness (Avoid Common Pitfalls)
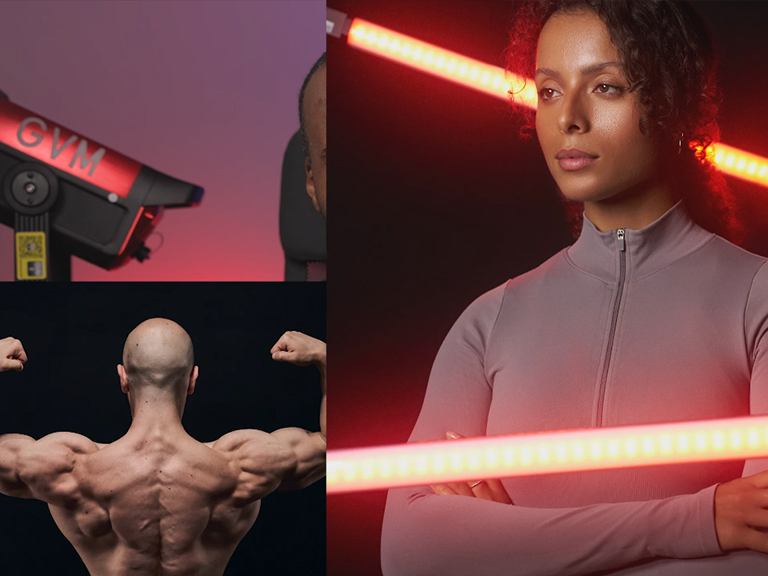
A classic and highly effective portrait lighting setup involves a single, large, soft light source. Imagine a scene with a textured, hand-painted backdrop, illuminated primarily by a GVM SD500B. This powerful 500W bi-color LED spotlightisn’t just bright (up to 81,300 Lux @ 1m), but also boasts excellent color accuracy (CRI 97+ & TLCI 97+), ensuring faithful reproduction of skin tones and clothing colors.
To achieve that soft quality of light, attach a large, quick-open softbox(like a Para 120 size or larger) using its universal Bowens mount. The GVM SD500B’s high power output ensures you have ample brightness even with large modifiers. Furthermore, its precise 0%-100% brightness adjustment in 0.1% incrementsgives you fine control over intensity for the perfect exposure.
Crucial Tip 1: Avoid Placing Lights Too High & Ensure Catchlights.A common beginner mistake is positioning the main light too high, which fails to illuminate the area above the subject’s eyelids, leaving the eyes looking dull. When using the SD500B with a softbox, pay attention to the light’s height (easily adjusted with its 360° U-bracket). Lower it until you see a clear reflection of the light source (the catchlight) in the model’s eyes and proper illumination above the eyelids. This instantly adds life to the portrait.
Crucial Tip 2: Mind the Shadows & Add Fill Light When Needed.While a single light setup is simple, it can often create deep shadows on the side of the face away from the light, losing detail. Although the GVM SD500B provides quality light, for a more refined look, consider using a reflectoron the shadow side to bounce some light back, or add a secondary, lower-powered light sourceas fill. This isn’t always necessary but significantly enhances the photo’s polish by softening shadow transitions.
Tip 2: Add Rim Light for Separation (Don’t Let Your Subject Blend In)
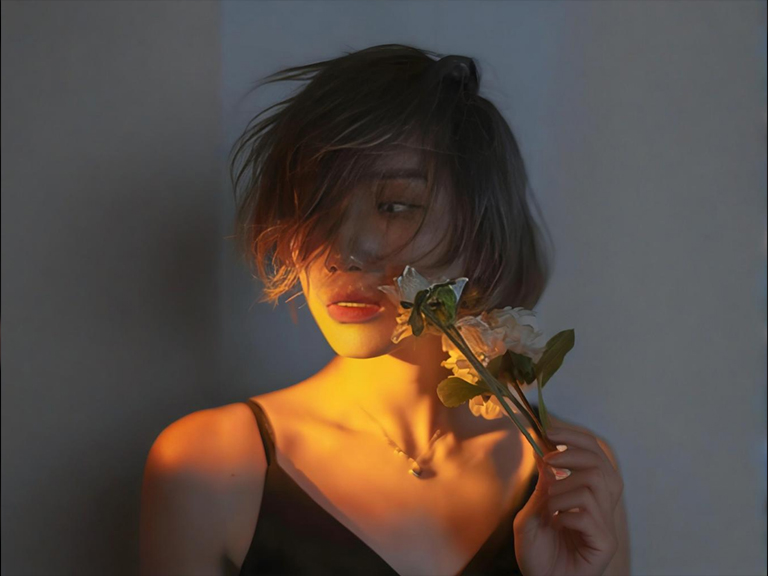
Crucial Tip 3: Prevent Subject-Background Merging.Often, photographers focus solely on lighting the subject and neglect the relationship between the subject and the background. If the subject’s hair, clothing, or overall brightness is too similar to the background, they can visually blend in, losing depth and dimension. To make your subject pop and add depth, a rim light (or hair light) is a common and effective technique.
Consider placing the GVM SD500B(or another light source) behind and slightly to the side of the subject, or slightly above and behind. If using only one SD500B as the main light, you can still create separation by using its Bowens mountwith modifiers like a standard reflector with a grid, or by using flags or gobosto carefully control the main light, creating a subtle light edge along the subject’s silhouette. Remember to keep rim lights subtle; their intensity should generally be lower than the main light. The GVM SD500B’s dual silent fan design (noise under 40dB)ensures quiet operation even at 100% brightness, allowing close placement without worrying about fan noise.
Tip 3: Experiment Boldly with Light & Modifier Placement
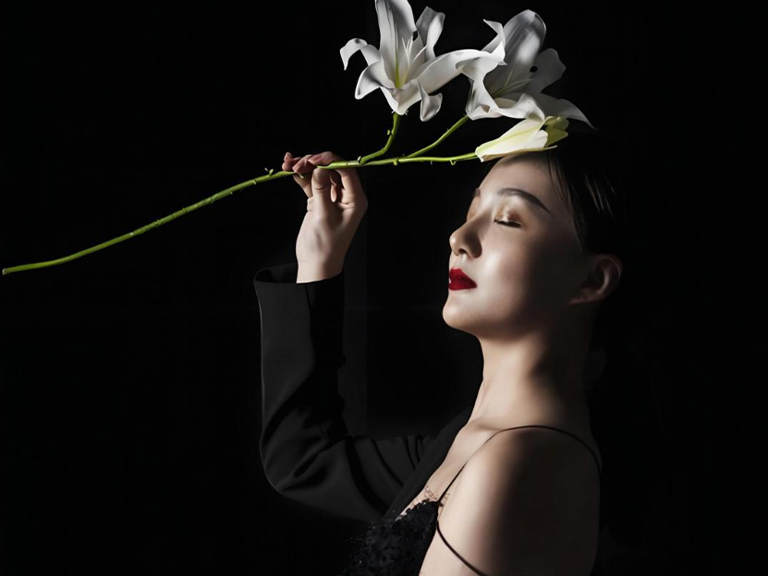
A key part of growing as a photographer is the willingness to experiment. Try something new on every shoot to expand your creative boundaries. Leverage the GVM SD500B‘s potent 500W output and its 360° adjustable U-bracketto explore unconventional lighting positions. For instance, try placing the SD500B with a large softboxbehind the top edge of a backdrop (like a red seamless paper) to mimic the sun setting below the horizon. Or go bolder and use the softbox itself as an illuminated background. Its convenient APP control functionality(via Mesh Bluetooth networking) allows you to easily adjust brightness and color temperature remotely from your camera position, greatly speeding up experimentation. Plus, the SD500B’s rainproof designprovides extra peace of mind when attempting creative setups outdoors or in environments with a slight splash risk.
Tip 4: Shape Creative Lighting with Modifiers & Effects

Exploring light shaping possibilities is an effective way to elevate your work. The GVM SD500B‘s universal Bowens mountopens up endless opportunities here. You can attach various light shaping tools like standard reflectors, snoots, Fresnel lenses, or even Bowens-compatible projection attachments(available separately) to precisely control the beam’s shape, size, and focus. Imagine projecting patterns (like window blinds or foliage) onto your model or background using a projection attachment. The SD500B’s strong output ensures you have enough light even when using modifiers that reduce efficiency.
Furthermore, don’t forget to explore the SD500B’s built-in 12 dynamic lighting effect modes(like Lightning, Candle, TV Screen, Fire, etc.) and 12 light source matching modes. These presets can add drama or specific ambiance to your videos or stills, expanding your creative expression. Its DMX controlcapability (supporting 8-bit and 16-bit precision) also offers professional solutions for complex scenes or integration with other lighting systems.
GVM PRO SD500B LED Studio Light: Specifications at a Glance
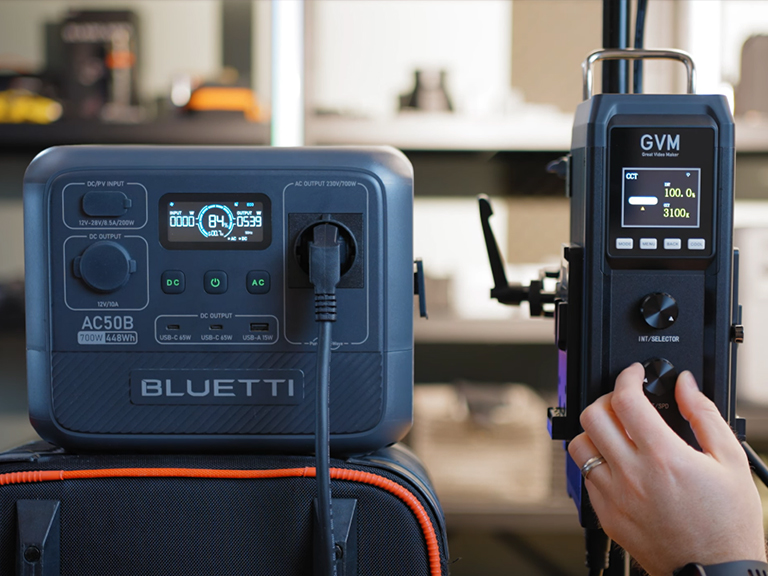
To give you a comprehensive overview of this powerful tool, here are the key technical specifications for the GVM PRO SD500B:
| Feature / Specification | Details |
| Power Output | 500W |
| Max Illuminance | 81,300 Lux @ 1m (Data with standard reflector, may vary with modifier) |
| Color Temperature Range | Bi-Color Adjustable (Typically 2700K-6800K for GVM Pro models) |
| Color Accuracy | CRI: 97+, TLCI: 97+ |
| Brightness Dimming | 0 – 100% (0.1% increments) |
| Cooling System | Dual Silent Fans (Noise < 40dB @ 100% Brightness) |
| Mount Type | Standard Bowens Mount |
| Control Methods | On-board LCD, GVM App (Mesh Bluetooth), DMX512 (8/16-bit) |
| Special Effects | 12 Lighting Effect Modes, 12 Source Matching Modes |
| Durability & Stability | Rainproof Design, 10-Hour Stable Data Output |
| Mounting | U-Bracket, 360° Adjustable |
| Power Source | AC Power (Confirm specific voltage range) |
*(Please note: Some specific values should be confirmed with the final official GVM product information)*
Conclusion: Elevate Your Portraits with the Right LED Studio Lights
We sincerely hope this exploration of portrait photography using the GVM SD500Bhas been helpful. This powerful, color-accurate, and feature-rich continuous LED studio lightis undoubtedly a capable tool for photographers and videographers seeking creative expression. By mastering basic techniques, avoiding common pitfalls, and continuing to experiment, you can unlock its potential and create stunning portrait work.
Thank you for checking out GVM’s tutorials and blog posts.

