Hey everyone, Peter the photographer here. I’m really excited to have this opportunity, thanks to GVM, to share some of my initial experiences and thoughts on the brand new GVM-PRO-SD300B Bi-Color LED Spotlight.
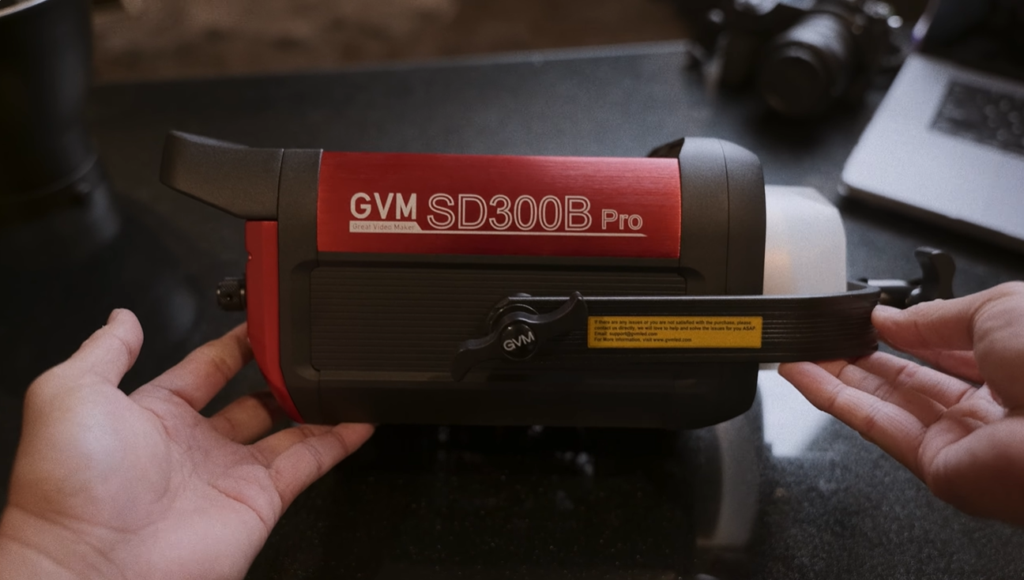
For those of us passionate about shaping light, getting hands-on with a powerful new lighting tool always sparks that creative fire. That feeling was definitely strong when the GVM-PRO-SD300B landed in my studio.
Right out of the box, I have to say, this 300W spotlight is easily the most powerful LED fixture I’ve personally worked with to date. Compared to the typical 80W or 150W units many of us started with or use for everyday shooting, the SD300B represents a significant, professional-grade step up – in terms of sheer output, control precision, and overall build quality. My first impression? This is a robust tool built for serious creative work.
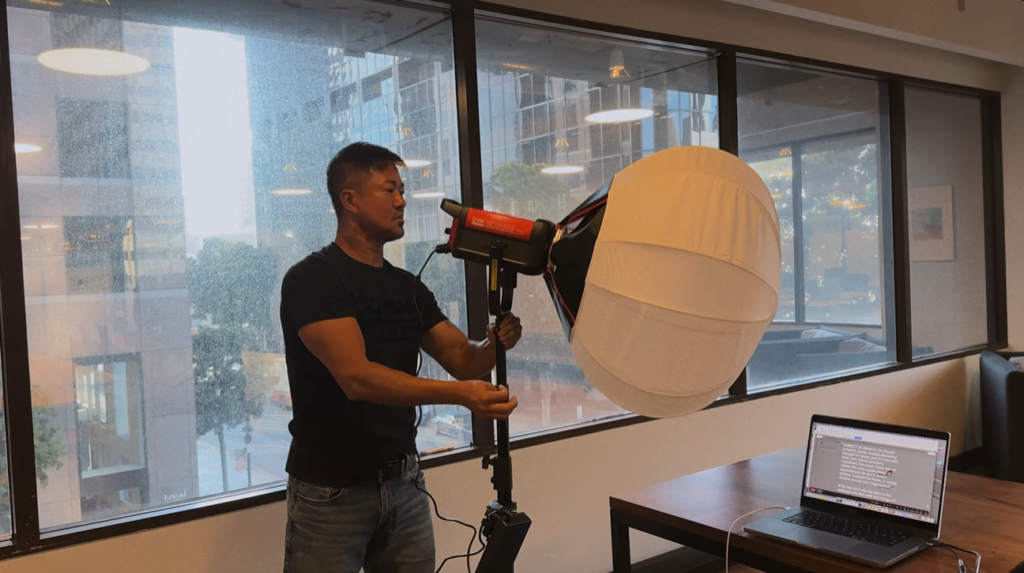
In the discussion ahead, I’ll dive deeper into the features of the GVM-PRO-SD300B, share some practical tips and insights from actually using it on shoots, and I’ll also walk you through my essential guide on how to set up a photography studio lighting kit – advice that’s valuable whether you’re considering this specific light or just getting started with studio illumination. Hopefully, this provides some valuable insights for all you fellow photographers out there.
Why This GVM SD300B? The Smarts Beyond the Specs
Beyond the strong fundamentals, this is where the SD300B truly differentiates itself from simpler, lower-powered lights, integrating features indicative of serious production work – feeling less like just a light and more like the “small computer” mentioned in the reference info:
Robust and Professional Performance:
- It delivers a solid 300W power output, meeting the brightness demands of various shooting scenarios. Crucially, it provides that essential power reserve needed when battling bright ambient light, overpowering the sun outdoors, or illuminating a large space.
- Features high color accuracy (CRI/TLCI 97+) coupled with smoothly adjustable bi-color temperature. This ensures accurate colors, streamlines post-production, and eliminates the hassle of using gels.
Comprehensive Pro-Level Control Features:
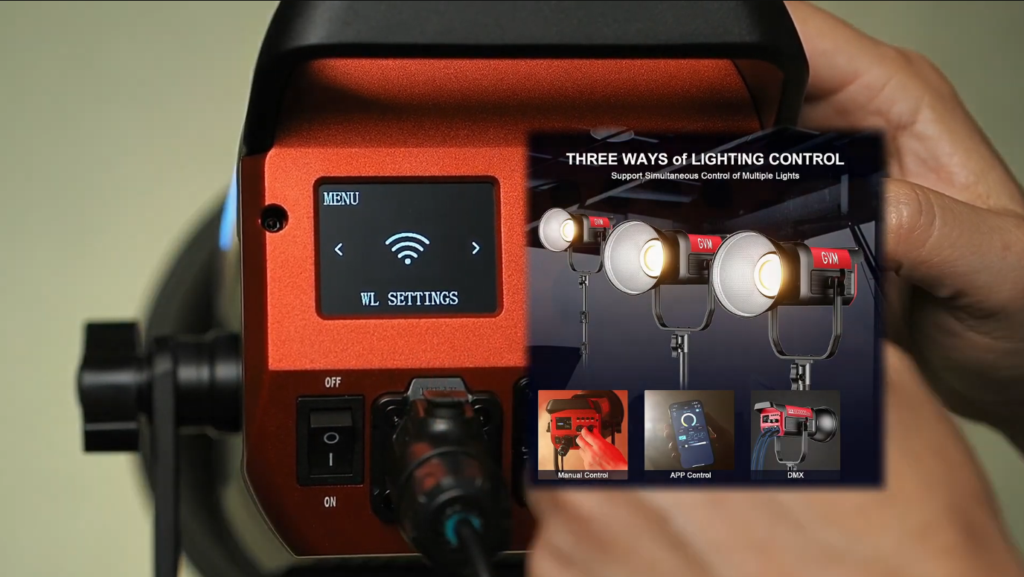
- It goes beyond basic lights, offering professional features like DMX control (8/16-bit), multiple cinematic dimming curves, and an anti-flicker frequency setting – essential capabilities for serious filmmaking workflows.
- Convenience features like Source Match mode and 12 built-in lighting effects are also included, boosting creative efficiency.
- Despite the advanced options, the basic intensity and color temperature controls remain intuitive and easy to use.
Solid Build & Flexible User Experience:
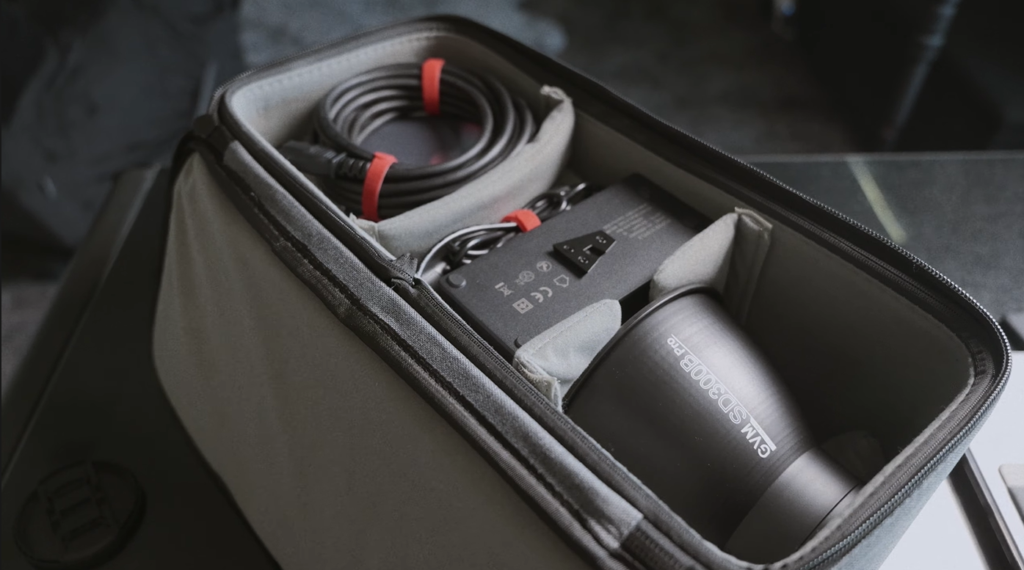
- Built with a sturdy aluminum construction, it feels reliable and comes with a durable carrying case and a convenient handle.
- V-mount battery support (adapter likely needed, power may be limited) adds portability for on-location shoots, and the power adapter can even be neatly attached.
- The standard Bowens mount ensures compatibility with a wide range of light modifiers – a huge plus for anyone building or expanding their photography studio lighting kit.
- An intelligent cooling system with adjustable fan modes (Silent/High/Smart) balances performance, stability, and the need for a quiet shooting environment.
Outstanding Value Proposition:
- Priced significantly lower than many comparable competitors, it offers the professional-level performance, features, and build quality mentioned above, making it an exceptional value choice.
This is where the SD300B really distinguishes itself from more basic, lower-power lights. It incorporates numerous features indicating it’s designed for serious filmmaking and professional workflows. It feels less like a simple lamp and more like, as mentioned before, a ‘small computer.’
Now, let’s cover setting up your photography studio lighting kit. Whether it’s this pro-level GVM or a starter kit, the basics are essentially the same. I’ll draw on my decades of experience to provide tips useful for beginner photography enthusiasts and perhaps a helpful refresher or new insight for advanced photography enthusiasts.
Unboxing & Preparation: A Meticulous Start for a Smooth Process
Hold your horses before diving right in! As the saying goes, sharpening the axe doesn’t delay the chopping. Getting the prep work right makes everything that follows much smoother. I know the excitement of wanting to power up a new piece of gear immediately, but trust me, taking a few moments here prevents a lot of potential frustration down the line. I call this “laying the groundwork.”
Keywords: unbox lighting kit, check photography equipment, studio safety
My Unboxing Ritual: Inventory and Inspection
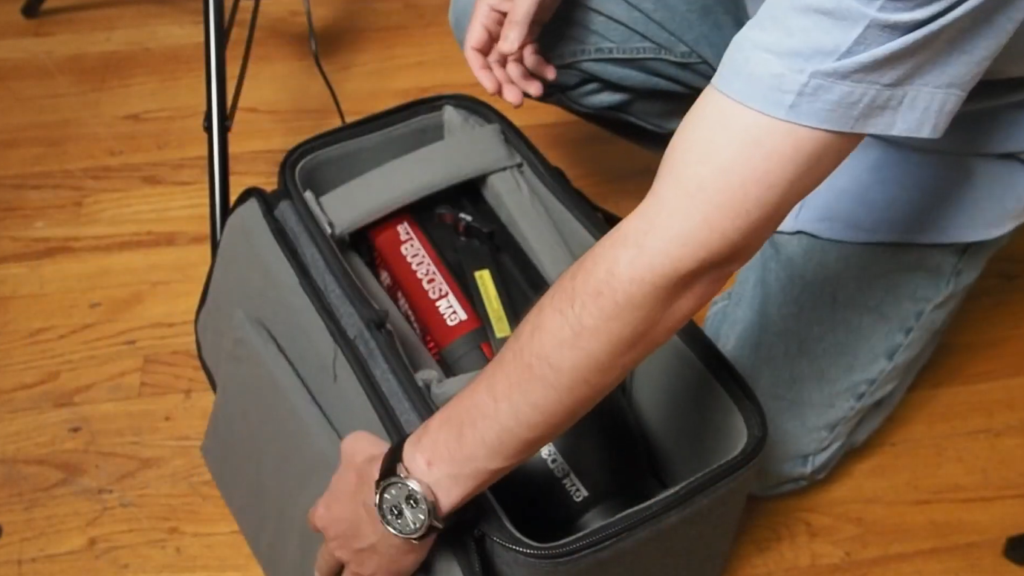
This is my standard practice, and I strongly recommend it: grab the manual or packing list and lay everything out. Carefully cross-reference each item. Ensure nothing is missing and, crucially, inspect for any shipping damage right away. If you spot an issue, take photos immediately and contact the seller. Typically, you’ll find components like:
- Light Head
- Light Stand
- Power Cable
- Modifier (e.g., Softbox, Umbrella)
- Mount/Speedring (Key for attaching modifiers)
- Trigger/Receiver (For wireless kits)
- Bulb/Flashtube (If not an integrated LED like the SD300B)
Peter’s Tip: Document any scratches or dents found during unboxing immediately. For smart lights like the GVM Pro-SD300B, this is also the perfect time to check if a firmware update via the app is recommended – sometimes new firmware offers performance boosts or added features. I always like to lay all the parts out and snap a quick photo for easy reference.
Get Acquainted with Your New Gear: Component Familiarization
Don’t just look – handle each component. Feel the build quality, understand its function. How do the locking mechanisms on the stand work best for stability? How does the speedring attach to the light head’s mount? What do the buttons and ports on the light head do? Spending a few minutes familiarizing yourself will make assembly much more intuitive.
Choose Your “Lighting Stage”: A Safe Workspace
You need enough room not just for assembly, but also for maneuvering lights later. Find a space that’s spacious, dry (electrical safety is paramount!), and has a level floor. Ensure reliable power outlets are nearby (a high-quality, grounded power strip is my preference). Most importantly: avoid high-traffic walkways! Light stands and cables are notorious tripping hazards in a studio environment.
Safety First: My Key Reminders
This isn’t just nagging; it’s learned from experience and crucial for protecting yourself and your gear:
- Dry Hands: Always ensure your hands are dry when handling electrical equipment.
- Heat Hazard: Light heads (especially powerful continuous lights or modeling lamps) get very hot during operation. Always allow them to cool down completely before touching, disassembling modifiers, or packing them away. Don’t risk burns or damage.
- No Brute Force: If something isn’t fitting correctly during assembly, stop and check the alignment. Forcing components will only damage mounts, threads, or the light itself. Be gentle and precise.
- Bulb/Tube Installation (If Applicable): If installing glass bulbs or tubes, use gloves or a clean, soft cloth. Oils from your hands can shorten bulb life or even cause shattering at high temperatures.
Let’s Get Assembling: Building Your “Light Shaping Weapon” Step-by-Step
With preparations complete, it’s time to assemble! Follow these steps, and you’ll find it’s quite straightforward.
Keywords: assemble light stand, mount studio light, attach softbox, set up photography umbrella, connect strobe trigger
Step 1: Solid Foundation – Setting up the Light Stand
The stand supports everything; stability is non-negotiable.
- Spread the Legs: Loosen the locking knob at the base of the stand. Spread the three legs outward fully to create the widest, most stable base, then tighten the locking knob. Peter’s Experience: A wobbly stand is one of the most common studio hazards – don’t cut corners here.
- Raise the Stand: Stands typically have telescoping sections. Start with the lowest, thickest section. Loosen its lock (lever or knob), extend the inner tube to your desired height, and securely tighten the lock. Ensure it won’t slip down under weight. Repeat for upper sections to reach your target height.
- Initial Placement: Roughly position the assembled stand where you plan to place the light.
Step 2: Mounting the Light Head – The “Brain” Goes On
Time to attach the light source itself.
- Check the Mounts: Identify the mounting bracket on the bottom of the light head (usually a hole with a tightening screw) and the standard spigot/stud on top of the light stand (often a 16mm male connector).
- Align Vertically: Carefully lift the light head (use two hands for heavier units like the SD300B) and align its bracket vertically over the stand’s spigot. Slide it down smoothly.
- Tighten Securely: Locate the tightening screw or knob on the light head’s bracket and tighten it until the head is firmly secured and doesn’t wobble or rotate. Quick Check: Gently nudge the light head to confirm it’s stable.
Step 3: Installing the Bulb/Flashtube (If Necessary)
Note: If you have an integrated LED light like the GVM Pro-SD300B, congratulations, you can skip this step! For other types:
- Power Off! Ensure the light head is disconnected from power.
- Consult the Manual: Installation methods vary (bayonet, pins, screw-in). Always follow your specific light’s instructions.
- Align & Gentle Pressure: Use gloves or a cloth. Carefully align pins, grooves, or threads and gently push or twist into place. Never force it.
- Modeling Lamp (If Applicable): Usually screws in like a standard bulb.
- Remove Protective Cover: Many strobes ship with a protective cap over the flashtube. Crucially, remove this before attaching any modifiers or applying power!
Step 4: Attaching Modifiers – Shaping the Light
Softboxes and umbrellas are key tools for altering light quality.
- Assembling and Mounting a Softbox: Often the trickiest part for beginners, but gets easier with practice:
- Identify the Speedring: Ensure its mount type matches your light head (e.g., Bowens mount is common).
- Insert Support Rods: Place the flexible support rods into the corresponding holes or slots on the speedring.
- Expand the Box: This might require some finesse. Lay the softbox fabric flat, speedring in the center. Working diagonally is often easiest: bend a rod attached to the ring and insert its free end into the corresponding pocket or loop on the fabric edge. The last couple of rods will require more effort – use leverage carefully. The tension from the rods should hold the box shape.
- Mount to Light Head: Align the assembled softbox (with speedring) to the light head’s mount, then twist or engage the locking mechanism until it clicks or feels secure.
- Attach Diffusion Panels: Install the inner baffle first (usually attaches with hooks or Velcro inside), then the outer diffusion panel (usually attaches via Velcro around the edge). Two layers provide the softest light.
- Mounting an Umbrella (Reflective or Shoot-Through): Much simpler:
- Open the umbrella.
- Find the Umbrella Mount: Locate the dedicated hole on the light head or stand adapter designed for an umbrella shaft.
- Insert and Secure: Slide the umbrella shaft through the hole and gently tighten the small locking screw next to it to hold the shaft in place.
Quick Tip: Shoot-through umbrellas (translucent white) diffuse the light passing through them. Reflective umbrellas (silver/gold/white interior) bounce the light fired into them back towards the subject; silver is punchier, gold is warmer, white is neutral.
Step 5: Connecting Power & Triggers – Making it Work
The final step to bring your light to life and under control.
- Power Up:
- AC Power: Securely connect the power cable to the light head and a reliable wall outlet or power strip. Peter Recommends: Use a surge protector for added safety for your valuable gear.
- Battery Power (e.g., GVM V-Mount Option): Ensure the battery is charged and correctly attached according to the manufacturer’s instructions. Remember that battery power might limit the maximum output.
- Trigger Setup: How do you tell the light to fire when the camera does?
- Wireless Triggers (Most Common):
- Install batteries in the transmitter and slide it onto your camera’s hot shoe, locking it down.
- If using an external receiver, connect it to the light head’s sync port. Many modern lights (like the GVM Pro-SD300B) have built-in receivers – activate according to the manual.
- Critical Step: Ensure the transmitter and all receivers (or lights with built-in ones) are set to the exact same Channel. If using Groups, match those too. Consult your trigger manual carefully!
- Wired Sync: Connect the camera’s PC sync port (or hot shoe adapter) to the light’s sync port. Reliable, but the cable limits movement.
- App Control (e.g., GVM Pro-SD300B): Connect via Bluetooth using a smartphone app for control, often eliminating the need for separate triggers.
- Wireless Triggers (Most Common):
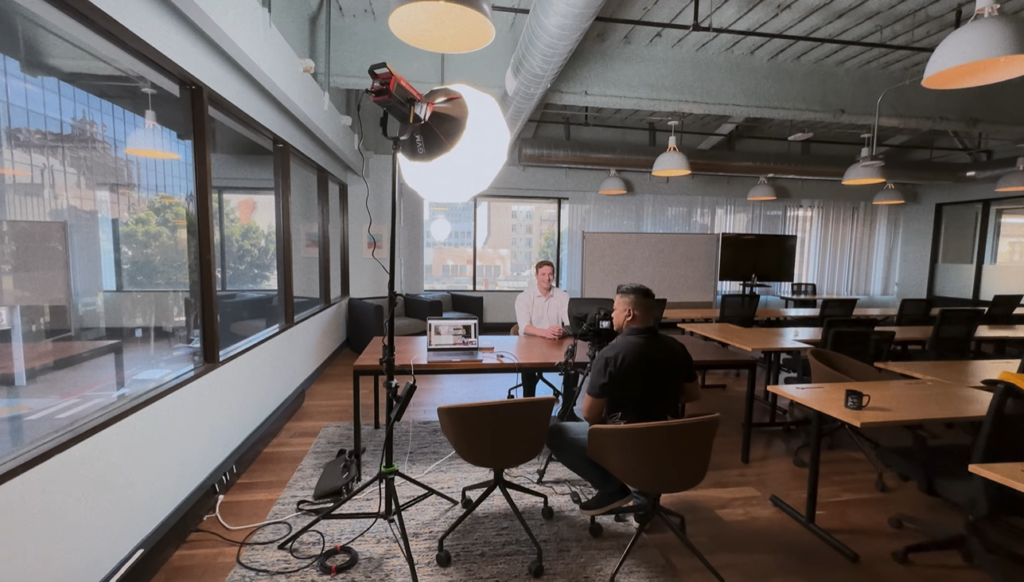
The Moment of Truth: Powering On & Basic Testing
Assembly complete! Now for the exciting part – let’s see if your new light-shaping tool is working correctly.
Keywords: test studio lights, strobe not firing, check modeling light
The Power-On Ritual
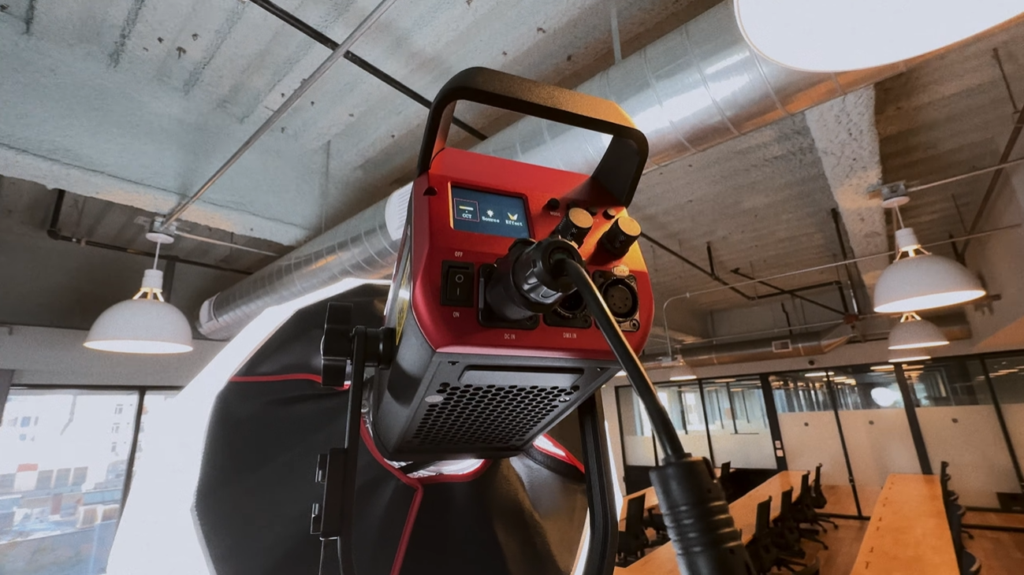
Flip the main power switch on the light head. Listen for any beeps and watch for indicator lights.
Check the “Eyes” and Status (Indicators/Modeling Lights)
- Strobes: If equipped, turn on the modeling light (usually a separate switch or setting). Check if it illuminates. This helps you pre-visualize the light pattern.
- Continuous Lights (like LEDs): The light should come on directly. Check any display screens or indicators for correct readings (brightness, color temp, etc.).
- Fan Noise (e.g., GVM Pro-SD300B): Listen for the fan starting up. Note the noise level, especially if you plan on recording audio simultaneously.
The First Flash or Glow (Test Firing/Illumination)
- Lower Power/Brightness: Crucial first step! Set strobes to a low power setting (e.g., 1/16, 1/32) and continuous lights to a low brightness to protect your eyes and the equipment.
- Trigger Test (Strobes): Turn on your camera (Manual mode, shutter speed at or below sync speed, e.g., 1/125s). Aim safely and press the shutter. Watch the trigger and the strobe – did they fire in sync? Try a few times.
- Brightness/Color Temp Test (Continuous Lights): Adjust the settings. Does the light respond smoothly and accurately?
- Test Fan Modes (If Applicable): If your light has different fan modes (like GVM’s silent mode), cycle through them now to understand the noise levels and any potential performance differences.
Quick Troubleshooting Ideas
If the test fails, don’t panic. Check the basics first:
- No Power? Power cable secure at both ends? Outlet live? Main switch on? Fuse blown (older lights)?
- Strobe Not Firing? 90% of the time, it’s the trigger! Batteries charged and inserted correctly in transmitter/receiver? Channel/Group settings exactly matched? Transmitter secure on hot shoe? Receiver sync cable plugged in firmly? Camera in a mode that allows flash?
- Modeling Light Out? Switch turned on? Bulb burned out (if replaceable)?
If simple checks don’t resolve it, consult the manual or seek technical support.
First Practical Use: Your Basic One-Light Setup
Congratulations! Your lighting system is assembled and tested. Ready to actually take a picture? Let’s try a simple, classic one-light setup.
Keywords: one light setup, key light placement, basic lighting tutorial
The Classic 45-Degree Key Light
Take one light with your preferred modifier (like the softbox you just assembled). Position it roughly 45 degrees to the side of your subject (person or object). Place the light head slightly above the subject’s eye level, angled slightly down towards them. This is one of the most fundamental and frequently used Key Light positions in photography.
Observe, Adjust, and Feel the Light
Now, take a photo. Look closely: How does the light fall on the subject? Where are the highlights and shadows? Then, start moving the light! Try raising it, lowering it, moving it more to the side (e.g., 90 degrees), bringing it closer, or moving it further away. Take a shot after each adjustment and compare. You’ll directly see how subtle changes in position, angle, and distance dramatically alter the mood and dimensionality. This is the magic of controlling light, and where the fun truly begins for us photographers!
Care for Your Gear: Everyday Operation & Storage Tips
Good lighting equipment is an investment. Treat it well, and it will serve your creative vision for a long time.
Keywords: studio light maintenance, storing photography equipment
Cool Down is Key!
Worth repeating: Light heads get very hot after use. Always wait for them to cool down completely before disassembling or packing.
Power Down First
Before any disassembly, cleaning, or bulb changes, always turn off the power and unplug the unit.
Handle Modifiers with Care
Softboxes and umbrellas might seem soft, but their frames, mounts, and fabrics need gentle handling to avoid tears or damage.
Store Systematically
Use the original bags or dedicated cases. Keep heads, stands, and modifiers separate to prevent scratches. Protect fragile items like bulbs.
Tame the Cables
Use Velcro ties or cable wraps to neatly bundle power cords, sync cables, etc. It keeps things tidy, prevents tangles (“cable spaghetti”), and prolongs cable life.
Chapter Wrap-up: Gear Ready, Let There Be Light!
You’ve done it! You’ve successfully taken a brand new photography studio lighting kit from box to fully assembled, tested, and even used it for a basic setup. Feels good, right? You’ve mastered the fundamental operations of controlling artificial light. This is just the beginning – a vast world of creative light shaping awaits. Ready for the next chapter where we’ll dive deeper into using these tools to craft light and express your vision?
You’ve done it! You’ve successfully taken a brand new photography studio lighting kit from box to fully assembled, tested, and even used it for a basic setup. Feels good, right? You’ve mastered the fundamental operations of controlling artificial light. This is just the beginning – a vast world of creative light shaping awaits. For further details and options regarding gear selection, check out our comprehensive guide on the photography studio lighting kit. Ready for the next chapter where we’ll dive deeper into using these tools to craft light and express your vision?

