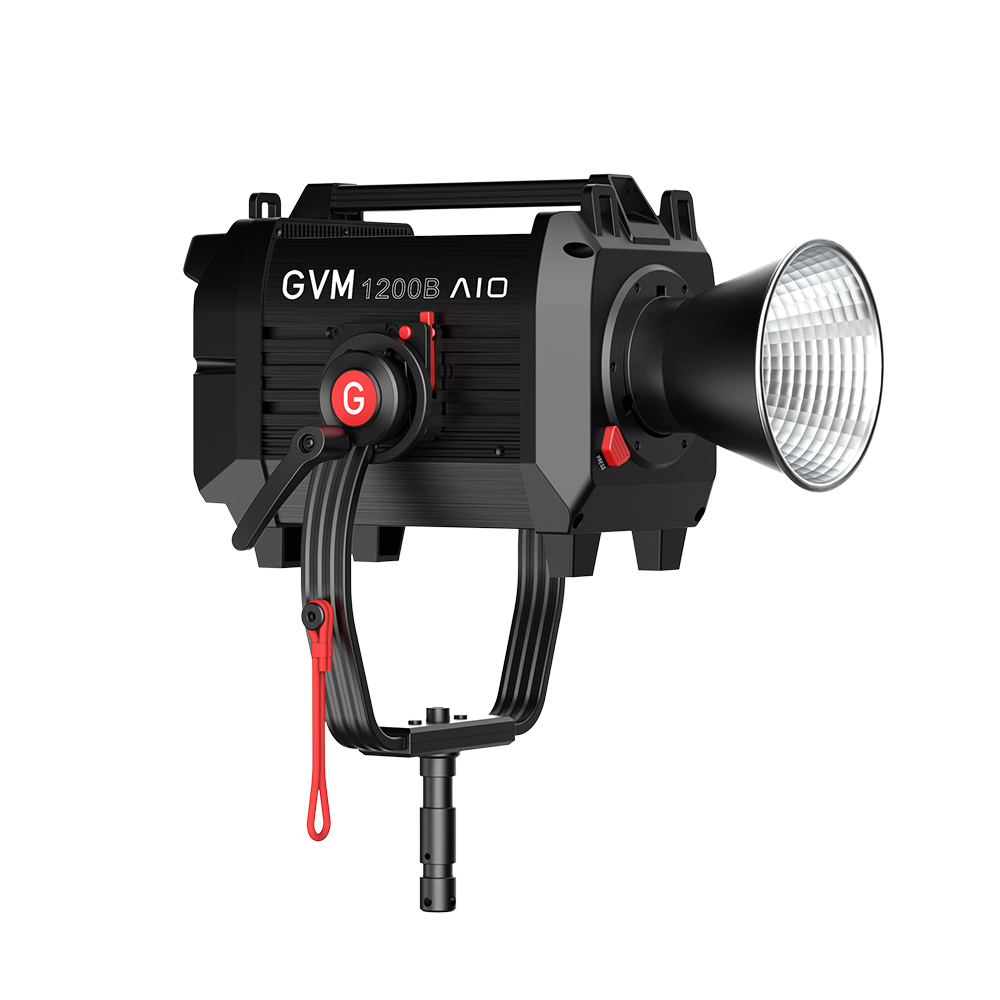
Ten tips for creating the perfect head portrait with GVM's LED Panel light
Headshots are one of the most daunting subjects to shoot. Unlike some selfies or travel-themed portraits, headshots usually require a more serious and formal setting, where the subject not only needs to be looking directly at your camera, but they will also be more selective than ever about the criteria for the final shot. Coupled with the tension of the models at times during the shoot, this gave the whole shoot a serious atmosphere. However, even in the face of these difficulties, there are a few simple steps you can take to make your filming process easier. Here are 10 tips to help you get the perfect head-up.

1.Communicate with the model before the shoot
Before the shoot begins, we first need to confirm the purpose of the photo and what style of photo the client wants to present. We can choose to communicate by phone or face to face with customers, but either way is more effective than just E-Mail contact. Because we are able to make the client as relaxed as possible and understand their expectations in order to prepare for the shoot.

The client’s profession may affect the actual shoot. For example, a corporate lawyer may prefer a clean white background. A yoga teacher might prefer a more colorful background or even want to shoot outdoors.

2.Help models choose the right clothes
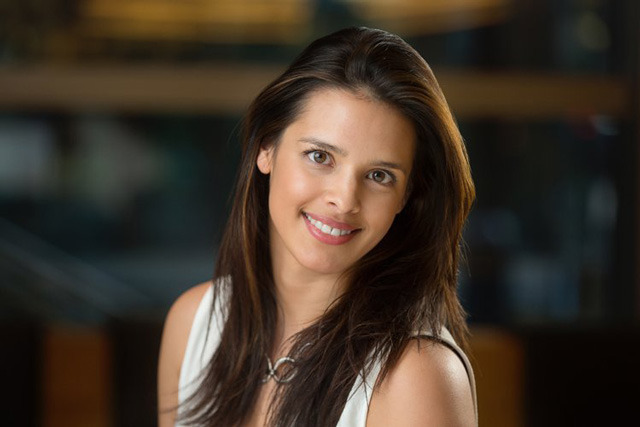
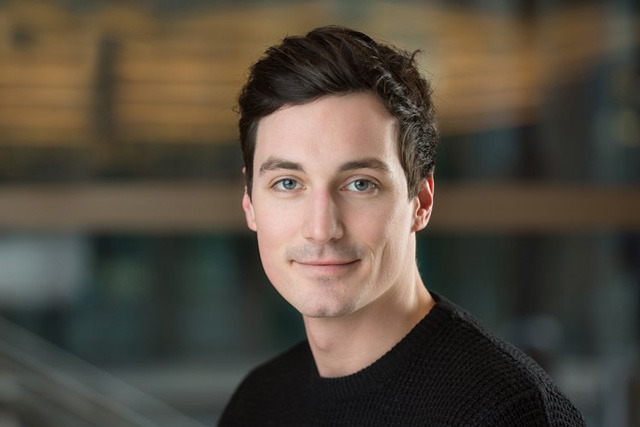
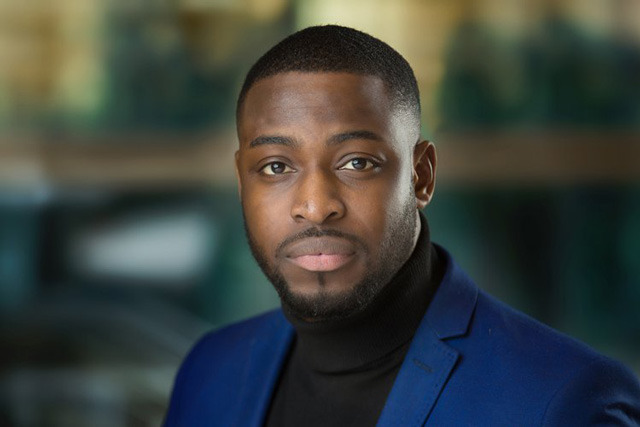
As the saying goes, clothes make the man, and gold makes the Buddha. Overall, a simple outfit with neutral colors can make for a better portrait of the head, and we need to avoid anything that draws the eye away from the model’s face, such as complicated styles or colors. If you want the finished film to look more formal, then we need to remind the client to wear, or bring a formal dress for the client to use. It’s also a good idea to keep a spare on hand in case careless male friends forget their jackets. Finally, if we need customers to bring their own clothes, don’t forget to remind them to iron them. Here are some examples of proper outfits:

3.Remember to separate the subject from the background
If you’re shooting in a studio, make sure your model doesn’t stand too close to the background during the shoot, or your model’s shadow may fall on the wall and make the photo look unprofessional. For outdoor shooting, I suggest separating the subject from the background as much as possible. At this time, we can choose a large aperture to blur the background. In general, I recommend f/4 for outdoor natural light shots and f/8 for studio Settings.
4.You can exchange pleasantries before shooting
When everything is ready, we can start filming. Whether we’re shooting a solo headshot or a team shot, you need to communicate with each subject and help them feel as relaxed as possible during the shoot. The process doesn’t take much time, and some include a handshake or “How are you doing?” Such small talk can serve a similar purpose. People are often nervous when taking photos, and the right conversation can help them get into the swing of things and feel comfortable in the process.
5.Try making funny faces
In addition to some basic communication, there is another way to make your clients more relaxed in front of the camera. If you don’t have much time to communicate with your clients, ask them to make some funny faces and then take a photo of them making funny faces. This has the dual benefit of allowing us to make adjustments such as photometry, as well as being able to liven things up, and there are very few people who can resist being funny in the process. Once your client has done this, the rest of the formal shoot will be much easier.

6.Pay attention to lighting and shooting position
I tend to have a relatively even lighting environment when photographing the heads of business people and actors. A classic portrait lighting is useful here. We need two light sources, a primary light source in front of the model and a secondary light source. Of course, we can also add a reflector below. When I shoot, I make sure the model is facing the camera at a 45 degree Angle and facing the main light source, but the model’s face should still be facing the camera. You may also need to direct the model to look directly under the camera.
7.Sit the model down for the shoot
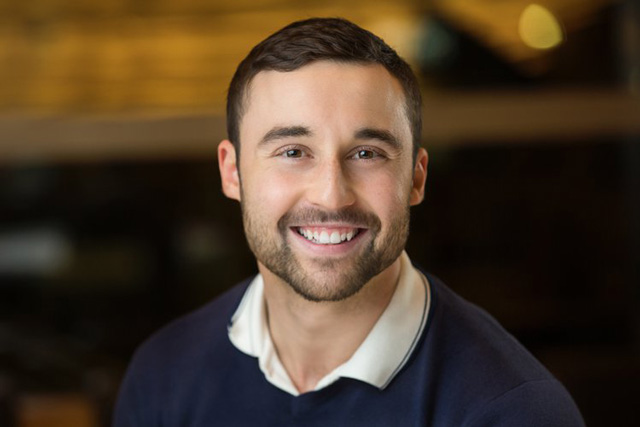
People may feel more comfortable sitting down for the photo so that their hands naturally rest on their legs. In addition, shooting in a seated position also helps the model adjust the Angle and position according to the photographer’s instructions for the actual shooting situation.
8.Small adjustments can go a long way
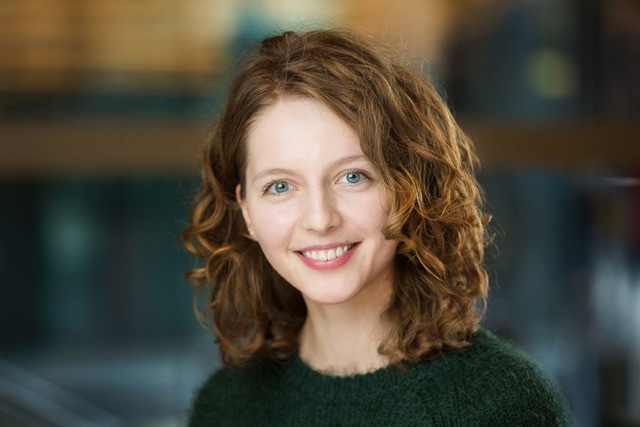
How can I make my head special portrayal in many works of the same subject matter out of it? Sometimes even a small change, such as a slight tilt of the head or a graceful, charming smile, can produce unexpected results. As photographers, we should not be afraid to ask for everything until we find the right position and expression.
9.Communicate with customers and keep a positive attitude
The key to portrait photography is communication. Communication with clients not only exists in the preparation period, before the shooting, but also in the process of shooting. During the shoot, we have to constantly communicate with the models and tell them what to do to get better results. Silence will ruin the atmosphere of the shoot. Even if you are not satisfied with the individual shot or light, we should not show these negative emotions to your subjects. No matter what happens, we should remember to keep communicating with the client and maintain a positive attitude.
10.Adopt online shooting mode
Online shooting mode is a very efficient and beautiful way to work if you can. In this way, the client can see the result directly on the screen, then communicate with the photographer and quickly make further adjustments. This type of real-time feedback via the display screen could help everyone in a big way.
The best LED Panel light for photo filling
Full color panel lamp for industrial movies and TV
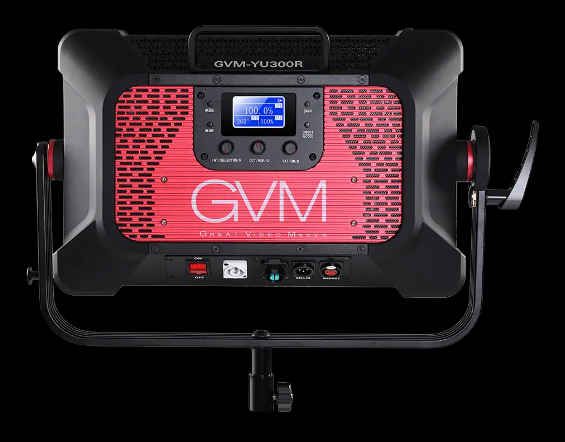
The new GVM YU series LED panel is a powerful light source, using the full RGB+WY five color light source, more colors can output a wider gamut, providing tens of millions of rich and vibrant colors.
High Color Rendering Index CRI 97+ & TLCI 97+
This enables accurate color rendering on the camera and the most realistic restoration of object color.
To achieve professional results, but also to provide you with natural and vivid shooting effects.
It ensures that the color layout in the matrix system and RGBWY in the beam area are mixed evenly without color separation.
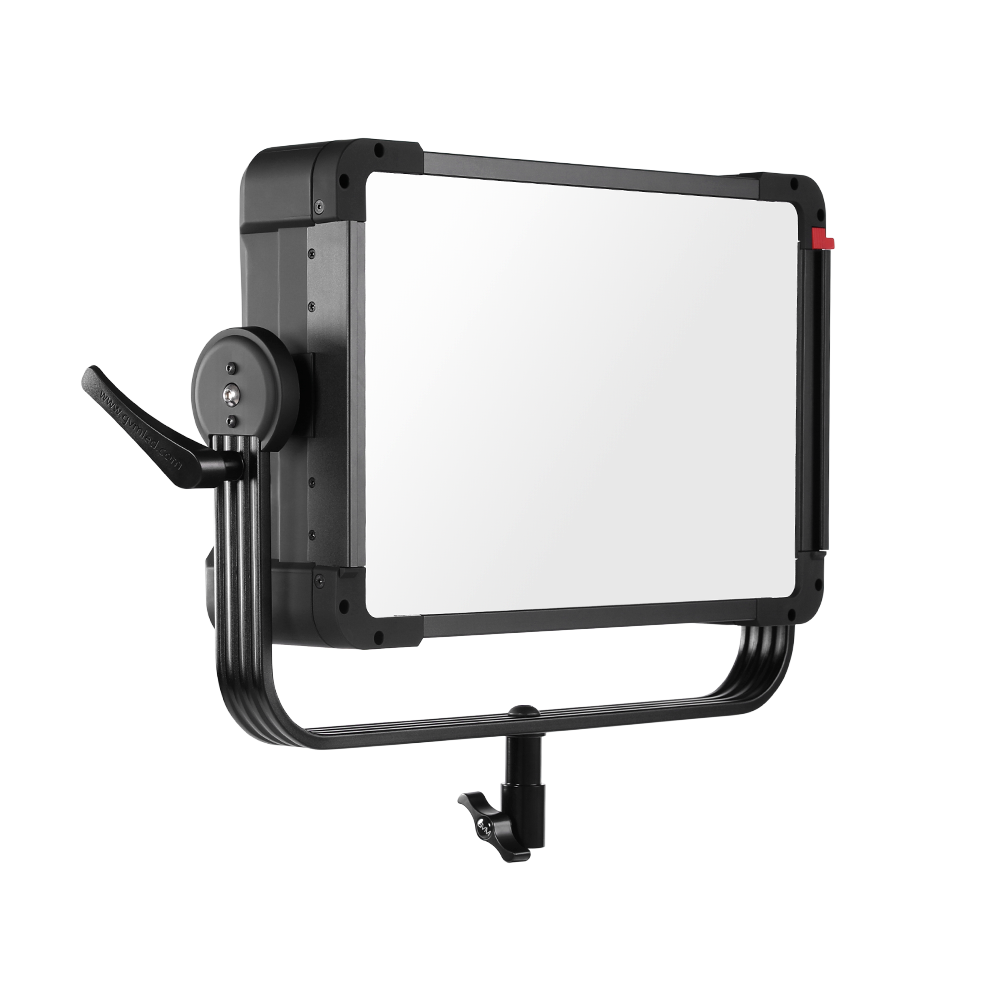
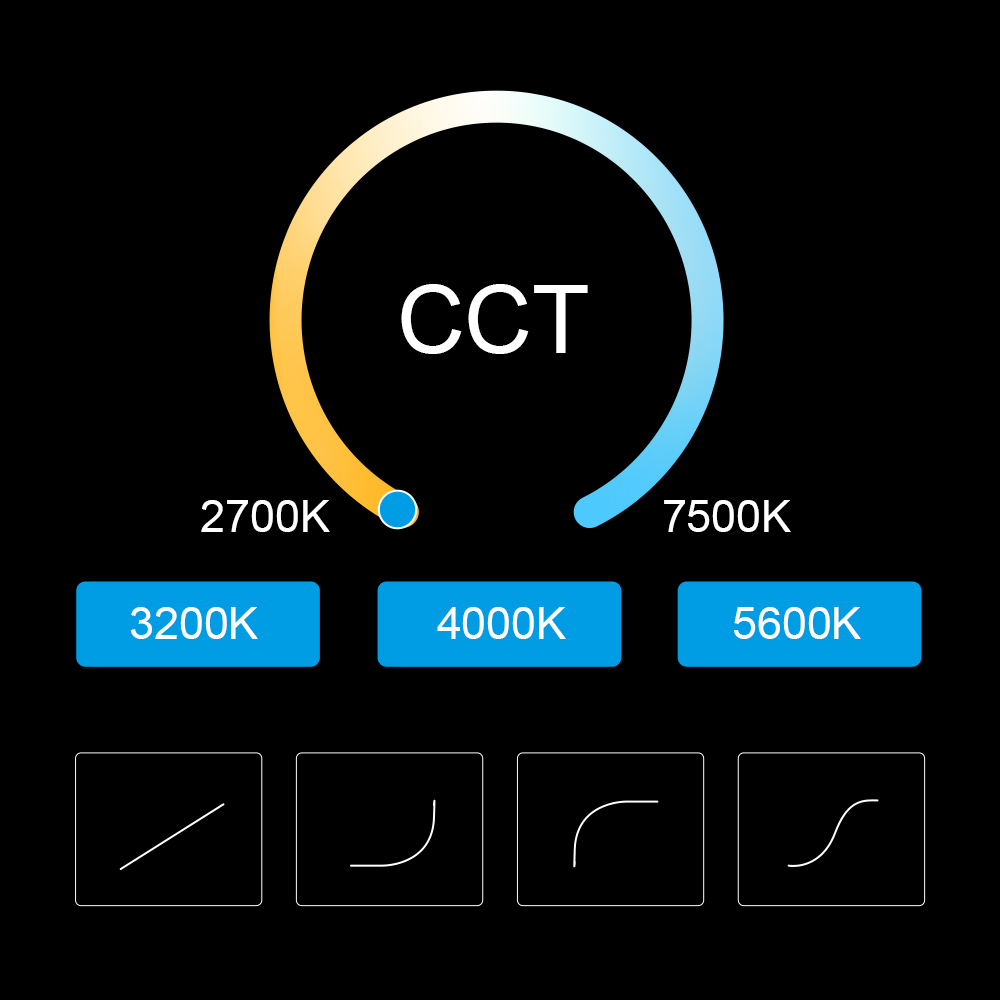
White light color temperature adjustment mode, adjustable light intensity and color temperature. CCT (Related Color Temperature) mode allows accurate color temperature adjustment from a comfortable warm color of 2700K to a dark sky blue of 7500K to match any lighting conditions, such as warm shades of a terrible sunset, cool shades of bright sunlight in summer, or blue moonlight in a clear, dark sky. The green/magenta correction function in CCT mode allows fine-tuning matching with other HMI, LED or fluorescent lamps or accurate color balancing for different camera sensors.
True soft light source
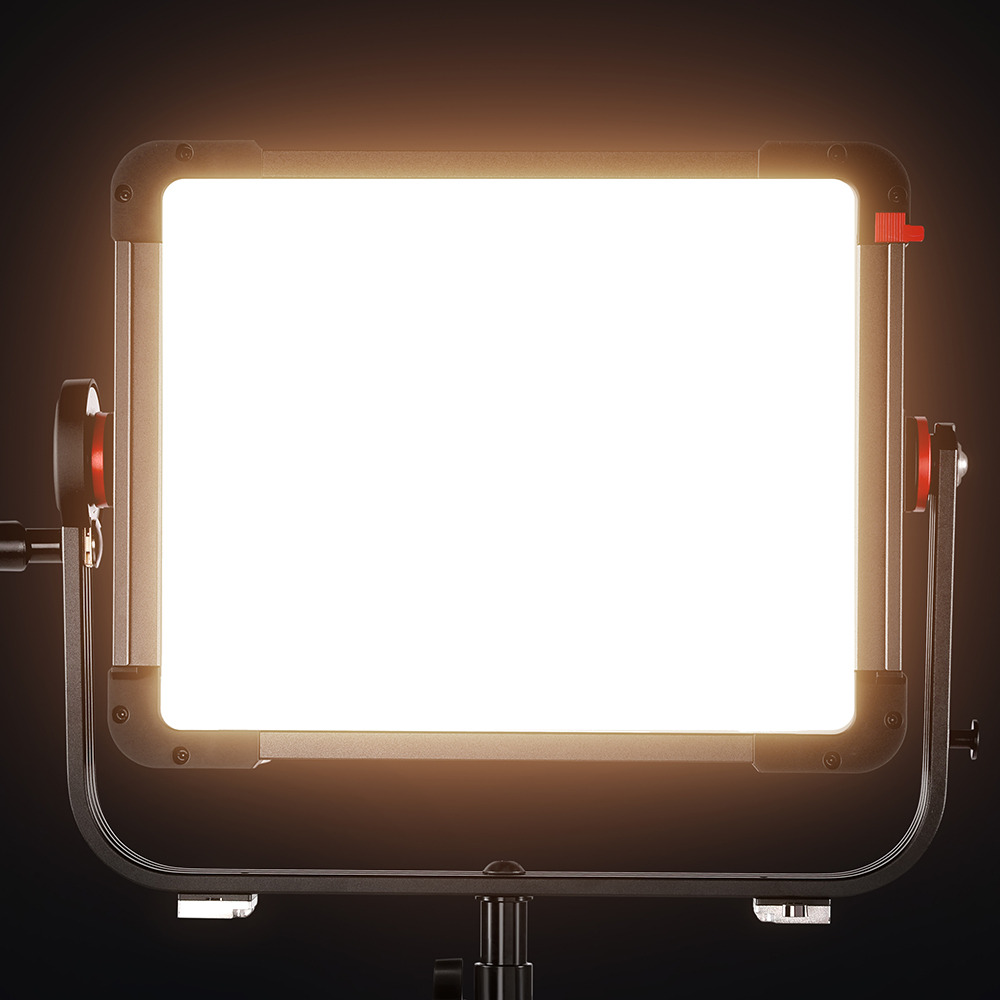
GVM YU300R provides a smooth and even beam field by combining the latest wide beam, true-tone SMD LED and diffuser plates. The large surface area of the panel produces a bright, surround output with clean, soft shadows and acts as a beautifying light on the body
Intuitive user interface
Gvm-yu300r uses intuitive panel control interface to operate lamps easily and quickly. The digital display displays all useful information for the user to adjust and customize the required values.
The three large selection knobs can be easily handled (even with gloves) to fine tune the required parameters.
