Types of Lighting in Photography — GVM Photography Beginner’s Guide 02
Lighting is one of the most crucial elements in photography, as it directly influences the mood, texture, and depth of an image. Various types of
Getting a lighting setup suitable for many different products is key to many online businesses. In e-commerce photography, color, size, and gloss can vary from subject to subject. Let’s learn the ultimate product photography lighting setup that will give you the versatility and image quality to make your ecommerce studio more efficient.
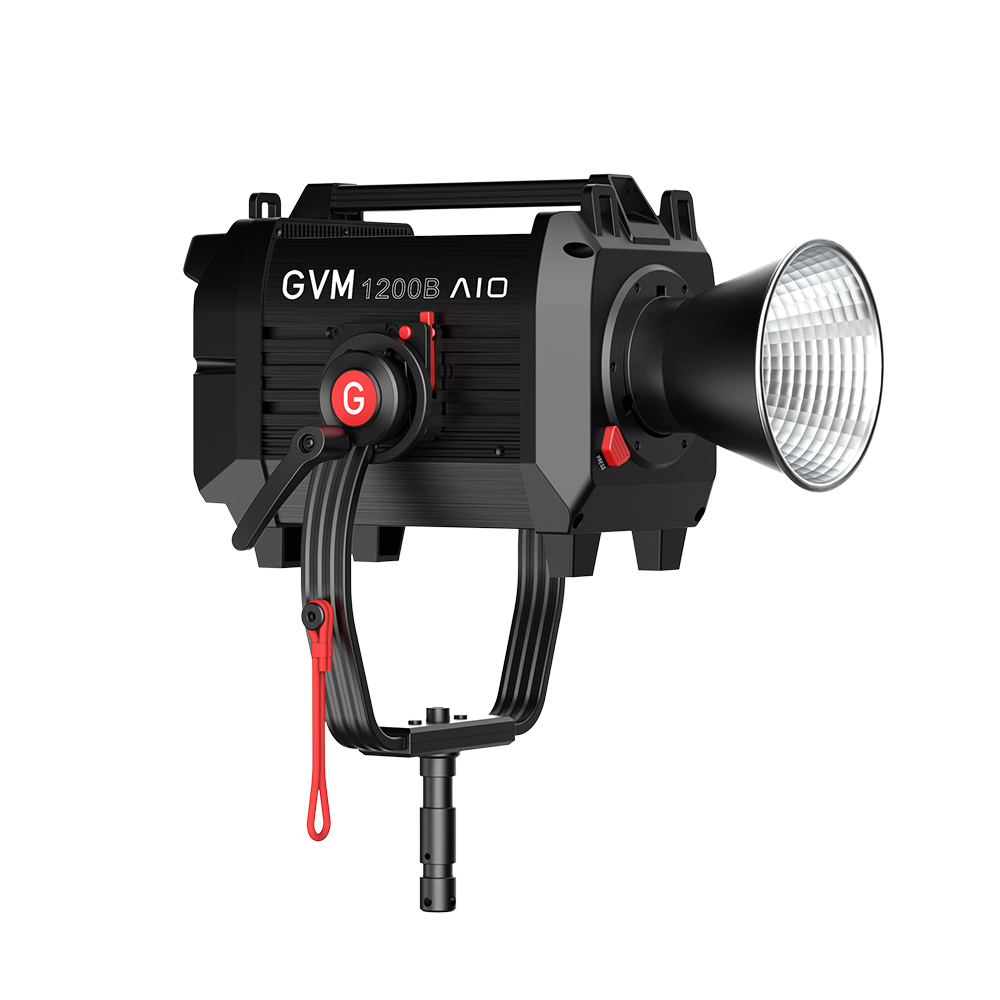
The lighting setup must be the most versatile. We want to make sure that any medium-sized product we shoot gets great results, being able to use images straight from the camera and get consistent results, saving time that can have a real impact on your business, depending on what you shoot number of products. Use gvm lighting fixtures, no grooming required. Power output and color remain consistent from lens to lens.
Whether you’re photographing shoes, makeup, or perfume, this lighting setup is perfect.
The goal was to get a nice and elegant product photo with a white background with clean reflections underneath.
Product display photography is fun, the benefits are obvious, and the market demand is huge. And using a studio for product photography means you have complete control over your lighting settings. Today we share some tips for product lighting.
Many products in product photography are very reflective, with a batch of bright surfaces. Jewelry, metal, glass and other materials are difficult to take pictures directly. Product glossy surfaces reflect ambient light in nasty ways, they can interfere with your lighting setup and cause shadows. You shouldn’t distract the viewer with reflections on your product! Watch carefully and think carefully! Be prepared to move the lights along multiple angles until you find the ideal spot to avoid reflections. Otherwise, you will cry later.
Another issue is making sure the color of the product stays true. Accurate color is very important in any type of product photography. Many customers buy products based on the colors shown in your product image. Customers will inevitably be disappointed if the products they receive do not match in terms of color.
Everyone’s screen has a different color calibration. On your phone, TV or laptop, the colors you observe may all be different. But we still have a basic guideline to follow.
Make sure you are using bulbs and flashes that emit true white. Often, such lights are referred to as “photographic-specific tint lights”. True white light does not cause any kind of color cast. You won’t get shades like fluorescent blue or green or warm orange. In the first step of lighting, we should achieve more accurate colors.
Lighting can make or completely ruin your product photo shoot. There are three main types of studio lights: fluorescent, LED, and tungsten.
Fluorescent lamps are more energy efficient, but have a lower light output, usually around 60 to 100 watts. Bulbs are inexpensive and easy to replace. But their light can be tinted, adding an unwanted layer of color to your product.
Tungsten filament lamps provide the highest output power, but also generate a lot of heat. The bulbs are cheap to replace. If you adjust the brightness level, they can change the color temperature. Inevitably, you can’t use it for a long time.
LED lights are very energy efficient and produce very little heat. They are made up of many small “light emitting diodes” (LEDs) and usually have a long lifespan as well. E-commerce shots with a ring light or a steady light plus a softbox are best, seeing the final effect in real-time while setting up the scene, rather than using a continuous flash, taking a shot to see it, and having to keep adjusting it all the time. Plus, always-on lighting can help you figure out how to avoid reflections.
If you want more than a ring light, you’ll need an average of three softboxed lights. At least one overhead light, two lights that can be used on the side! Lights placed at the same height of the product, while octagonal lights are generally used for overhead arrangements.
For studio lights, they must be scattered and softened before use. This ensures that the light is evenly distributed on and around your product. This is a great way to avoid hot spots (overexposed blobs in an image). Hot spots are unpleasant and difficult to post-touch. Soft light is also more efficient for white balance adjustment than spot light.
There are some simple steps you can take to brighten your products better. You can use cardboard or a diffuser to soften some of the light and soften the shadows.
Don’t have a diffuser? A blank sheet of paper will do just fine. Tight deadlines or a very limited budget? Take a regular desk lamp, add a tungsten bulb, add a piece of paper to soften the light and you’re done!
Tripods are not only used for lighting, but also for cameras. This makes it easier to adjust light settings. It also ensures that your photos are always vertical.
You don’t need an advanced studio to shoot with studio lighting. Only a flat wall, table top, or even some paper can produce professional results.
The key to product lighting is to ensure that objects stand out from the background and are bright enough to see product details. You’ll need to experiment and spend some time finding the right settings for your specific product.
Studio shoots have different intentions. It can be used for e-commerce businesses like Amazon or eBay, or as reading material for websites. Certain parameters of lighting will depend on the platform you are using for the exhibit. But some general settings are always common.
Here are a few common setups for product photography that work well on mannequins as well.
001. Ring light (single light) for front lighting
The ring light illuminates every part of the subject evenly and separates it from the background. For most photographers, the preferred method is to set the lights in front of the subject, which always seems to be the obvious choice. In most cases it is. But you have to keep in mind that ring lights are very bright, so they often require the treatment of a diffuser.
The best front arrangement is to place the ring light further away from the main body. The farther you go, the softer the light will be. It’s not as harsh as a spotlight. Then, you shoot through the center of the ring light.
Ring lights are great for product photography, but keep in mind that it’s harder to take pictures of eye-catching color products. This is because they can cause many parts to be overexposed. Try turning the exposure down a bit.
If you find that the ring lights aren’t enough, you can use overhead lights for additional fill.
002. Dome lights create atmosphere
Quite a few octagonal softboxes have adjustable heads. They allow you to tilt the light downward. Use it with a high stand for overhead lighting.
This is very useful for shooting dark products with a unique atmosphere. You can create an angular look with strong lines. I often see this lighting arrangement used for high-end wine bottle shots.
003, front light (single light) – simple choice
Front lighting is a lighting setup that almost everyone tends to use. If done right, it can be quite flattering. However, there are a few things to keep in mind about this method.
There will be little separation between your subject and background, so make sure your background isn’t too cluttered.
If you can’t control the background, try a wide aperture lens and drop it down to a very low f-stop. I personally like to use an F1.8 aperture with this lighting setup.
When setting up your headlight, make sure it’s eye-level with the subject you’re photographing. The lights might be a little too bright. Try dimming it down, then increase the exposure (ISO + shutter speed combination) by a stop or two. If your product has strong reflectivity, the lighting method of the front single lamp will not be suitable. Unless light reflections are to be eliminated during post-processing.
004. Uniform lighting of reflective products (dual lights)
The center of the object is where the reflection problem is most severe. Shooting two lights at right angles to the subject will fix this. By using two lights, you can even completely cover the body of the product. By placing them at an angle to the side, you can eliminate pesky reflections.
Depending on the size and shape of the product, this setting may require some adjustment. It is much more convenient to use constant lighting, where you can see how changes in the light source arrangement affect the outline of objects under lighting.
005. 3 light setup to capture all the details
What if you have a low-reflection product that needs to bring out all the details and angles? This is a very logical usage of 3 lights. This ensures that all angles of the subject are illuminated. But use this setting with caution.
Some products look flat. Depending on the shape of the product, you either want the lights all on the front or 2 on the side.
006. Triangle settings to emphasize the shape
As the name suggests, triangular settings are arranged in a triangular shape. This lighting is very popular with portrait studio photographers. It also works well for still lifes and product photos. First you lighten evenly on the front of the product. A little backlight is then shot from the back angle to help isolate the object from the background. This allows you to shoot a very beautiful and prominent three-dimensional look. This setting ensures that the product does not appear flat at any volume. After careful editing, you will find that the look under this light setting works for a variety of products.
007. Separate background settings (3 lights)
Do you find that the product blends in too much with the background? You can modify the triangle settings to achieve your goals. The only difference between this setup and the previous one is that the 2 light sources on the back are aimed at the wall instead of the back of the product.
008. Extra: Use natural light for soft, even lighting
No studio-grade lighting? no problem! Sometimes a window can also help you take great product photos. Use curtains to diffuse light and take advantage of the softness created by natural light.
If you plan to use this method, try not to shoot when the sun is too high. It can make your photo look overexposed. Take pictures when the sun is low. You will find that the lighting is much better this way.
So which lighting is best for product photography? To be honest, a lot of product lighting is experimental and requires you to keep trying and adjusting in practice. Different products will require different lighting. Use the above methods to find the right lighting for your product.
Lighting is one of the most crucial elements in photography, as it directly influences the mood, texture, and depth of an image. Various types of
Lighting is one of the most critical elements in photography. Whether you’re using natural light, studio lighting, or a mix of both, understanding how to
1、GVM-LM2/LM2S microphone indoor and outdoor sound quality comparison https://youtu.be/0Vv80kH0BfMhttps://youtu.be/mYeONSH8UGQ 2、GVM-CM2 microphone indoor and outdoor sound quality comparison https://youtu.be/Jrdrvfsh-4shttps://youtu.be/lDY1b8d7jxM 3、GVM-EHK 100 microphone indoor sound quality comparison
Lighting is a crucial element in any visual production, whether it’s film, photography, or content creation. It can define the mood, highlight important details, and
GVM recently released the PD60C, a compact 60W RGBWW LED light with a built-in battery that gives you one hour of runtime at full power.
Burbank, CA – June 2024 – GVM (Great Video Maker) has once again demonstrated its leadership in the film and video production industry with a