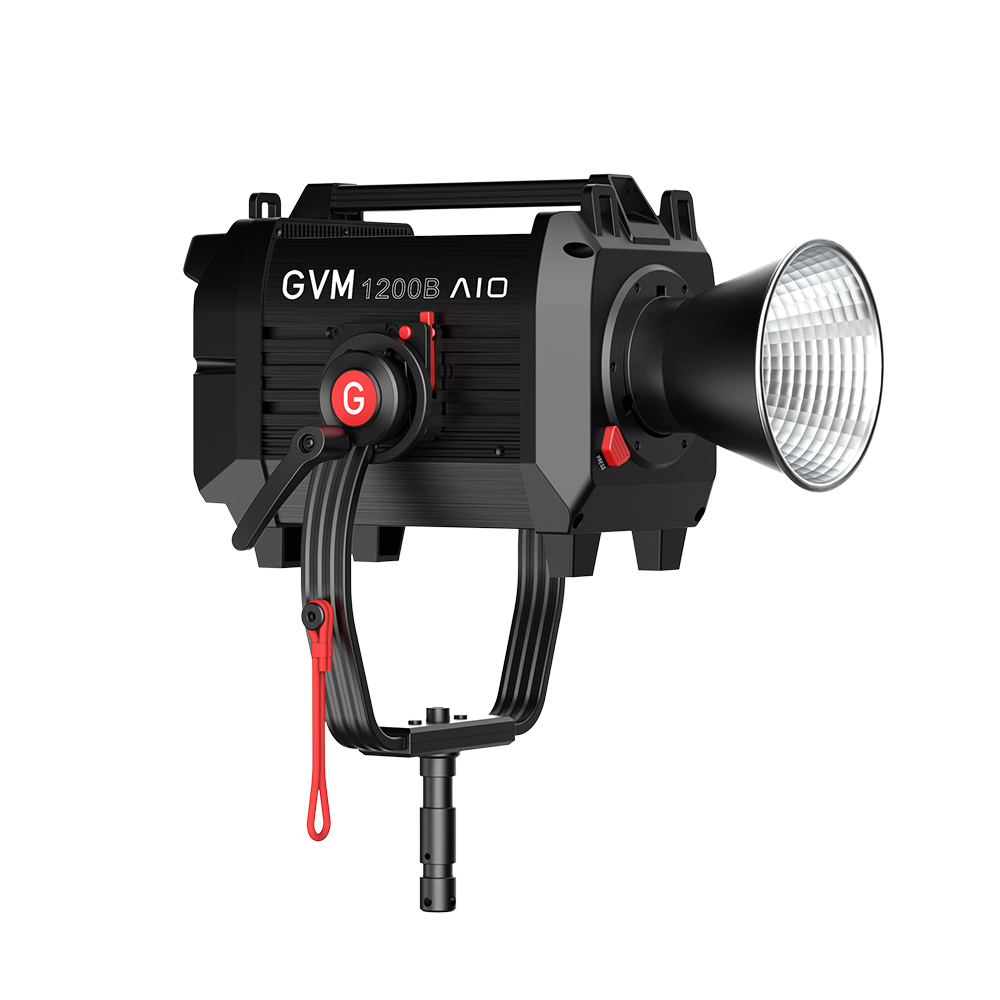
3 Tips To Make An Amazing Shooting With LED Spotlights
Obviously the most disturbing shooting is that photos are blurred and unclear. When we look at the final result of the photo, it is exactly what we saw on the camera. But it is blurred and unclear when we enlarge it on the computer. Many people will think that they may have shaken during shooting or that the camera lens are not good at all. So what are the reasons? And how can we get the photography shooting better? Here are the three tips:
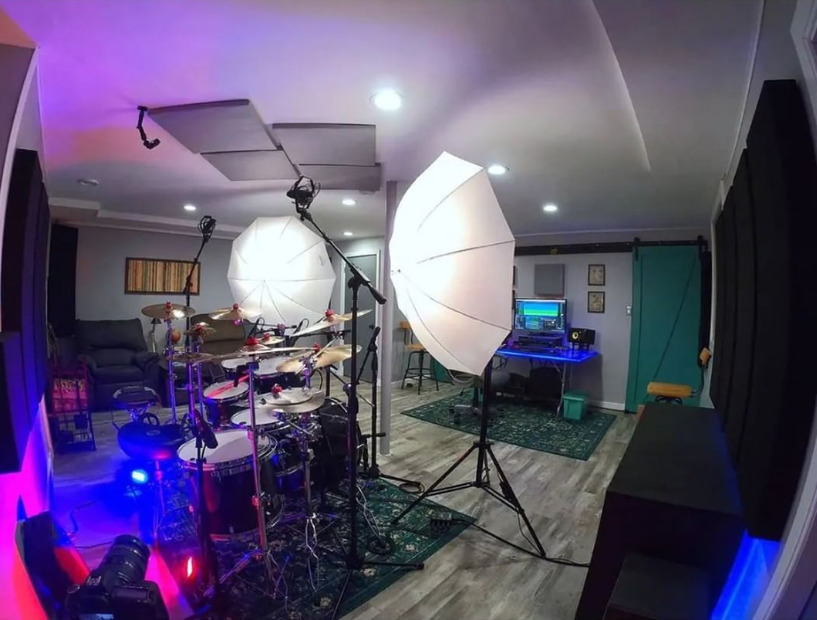
1、Shoot with a tripod
Sometimes our photos are blurry or unclear, which is caused by hand shake or camera shake when we shoot. At this time, we need to use a tripod. After using a tripod, no matter how slow the shutter speed is or even the long exposure time, the final picture will not be blurred. One thing to note is that when we shoot with a tripod, we use the shutter release and remote control, or time-lapse shooting.We should avoid hand shake when we press the shutter, if not it will result in blurry shooting. Also please turn off the anti-shake switch on your lens.
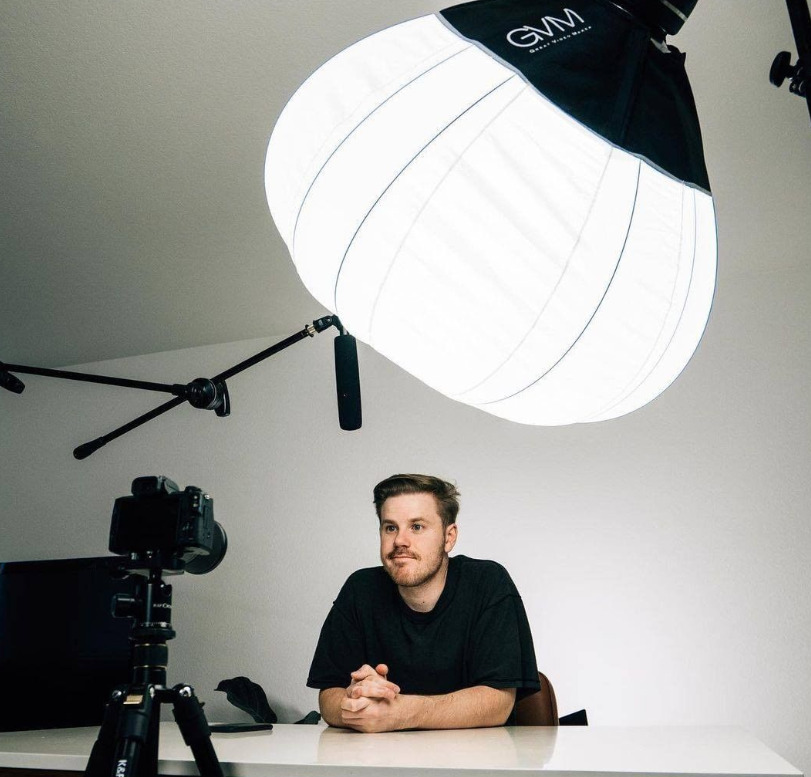
2、Use a low photo-sensitivity(ISO)
We all know that the higher the sensitivity, the brighter the picture. When we shoot in low-light environments, we will use higher sensitivity, and high sensitivity will also bring heavier image noise. Traditional photosensitive materials and digital image electronic sensor elements have a characteristic: the lower the ISO sensitivity setting, the finer the film graininess (digital images appear to be less image noise), and the higher the clarity of the photo. The higher the ISO sensitivity setting, the grainier the film will be (digital images appear to be more image noise) and the picture clarity will be relatively less low. At present, the sensitivity of film is available in the range of ISO25~1600; the ISO sensitivity of digital cameras is designed in different ranges of ISO50~3200 according to the different requirements of manufacturers for low-end, mid-end and high-end cameras. Therefore, when we shoot, we try to use a lower sensitivity to get clearer photos.
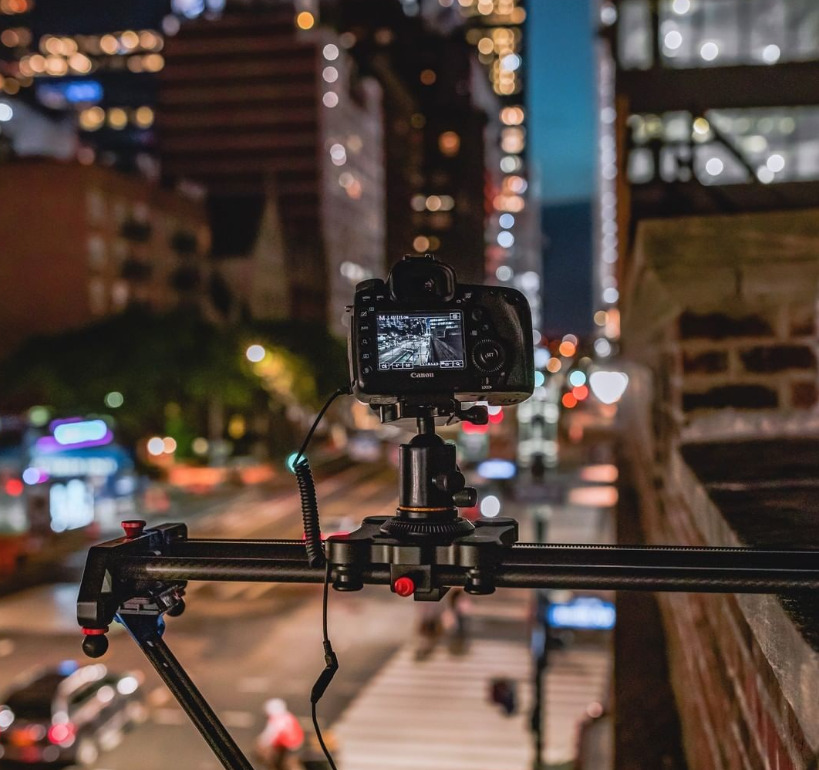
3、Appropriate Continuous Lighting
Film and television lighting often has three meanings. One is to improve the brightness of the object to be illuminated, improve the dark shooting environment, and improve the image quality, which is also the most basic one. The second is to shape the light and shade of the subject and create a three-dimensional sense of the picture. The third is to use different lighting methods to artistically describe the subject to express a specific artistic effect. Although the technical function is the simplest, it is only to illuminate the photographed picture, there is still a lot of knowledge on the film and television lighting itself, which is why professional film and television lighting is gradually different from other ordinary continuous lighting.
In the scene of film and television production, especially outdoor shooting, the brightness of natural light is often unpredictable and uncontrollable. The color temperature of natural light is also changing as time goes by in the morning, noon and dusk. From this point of view, film and television lighting is often required to have high and the brightness that can be finely adjusted, as well as a wider range of color temperature adjustment. In addition to catering to changes in natural light, color temperature adjustment can also actively simulate scenes with different color temperatures, such as early morning, noon, dusk, bonfire, key light, etc. The artistic effect is to achieve a retro shooting atmosphere.
In addition, different light shines on the object, then the color of the object may be different, taking the color of the object under the sunlight at noon as the standard, different artificial light shining on the same object may show different color brightness, different saturation, different shades of gray, and even directly changing hue. Therefore, the ability of professional film and television lighting to restore color must be infinitely close to sunlight. The higher the color rendering index, the better and more realistic the color display of the object is.
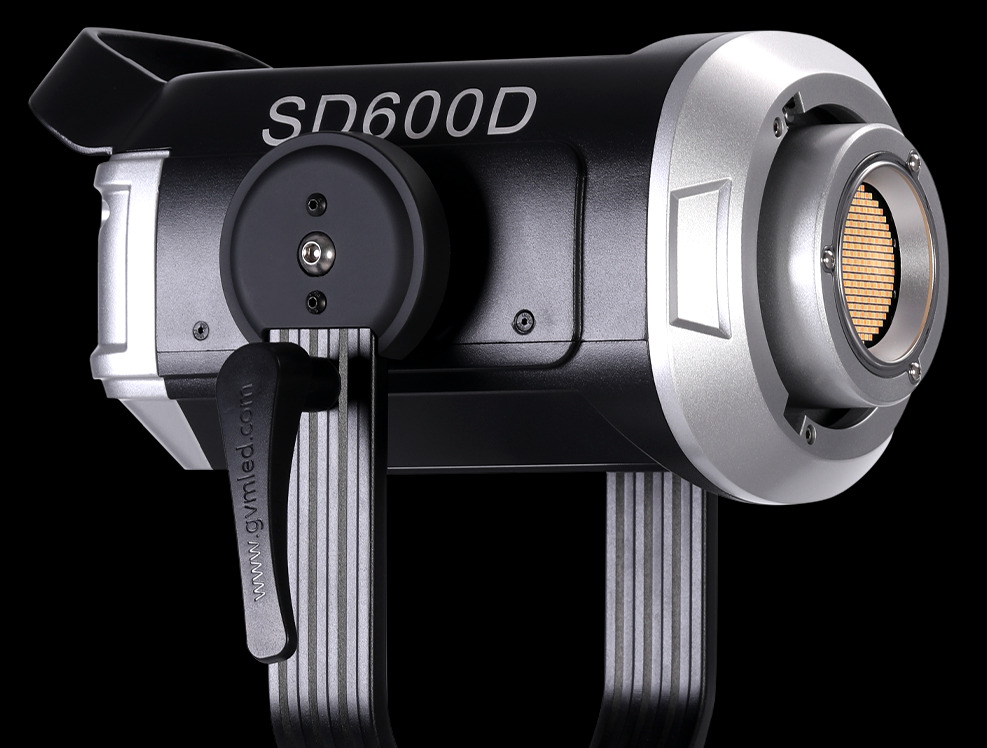
A professional studio LED light, the GVM-SD600D is an excellent all-rounder with a rich kick drum and numerous features. It’s a sturdy lamp attached to a sturdy metal yoke, while a lot of metal is used elsewhere. The SD600D has more than enough power for its needs, and the fan is quiet enough for video and photography work. This may not be the cheapest light, but you can get a lot of kits for a lot of money.GVM has really carved out a name for itself with LED lights in the last couple of years, and the SD 600D looks set to continue that trend. Because the SD600D delivers a variable color temperature range from 2,700-7,500K, GVM has designed the LED chip.
While there are an array of LED light panels available that are more suited to video work, there are also now a number of studio-style LED lights that are compatible with a wide choice of light modifiers – and the SD600D is a great example of this. The design enables you to control and sculpt the light as you wish rather than just illuminate your subject, while you’re not shackled to the studio either. The unit is mains powered, but there is a rechargeable battery option which comes into its own on location.
Specifications
Color temperature: 2,700-7,500K
Illumination: 60,000 lux /0.5m ,19,000 lux /1m
Color Rendering Index (CRI): 97+
180°Rotation
Lighting scenes: 8 kinds
Heat dissipation modes: AUTO, QUIET, HIGH
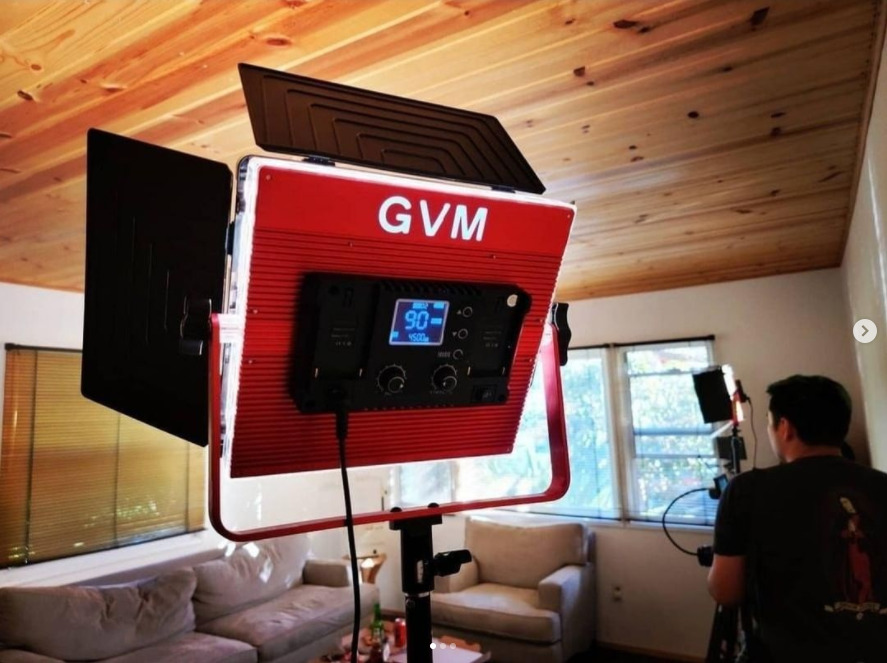
GVM video lighting kit professional creates an impressive bright light 43500 lux/1m and 0%~100% stepless adjustable bright. Perfect continuous output lighting for photography, YouTube, film recording, Vlog.Design with CRI97+, CT 5600K, COB Lamp Bead, GVM light help you accurately reproduce colors and naturally illuminate your photo. The 8 build in lighting effects also enrich your shooting scene. If you want to start a network platform career or video blogger, It’s a great photography equipment for beginners or Productions
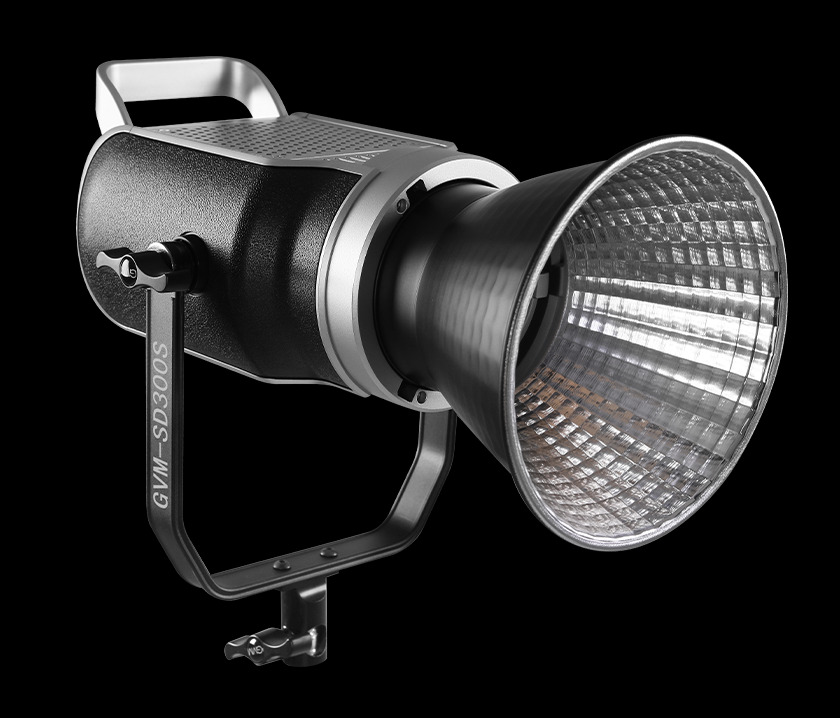
Three ways to control this led video light: 1.Download the GVM APP and connect the bluetooth, adjust the paraments on your phone. 2.Pressing and Twisting the Mode Button & Compound Knob can operate the paraments which can read from Large-sized LCD panel. 3.Connect the DMX console to the light through the control cable, and set the light and DMX console to the same channel value then control through the DMX console. (don’t support umbrella)The SD300S features an understated design, with control inputs taken care of via the control box that the light connects to. There’s a quick-release clamp that means it’s easy to attach to the light stand.It’s also worth noting that you can control this light via GVM- APP (available for free for Apple iOS and Android) that offers an impressive level of control.
Specifications
Accurate colour rendition for filmmaking, with Daylight-balanced CRI 97+
Plus DMX Control, Take your filmmaking to a whole new level
5600k colour temp matches the sun and blend seamlessly as white light for natural look
Function / Feature : LCD Screen, High Display, APP Control,
Master/Slave Mode Control, DMX Control
Power : 300W
Voltage : AC 100-240V
Power Supply Mode : DC Input
Power Supply : 32V/9.5A
Cooling : Radiator & fan cooling
Remote Ability: ≤100m
Product Net Weight: 3.15KG
Product Size (mm) : 228x123x349
Product Material: Aluminum Alloy + Plastic

