I’m incredibly honored to be invited by GVM to share my photography insights with you all. I’m Nicole Hart, a photographer from the beautiful Pacific Northwest. In 2025, my little business, Nicole Hart Photography, will be celebrating its 13th year! It all started with an unexpected Christmas gift – my first “big girl” camera. Like many moms, my photography journey began with my daughters. I always wanted to capture their every brilliant moment, to tell our family’s story through photos.
However, in my early days, my photos often left me frustrated. No matter how I adjusted my composition, the images always appeared flat, with strange, harsh shadows on faces, sometimes even looking dull and lifeless. They simply failed to capture the vibrant smiles and heartwarming scenes I saw with my own eyes. As a former television producer, I understood the importance of “visual impact,” yet I found myself completely stuck on the most crucial element: light.
It wasn’t until one day that it truly dawned on me: light is the absolute soul of photography! It dictates a photo’s dimensionality, its mood, and its very quality. Today, I want to share the photography lighting insights I’ve gathered over the years – especially how to banish those annoying shadows and flatness – hoping to help your photos come alive too! We’ll explore the mysteries of hard light versus soft light, the clever use of both natural and artificial light, and even delve into classic Rembrandt lighting. By the end, you’ll also know how to choose the right photography lighting equipment to elevate your craft.
Why Lighting is the “Soul” of Photography? Unveiling the Magic of Light and Shadow
In television production, we use light to guide the viewer’s eye and create atmosphere, which is remarkably similar to photography. I quickly came to understand that light isn’t just about “brightness”; it’s about how light, through the interplay of shadows and highlights, sculpts form and dimension, giving life to a two-dimensional photograph.
Light and Dimension: Light is the key to creating a sense of three-dimensionality. When light strikes an object from a certain angle, it creates shadows. These shadows, along with the illuminated areas, form the contrasts that define an object’s contours and depth. A flat photo often results from light that is too uniform or direct, lacking the necessary shadows to bring out the subject’s three-dimensional form.
Light and Mood: Different qualities of light can convey vastly different emotions and atmospheres. Soft, diffused light (like that of early morning or late afternoon) often evokes a feeling of warmth and tranquility. In contrast, dramatic side lighting or backlighting can create mystery, tension, or a sense of power. To truly control your photos, you must first control the light.
Light and Focus: Skillfully using photography lighting allows you to direct the viewer’s gaze, drawing attention to your intended subject. For example, by creating a highlight on your subject while leaving the background in shadow, you can make your subject truly “pop” from the frame.
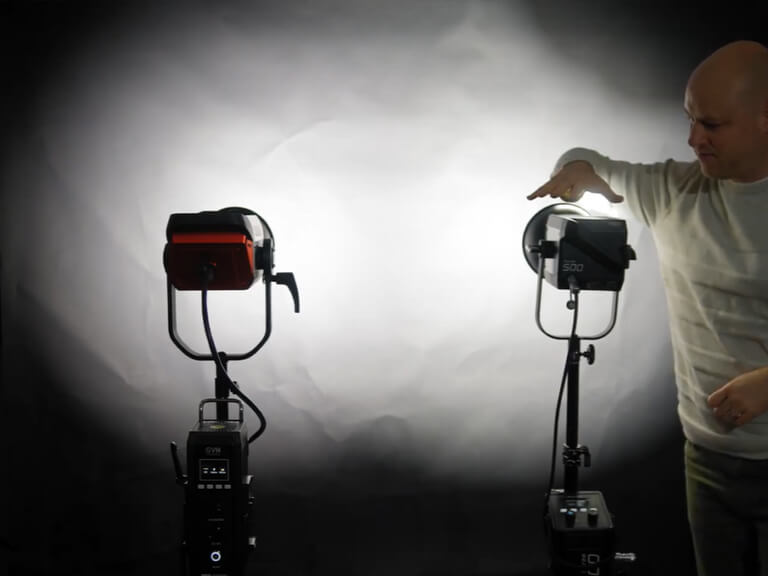
Fundamentals: The Mysteries of Hard Light and Soft Light, Two Essential Light Qualities to Master
Understanding the “personality” of light is the first step in effective photography lighting. Many of my early mistakes stemmed from not differentiating these two fundamental light qualities, leading to less-than-ideal results.
What is Hard Light? Characteristics, Applications, and Challenges
My early family photos were often textbook examples of hard light gone wrong. For instance, pictures of my daughters taken in direct midday sun would have harsh, defined shadows cast by their hats or noses, creating such strong contrast that fine details were often lost.
Definition: Hard light originates from a relatively small, concentrated light source, with a strong, direct beam. Examples include direct sunlight on a clear day or a bare flashgun without any diffusion.
Characteristics:
- Sharp, defined shadows: Shadows have distinct edges and strong outlines.
- Strong contrast: High difference between illuminated and shadowed areas, leading to visual impact.
- Emphasizes texture: Excellent for highlighting surface textures and intricate details.
Applications:
- Dramatic portraits: To create strong chiaroscuro effects and enhance a subject’s character.
- Product photography: Ideal for emphasizing the sheen of metal or glass, and highlighting fine details.
- Conveying power: Suitable for sports, muscular physiques, or impactful compositions.
Challenges:
- Prone to creating unflattering, harsh shadows, especially in portrait photography, which can make skin appear rough.
- Highlights can easily blow out, losing important detail.
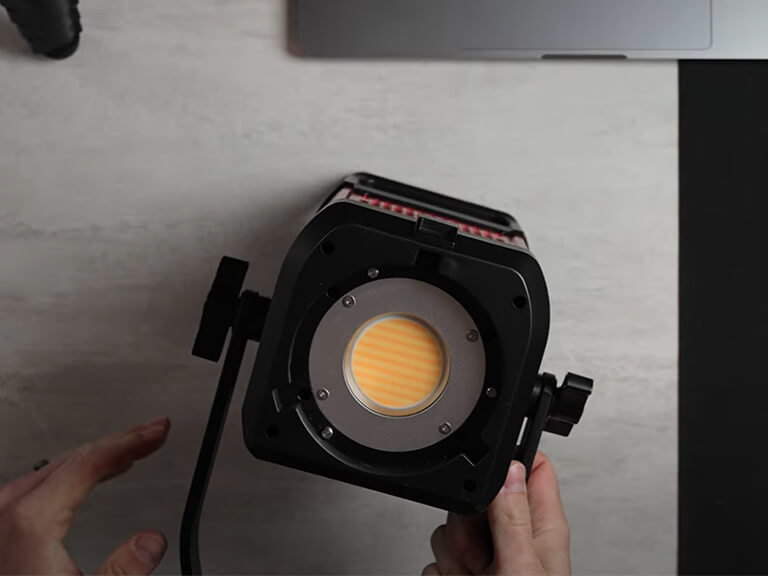
What is Soft Light? Characteristics, Applications, and Secret Weapons
When I learned to harness soft light, it felt like opening a whole new world! My daughters’ delicate skin, and even my fluffy cats (yes, I have many cats!), suddenly appeared so much softer, more detailed, and incredibly textured.
Definition: Soft light comes from a relatively large, diffused light source, with weak directionality, evenly wrapping around the subject. Examples include overcast skies, light filtering through a window, or a studio light equipped with a softbox.
Characteristics:
- Soft, gradual shadows: Shadows have diffused edges, with smooth transitions from light to dark.
- Rich detail: Reduces extreme contrast, preserving more detail in both highlights and shadows.
- Warm and inviting atmosphere: Creates a gentle, comfortable, and intimate feeling.
- Flattering for portraits: Softens skin, conceals minor imperfections, and creates a more appealing look.
How to Create Soft Light:
- Utilize large natural light sources: An overcast sky acts as a giant natural softbox. Indoors, window light can also be an excellent source of soft, diffused illumination.
- Use professional light modifiers: To achieve soft light, you can use specialized photography lighting tools such as softboxes, umbrellas, diffusion panels, or reflectors. These modifiers spread out the concentrated light, helping you create subtle, natural-looking soft light.
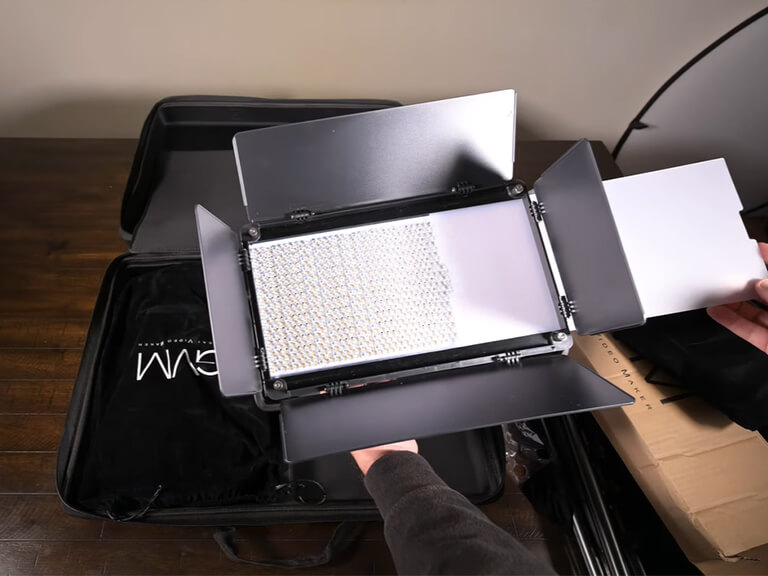
Mastering Lighting: From Natural to Artificial Light, Your First Steps
Whether you’re working with natural light or artificial light, understanding and effectively utilizing them are crucial steps in elevating your photography lighting skills.
Natural Light: The Most Accessible Lighting Tool – But Are You Using It Effectively?
Living in the beautiful Pacific Northwest, I’m blessed with a “natural softbox” – those often cloudy or even rainy days. I learned to chase window light, which became my favorite for capturing cozy indoor portraits of my girls. However, on those dim, rainy afternoons, or when a client needed a shoot at my home, natural light often simply wasn’t enough.
- Utilizing Window Light: A window serves as a large, natural softbox indoors.
- Side Lighting: Position your subject facing sideways to the window to create dimensionality and contrast.
- Backlighting: Place the window behind your subject for silhouette effects, or to create a beautiful rim light.
- Rim Lighting: Use window light as a background light to outline your subject.
- Outdoor Light:
- Golden Hour: The hour after sunrise or before sunset provides soft, warm-toned light, ideal for outdoor portraits and landscapes.
- Blue Hour: The brief period after sunset or before sunrise, when the sky takes on deep blue hues, perfect for urban nightscapes or creating a mysterious mood.
- Overcast Days: Overcast conditions offer naturally soft and diffused light, making them excellent for portrait photography as they eliminate harsh shadows.
- Tip: Cleverly use white foam core boards or small reflectors to fill in shadows. Place the reflector on the shadowed side to bounce light back onto the subject, softening shadows and balancing the light.

Artificial Light: Why It’s Key to Mastering Light Control
While natural light is beautiful, its limitations in terms of time and weather can be a significant challenge for photographers needing consistent results. This is where artificial light becomes your absolute powerhouse for controlling light. Compared to natural light, artificial light sources (like flashguns or LED continuous lights) offer unparalleled controllability, consistency, and flexibility. They open up endless possibilities, allowing you to create lighting effects that natural light simply cannot provide.
From Flashguns to Continuous Lights: A “Surprising” Lighting Transformation
In my early photography journey, like many, my first foray into artificial light was with a flashgun (or speedlight). It was powerful, able to freeze motion instantly, and certainly useful for capturing my daughters’ playful moments. But soon, I started noticing its limitations: each flash felt like a “blind shot”—you could hardly see the true effect of the light before pressing the shutter. What became even more frustrating, as a former TV producer who loves visual storytelling, was realizing that flashguns were utterly useless for video. With the growing demand for video content, I knew I needed a different kind of light.
That’s when I began searching for a continuous light solution, and I turned to video lights (also known as continuous lights). This literally brought me immense surprise and completely revolutionized my approach to photography lighting! Their “what you see is what you get” nature changed everything. I could see the light falling on my daughters’ faces, on my cats (yes, I love cats!), on products, observing the shadows and highlights in real-time. This allowed me to precisely adjust every detail, much like painting on a canvas. And the best part? It enabled me to shoot high-quality photos and videos simultaneously, which was a huge blessing for my workflow. That immediate feedback and control over light, leading to instant visual results, was something flashguns could never offer. This upgrade in my lighting tools not only boosted my efficiency but also brought a qualitative leap in my creative output, truly making photography lighting a joy.
Your Photography Secret Weapon: How GVM Elevates Light & Shadow Creation
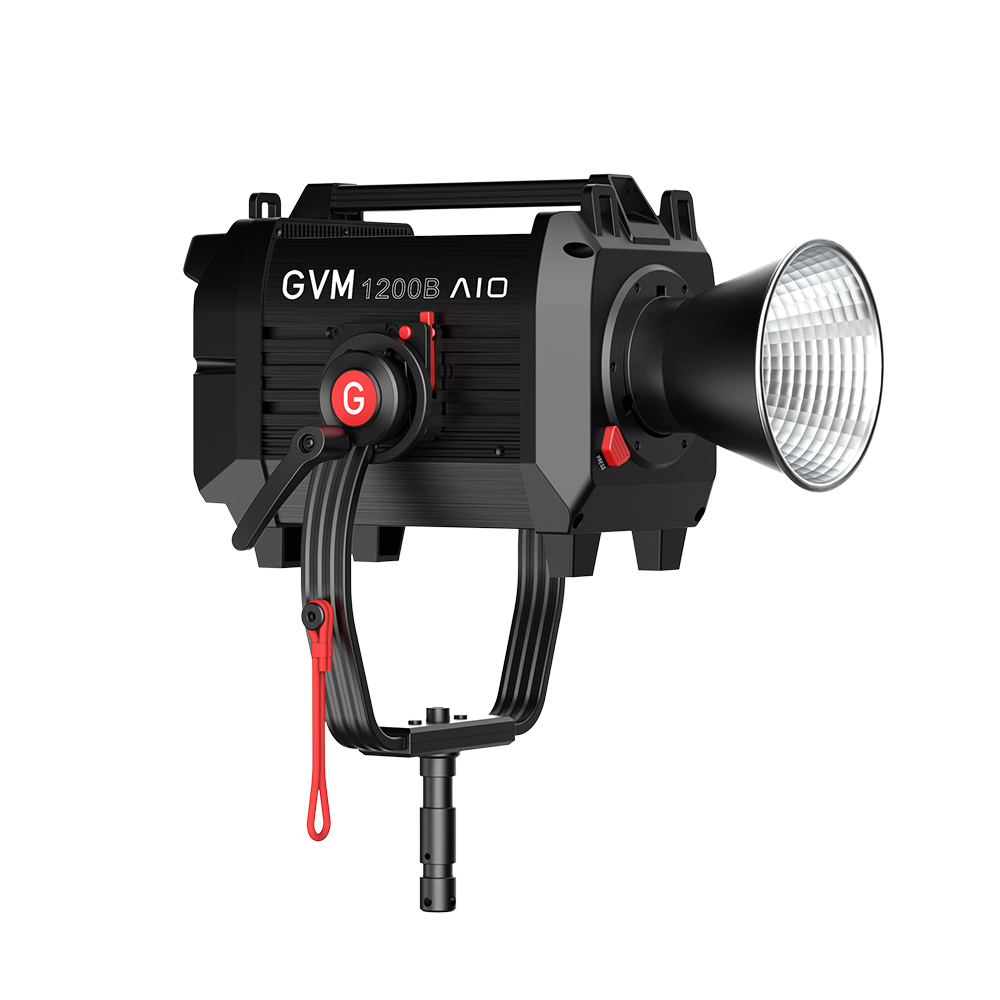
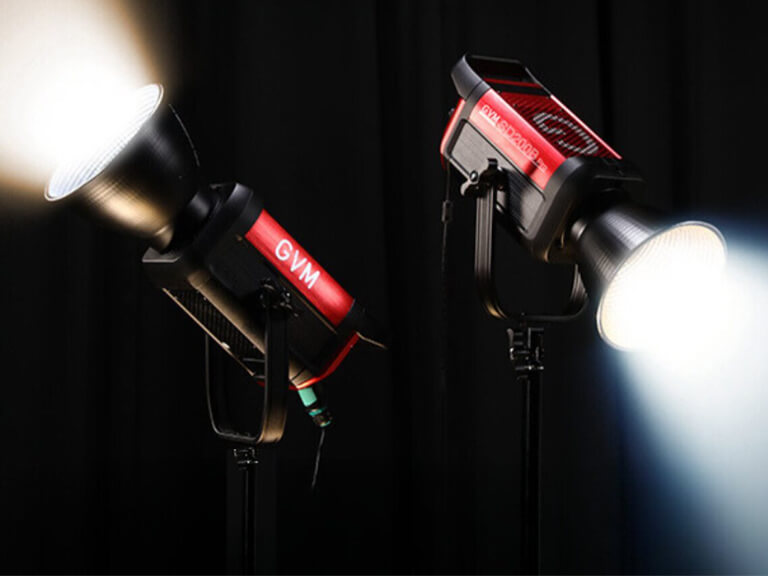
It was precisely during my search for a stable, precise, and versatile continuous light source that I ultimately discovered and was drawn to GVM’s LED photography lighting series. Not only did it meet all my expectations for a video light, but it also exceeded them in many aspects.
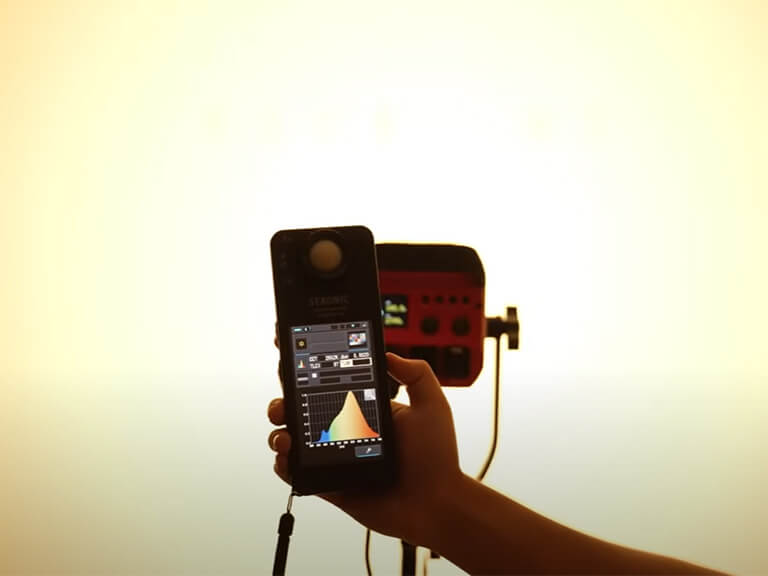
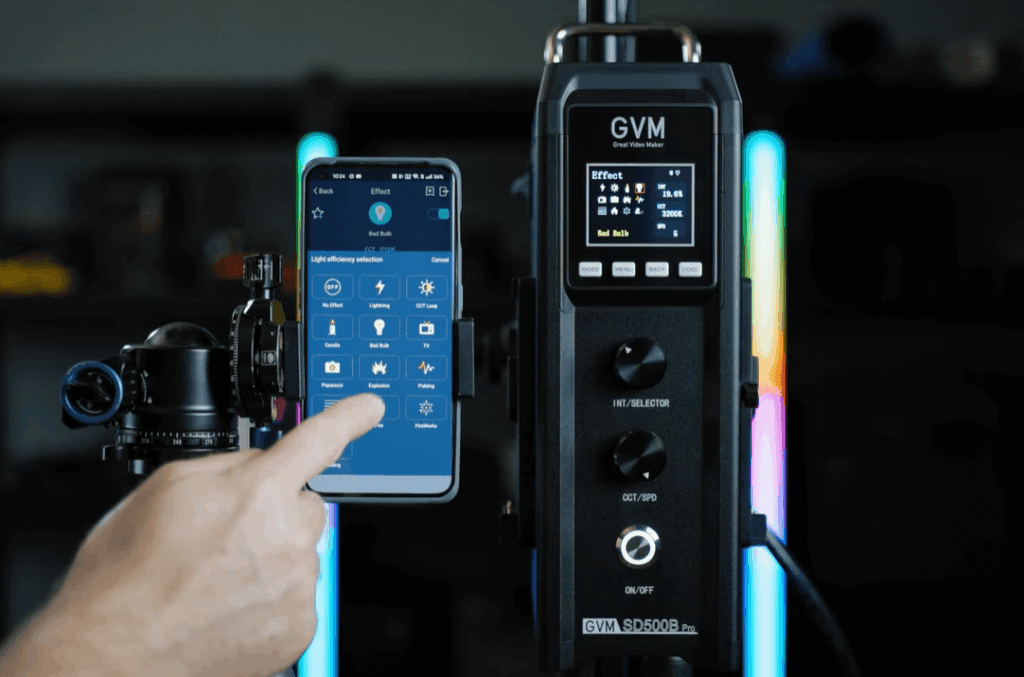
I chose GVM for simple reasons: its high Color Rendering Index (CRI/TLCI) ensures accurate color reproduction, which is crucial for capturing natural skin tones in portraits; its adjustable color temperature and brightness allow me to flexibly tailor the light to any mood or scene, from warm family moments to dramatic professional portraits; its flicker-free design guarantees perfectly smooth video footage; and to my delight, many models even support APP intelligent control, making light adjustments incredibly easy, even when I’m holding a cat! GVM has truly become my most reliable assistant, empowering me to create with confidence in any lighting condition, ensuring every photo and video tells its unique story.
Your First Step: Single-Light Basics & Classic Rembrandt Lighting Explained
Once I mastered artificial light, I started delving into more complex photography lighting techniques. Among them, Rembrandt lighting captivated me the most. I remember the first time I attempted to photograph my eldest daughter using Rembrandt lighting – the magic of precisely sculpting that triangular light patch on her cheek was exhilarating!
Core Concepts: All complex lighting setups are built upon the fundamental elements of Key Light, Fill Light, and Back Light. And the simplest setup – a single key light paired with a reflector – forms the foundation for many classic lighting techniques.
Delving Deeper: Classic Rembrandt Lighting
Among the many foundational photography lighting methods, Rembrandt lighting is a classic effect particularly known for enhancing a subject’s dimensionality and creating a dramatic mood. Its signature feature is a unique triangle of light (also known as “triangle light”) formed above the cheekbone on the shadowed side of the face, bordered by the shadow of the eyebrow and the nose. This lighting style originated from the masterful use of light and shadow in the Dutch Golden Age painter Rembrandt’s oil paintings, like The Night Watch. Renowned for its strong contrasts and ability to sculpt form, it was later adopted and developed by photographers.
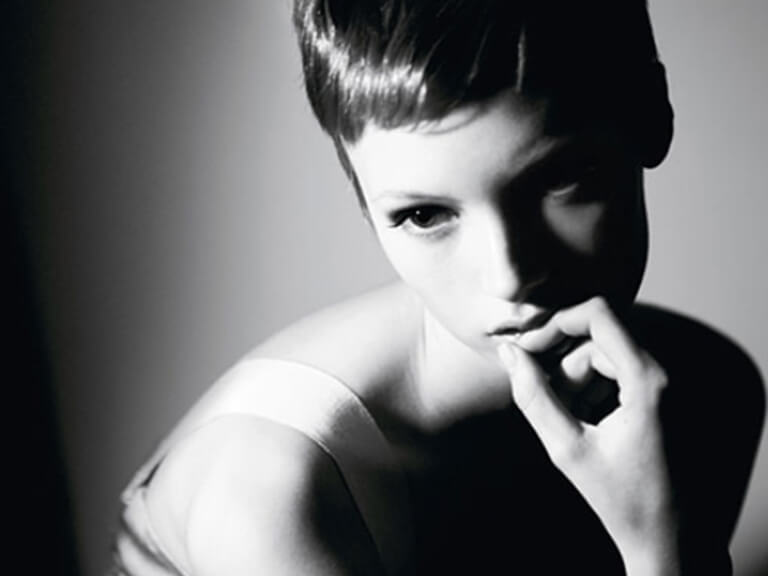
How to Achieve Rembrandt Lighting? Practical Lighting Steps:
Preparation: One main light (A), ideally with a softbox or umbrella. A reflector or a low-powered fill light (B).
- Step 1 (Subject Positioning): Have your subject turn their head slightly away from the light source (typically with about 2/3 of the face illuminated and 1/3 in shadow), until you can just barely see the ear on the side furthest from the light source. This angle is often ideal.
- Step 2 (Main Light A): Position the main light (A) to one side of the subject (typically at approximately a 45-degree angle diagonally from the front) and ensure the light source is higher than the subject’s head. Carefully adjust the light’s angle and height so that the shadow cast by the nose connects with the shadow on the cheek, forming the characteristic triangle of light on the shadowed side of the face. Professional LED photography lighting offers adjustable brackets and precise beam control, which can greatly assist you in perfectly positioning your main light to create the ideal Rembrandt triangle.
- Step 3 (Fill Light B / Reflector): On the shadowed side of the subject’s face (opposite to where the triangle of light is), place a reflector or use a low-powered fill light (B). This is crucial for filling in shadows, balancing the light-to-dark ratio, and crucially, for creating a catchlight in the subject’s eye. Pairing your main light with a versatile reflector or a compact LED fill light can effectively control the light ratio, prevent dark, featureless shadows, and easily capture that captivating catchlight, making the subject’s eyes truly come alive.
- Optional Step 4: Adding a hair light (C) and a background light (D) can further enhance depth and atmosphere in the image.
Important Note: Not everyone is suited for Rembrandt lighting. Subjects with higher cheekbones or a prominent nose often yield better results. For those with a less pronounced nose bridge or a flatter face, achieving the ideal triangular light can be challenging, and caution should be exercised.
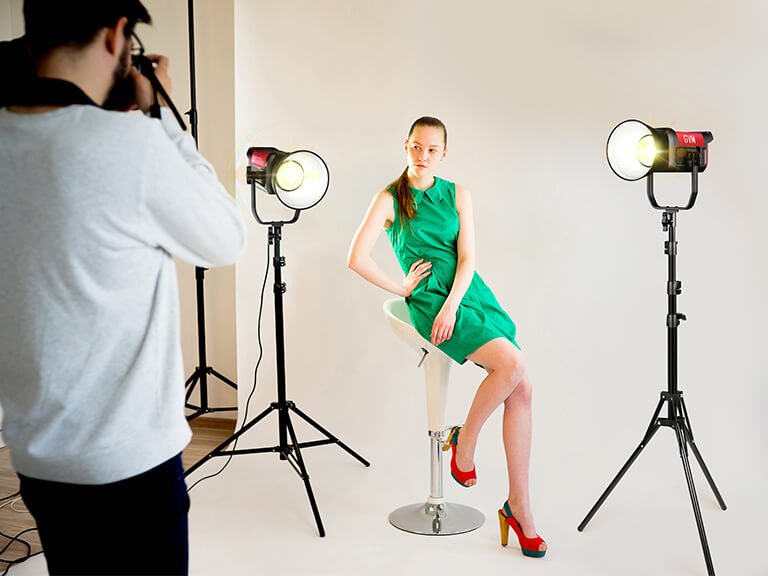
Avoiding Common Photography Lighting “Traps”: Your Mistakes and How to Fix Them
Every photographer, myself included, has encountered these common photography lighting challenges. Here are some insights to help you overcome them:
Problem 1: Photos Look “Flat” and Lack Dimension?
Reason: Direct frontal light fails to create sufficient shadows, resulting in flat lighting that doesn’t sculpt the subject’s form.
Solution: Adjust your light source to a 45-degree side lighting angle. This introduces crucial contrast and shadows, enhancing dimensionality.
Problem 2: Harsh Shadows on Faces, Making Skin Look Rough?
Reason: The light source is too hard and too close to the subject, leading to unflattering harsh shadows and unnatural contrast.
Solution: Increase the size of your light source by using light modifiers like softboxes or umbrellas, or move the light further away from the subject. Larger and more distant light sources produce softer illumination.
Problem 3: Distracting Backgrounds (Cluttered, Over/Under-exposed)?
Reason: The main light directly illuminates the background, or background lighting is imbalanced.
Solution: Adjust the main light’s position to focus primarily on the subject, reducing light spill onto the background. Alternatively, use a dedicated background light (like an RGB light for mood) or control the main light’s power to balance background brightness effectively.
Conclusion & Outlook
For me, photography isn’t just about recording; it’s about telling stories with light. I hope the photography lighting techniques and experiences I’ve shared will help you overcome lighting challenges, making your photos anything but flat, and brimming with life. Just like me, transitioning from a bewildered mom with a new camera to a photographer who can precisely express creativity with light, it all stems from understanding and utilizing light.
Theoretical knowledge is the foundation, but true progress comes from practice. Be bold, pick up your camera, grab your photography lights, and experiment. You’ll discover the immense joy of mastering light!
I look forward to seeing the incredible works you create with light, telling your own unique stories.
Embark on Your Journey into Light & Shadow!
If you’re also captivated by the magic of light and shadow, and eager to equip yourself with professional photography lighting tools that truly make a difference in your creative process, then I wholeheartedly recommend exploring GVM’s product range. Just as GVM is dedicated to providing photographers with exceptional tools, it will undoubtedly become a reliable partner on your creative journey!


