Great portrait lighting is what separates a flat, forgettable photo from an image with genuine depth and dimension. Camera gear matters, but lighting is what actually shapes a face — carving out cheekbones, softening skin texture, and directing the viewer’s eye exactly where the photographer wants it. Whether you’re shooting headshots, editorial portraits, or YouTube-style talking-head content, understanding portrait lighting fundamentals matters more than any lens upgrade.
This guide covers what portrait lighting actually means, how common portrait setups work, the difference between key and fill light, which LED equipment performs best for portrait work in 2026, and a simple real-world example of how these principles come together in practice.
Tabla de contenidos
What Is Portrait Lighting?
Portrait lighting refers to the deliberate placement and shaping of light sources around a subject’s face and body to create a flattering, intentional look, rather than relying on flat, uncontrolled ambient light. Unlike general photography lighting, portrait lighting is specifically concerned with how light interacts with skin, facial contours, and expression.
Good portrait lighting typically aims to:
- Define facial structure by creating subtle shadow and highlight contrast across the face
- Control skin texture, using softer light to minimize imperfections or harder light to emphasize detail and character
- Direct focus toward the eyes, which are almost always the visual anchor of a portrait
- Set mood, since warm, soft light feels intimate and approachable while harder, cooler light can feel more dramatic or editorial
Unlike product or landscape photography, where evenness is often the goal, portrait lighting embraces controlled contrast — the goal isn’t to eliminate shadow entirely, but to shape it intentionally.
Portrait Lighting Setups Explained
Most portrait lighting setups are built around a small number of well-established configurations, each suited to different looks and skill levels.
One-light setups use a single key light, often with a reflector to bounce some light back into the shadow side of the face. This is the simplest configuration and remains a favorite among portrait photographers for its ability to produce dramatic, editorial-style results with minimal equipment.
Two-light setups add a second light, typically as fill, to soften the shadows created by the key light. This produces a more even, commercially flattering look and is common in professional headshots and beauty photography.
Three-point lighting builds on the two-light setup by adding a back or rim light, which separates the subject from the background and adds a subtle highlight along the hair or shoulders. This is one of the most widely taught setups because it balances control with relatively simple execution.
Butterfly, loop, and Rembrandt lighting describe specific key light positioning patterns based on the shadow shape they create under the nose and cheekbone — each producing a distinctly different character, from glamorous and symmetrical (butterfly) to moody and dimensional (Rembrandt).
Most photographers don’t need to master every pattern immediately. Learning how a single key light behaves at different angles and heights is the foundation nearly all other portrait lighting setups build on.
Key Light vs. Fill Light for Portraits
Understanding the relationship between key and fill light is central to controlling how dramatic or soft a portrait looks.
En luz principal is the primary, dominant light source in a portrait setup. It establishes the main direction of light, the strongest highlights, and the overall shadow pattern across the face. Nearly every portrait lighting decision starts with where the key light is placed.
En luz de relleno exists to soften — not eliminate — the shadows created by the key light. A weaker fill light relative to the key produces a more dramatic, higher-contrast portrait, while a fill light close in strength to the key produces a softer, more even, commercially flattering look.
The ratio between key and fill brightness is often described as the “lighting ratio.” A high ratio (strong key, weak fill) creates moody, editorial images, while a low ratio (key and fill closer in strength) creates the bright, even look typical of corporate headshots or beauty photography. Adjusting this ratio is one of the fastest ways to change the entire mood of a portrait without moving a single light.
Best LED Light for Portrait Photography
For portrait work, an LED light needs to deliver three things reliably: high color accuracy for natural skin tones, precise dimming for controlling lighting ratios, and enough brightness to work with softboxes or other modifiers without losing effective output.
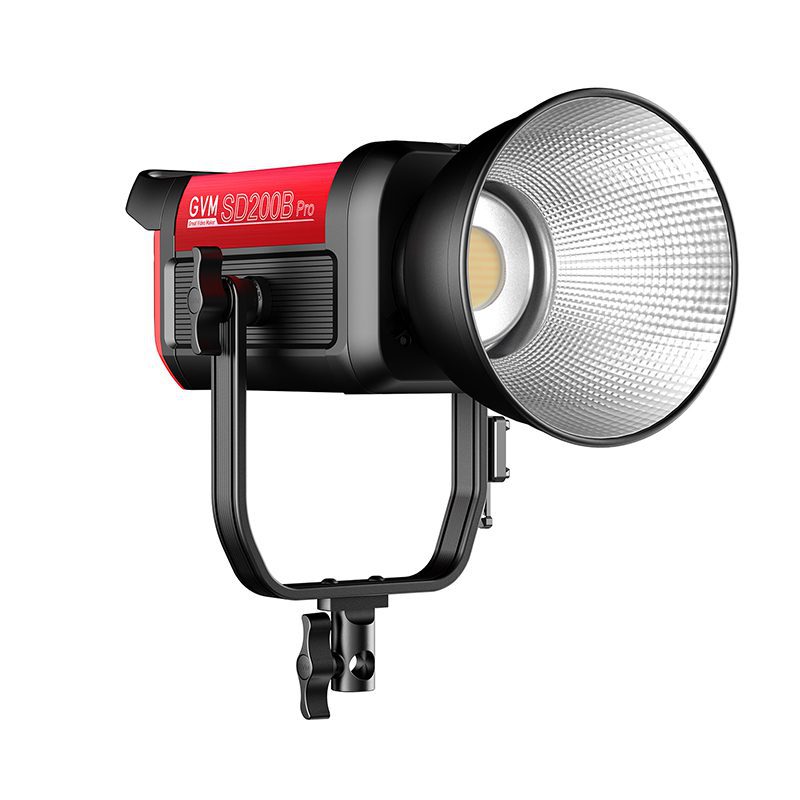
En GVM PRO SD200B is a strong fit for portrait photography on all three fronts. With CRI and TLCI both rated at 97+, it renders skin tones accurately and naturally, avoiding the slightly artificial or flat look that lower-CRI lights can produce on skin. Its 45,400 lux output at 1 meter gives photographers plenty of headroom to shape light through softboxes or diffusion without the output dropping too low to be useful as a key light.
The SD200B’s 1/1000-step stepless dimming makes it especially useful for controlling lighting ratios precisely — a small adjustment can shift a portrait from soft and even to dramatically contrasted without needing to physically move the light. Its bi-color range of 2700K–6800K also allows photographers to match warm, intimate tones or cooler, more editorial lighting depending on the mood of the shoot.
| Característica | Specification / Benefit |
|---|---|
| Modelo | GVM PRO SD200B |
| Brillo | 45,400 lux @ 1m |
| Temperatura de color | 2700K–6800K bi-color |
| CRI/TLCI | 97+ for natural, accurate skin tones |
| Disminución | 0–100%, 1/1000-step precision |
| Control | Onboard knobs, GVM app, 5-Pin DMX |
| Características especiales | 12 lighting effects, 12 light source presets |
| Mejor para | Portrait, headshot, wedding, and interview photography |
Portrait Lighting for Beginners
Beginners often make the same mistake: adding too many lights before learning how one light behaves. A simple, effective starting point is a single key light with a reflector, allowing you to study how angle, height, and distance change shadow shape and softness before introducing additional fixtures.
Start with the key light positioned at roughly 45 degrees from the subject and slightly above eye level, then experiment with moving it closer (softer, brighter) or farther away (harder, more contained). Once you’re comfortable shaping shadows with one light, add a fill light at a lower intensity to begin controlling lighting ratio, and only then introduce a back or rim light for separation.
Mini Case Study: A Simple Two-Light Headshot Setup
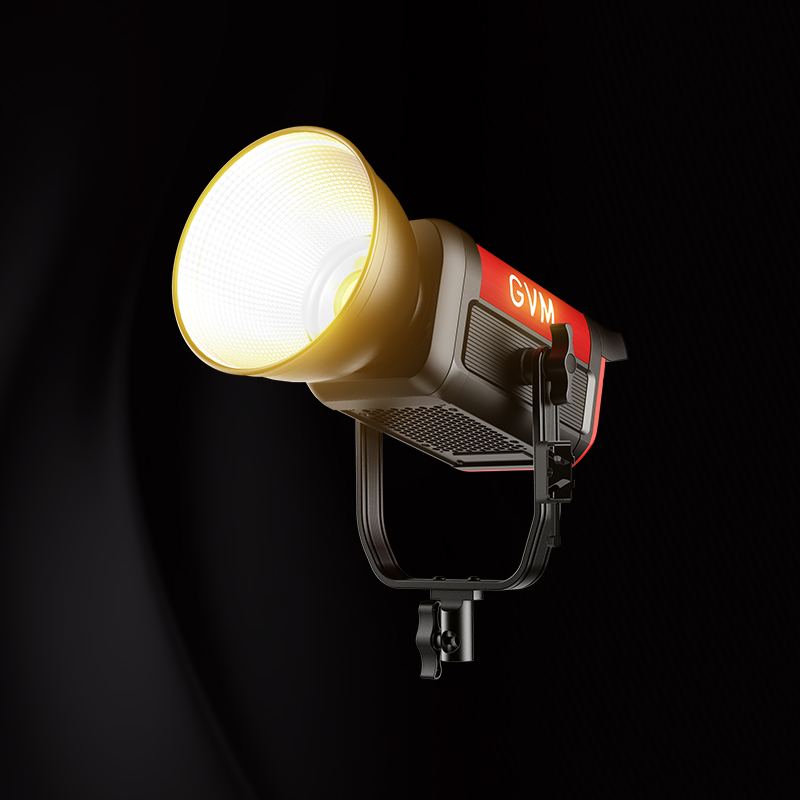
To see these principles in action, consider a common scenario: photographing a corporate headshot in a small home studio using a single GVM PRO SD200B as the key light and a basic reflector as fill.
The SD200B was positioned at 45 degrees to the subject’s face, slightly above eye level, with brightness set to roughly 70% and color temperature set to 5200K to match a neutral, professional look. Rather than adding a second light immediately, a white foam board reflector was placed on the opposite side of the subject to bounce a portion of the key light back into the shadow side of the face, softening contrast without fully flattening it.
Using the SD200B’s onboard dimming, the photographer adjusted brightness in small increments to fine-tune the lighting ratio until shadows were soft but still visible — producing a professional, dimensional headshot without needing a second powered light source. This single-light-plus-reflector approach illustrates a core portrait lighting principle: control and precision matter more than the number of lights in a setup, especially for beginners still learning how light and shadow interact.
Conclusión
Portrait lighting is fundamentally about control — shaping shadow and highlight to reveal character, mood, and dimension rather than flattening a subject with even, uncontrolled light. Understanding the relationship between key and fill light, starting simple with a single light and reflector, and choosing equipment with accurate color rendering and precise dimming will take any photographer further than simply acquiring more gear. With its high CRI, strong output, and fine dimming control, the GVM PRO SD200B gives portrait photographers — from beginners to working professionals — the tools to shape light with real precision.
Ready to improve your portrait lighting? Explora el GVM PRO SD200B to start building a setup that brings out the best in every subject.