Table of contents
- Introduction
- Understanding GVM daylight LED photography
- Setting up your daylight LED photography studio
- Daylight LED photography techniques
- Best practices for daylight LED photography
- Daylight LED photography in different industries
- Conclusion
Introduction
Welcome to the world of daylight LED photography! Whether you’re a seasoned photographer or just getting started, this technique is worth exploring.
So, what exactly is daylight LED photography? This style of photography uses LED lights that produce the same color temperature as natural daylight. This allows for accurate color rendering and a more natural-looking image.
One of the biggest advantages of using daylight LED photography is that it gives you a lot of control over your lighting. You can adjust the brightness and color temperature of your lights to create the perfect effect for your subject. Another advantage is that LED lights are energy-efficient and have a long lifespan, making them a smart investment for any photo studio.
Daylight LED photography is used in a variety of industries, including fashion and beauty, product photography, food photography, and outdoor and nature photography. It’s a versatile technique that can be used to capture stunning images in many different settings.
Now that you understand the basics of daylight LED photography, let’s dive deeper into the science behind the technique, how to set up a studio, techniques for capturing the perfect shot, best practices for preparation, and more. Keep reading to become a pro at this exciting and dynamic form of photography!
Understanding daylight LED photography
If you’re looking to take your photography to the next level, you may want to consider using daylight LED lights. But what exactly is daylight LED photography and why is it different from other lighting techniques?
At its core, daylight LED photography simply means using LED lights that emulate natural daylight. This type of lighting is known for its consistency and the fact that it provides a more accurate representation of colors than other types of lighting.
So why is daylight LED photography different? Well, for one, it offers a level of control that other lighting techniques just can’t match. With LED lights, you can adjust the temperature, color, and brightness to achieve the perfect lighting for your shot. This versatility is especially useful for photographers who work in a variety of different settings.
Another advantage of LED lights is that they use less energy than traditional lighting sources. This not only reduces your carbon footprint but also saves you money in the long run.
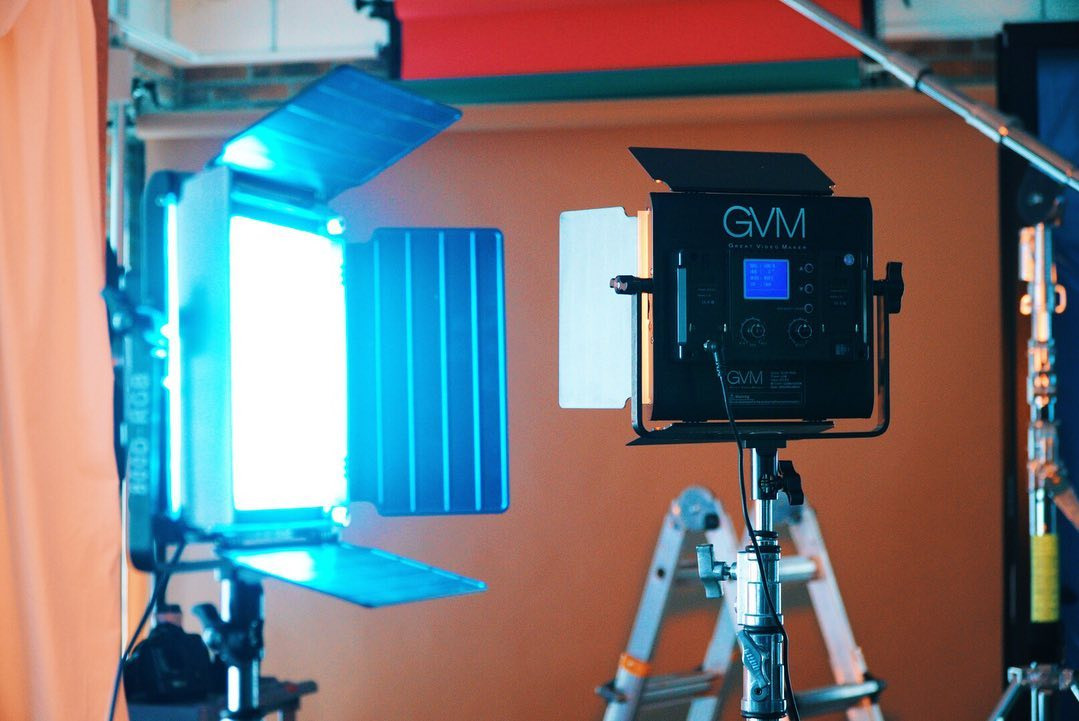
When it comes to types of daylight LED lights, there are two main options: panel lights and tube lights. Panel lights are great for larger spaces, while tube lights are more suited to tight areas or for use as a key light.
If you’re interested in getting started with daylight LED photography, it’s important to invest in quality equipment. Choose lights that have a high CRI (color rendering index) and a Kelvin temperature that matches natural daylight as closely as possible. You’ll also need to consider the positioning of your lights, as well as the backdrop and any other props you may be using.
While daylight LED photography may seem intimidating at first, it offers a wealth of benefits for photographers of all skill levels. By taking advantage of the unique qualities of LED lights, you can achieve stunning shots that truly stand out.
Setting up your daylight LED photography studio
Introduction
Daylight LED photography is a technique that uses LED lights that have a color temperature similar to daylight. In this blog, we will discuss the advantages of using daylight LED photography, the science behind it, and various industries that use it. We will also provide tips and techniques for setting up your studio, capturing the perfect shot, and editing photos. Lastly, we will discuss best practices for daylight LED photography and how it can be used in different industries.
Understanding daylight LED photography
The science behind daylight LED lighting is that it uses a blue LED chip and a yellow phosphor coating to create a color temperature similar to daylight. This type of lighting is energy-efficient and creates a natural-looking light that is great for photography.
Daylight LED photography is different from other lighting techniques because of the natural-looking light it creates. It is also more energy-efficient than other lighting techniques, making it a great choice for photographers who want to reduce their carbon footprint.
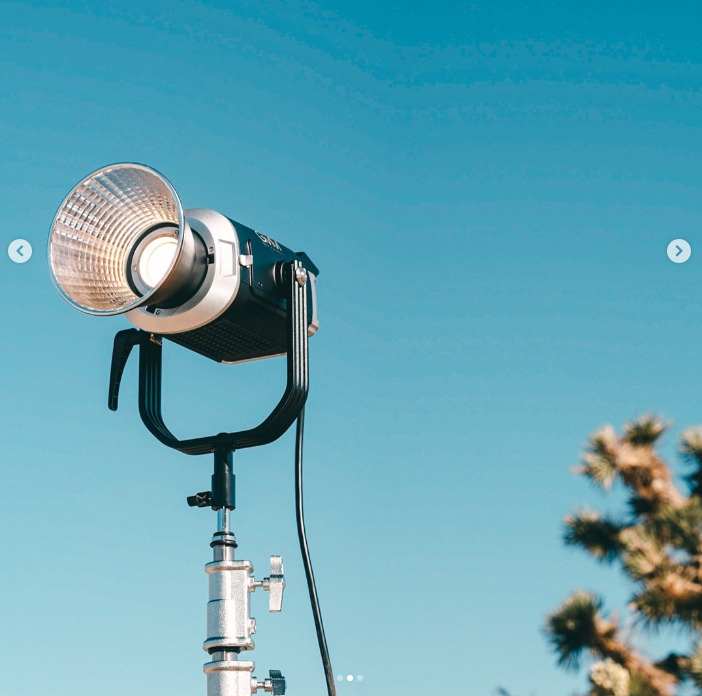
There are various types of daylight LED lights available, like ring lights, panel lights, and bulb lights. When choosing a light, consider the size of your studio and the type of photography you will be doing.
Set ting up your daylight LED photography studio
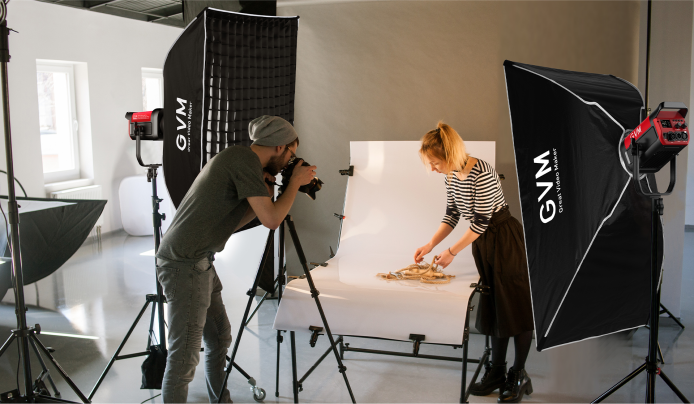
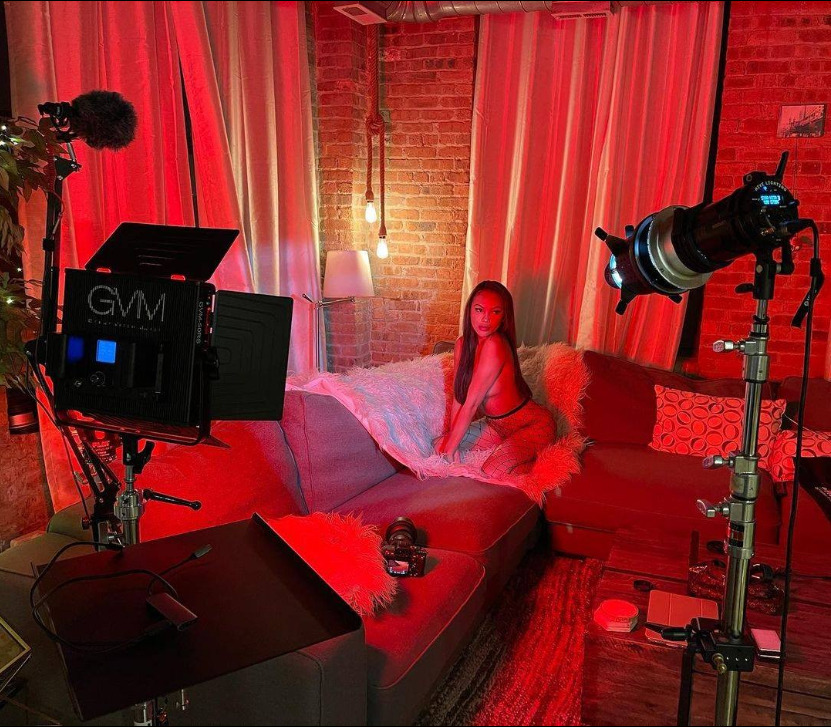
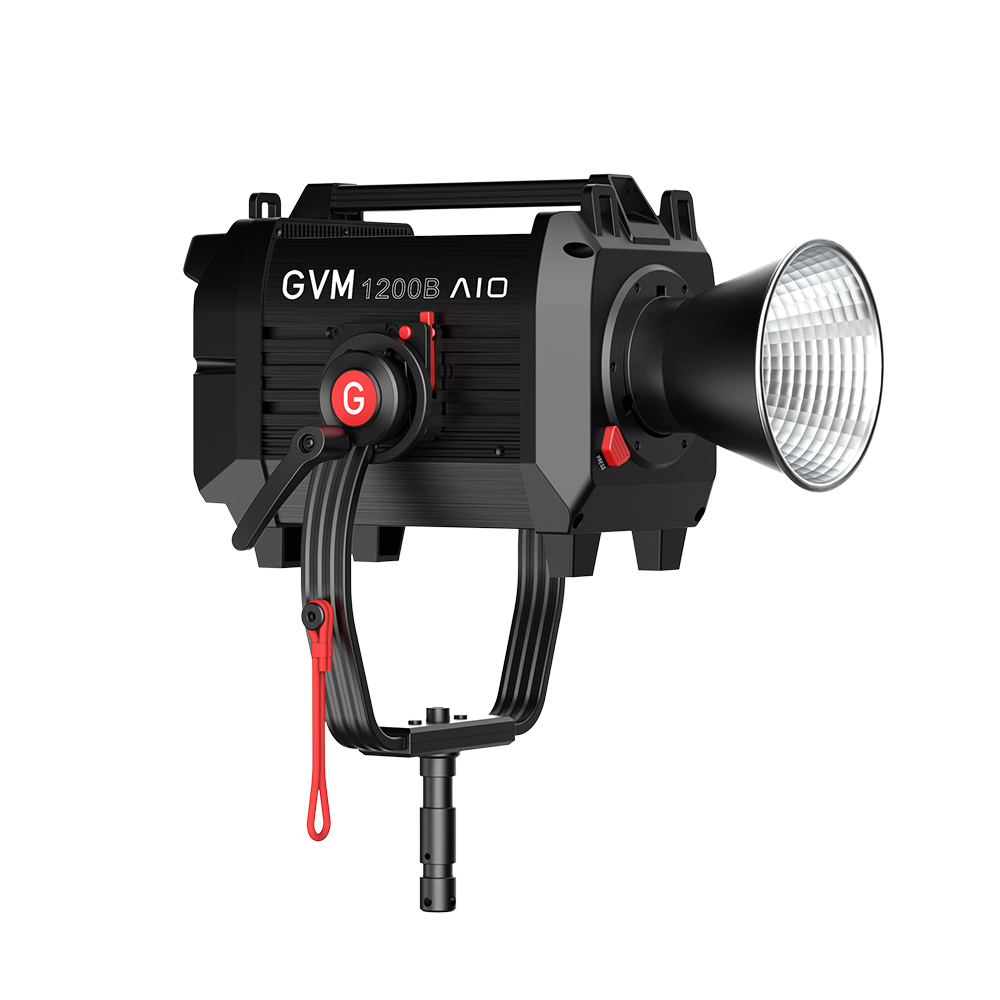
Choosing the right equipment is crucial for capturing stunning photographs. When it comes to daylight LED photography, you want to invest in a good quality LED light that has adjustable color temperature and brightness levels. You should also invest in a diffuser and reflector to soften or direct the light as needed.
Setting up a backdrop is also an important consideration. You can choose from various options like paper backdrops, fabric backdrops, or even a painted wall. Ensure that the backdrop complements the subject being photographed and does not distract from it.
When it comes to positioning the lights, it’s essential to experiment and see what works best for the subject being photographed. Start by placing the light at a 45-degree angle to the subject and adjust as needed. Remember that the distance between the light and the subject can impact the look of the photo. Too close, and the image will be overexposed, while too far, and it will be underexposed.
To capture the perfect shot, it’s essential to keep in mind the rule of thirds. Divide your image into thirds, both horizontally and vertically, and place your subject at one of the intersections of the lines. This creates visual interest and draws the viewer’s eye to the subject.
Daylight LED photography techniques
Using reflectors for enhanced lighting is a great way to soften or direct light and add depth to your images. You can use a white reflector to bounce light back onto the subject’s face or a black reflector to create shadows. Experiment with different reflectors and see what works best for your subject.
Creating contrasts and shadows is another technique that can add depth and dimension to your images. Play with lighting angles and distances to create shadows and highlights that add visual interest.
Working with natural light sources, like windows or skylights, can also create stunning images. Use diffusers or reflectors to soften or direct the light as needed.
When it comes to editing techniques for daylight LED photography, it’s important to remember that less is more. Over-editing your images can make them look unnatural. Adjust the brightness and contrast levels as needed, and remember to sharpen the image without overdoing it.
Best practices for daylight LED photography
Preparation before the shoot is crucial to ensure that you have all the equipment you need and that it’s in working order. Plan your shots and concepts, and communicate with your subject to ensure that you are on the same page.
Using the appropriate camera settings is important for capturing sharp, well-exposed images. Use a low ISO to reduce noise, adjust the shutter speed and aperture according to the lighting conditions, and shoot in RAW format for maximum editing flexibility.
Daylight LED photography in different industries
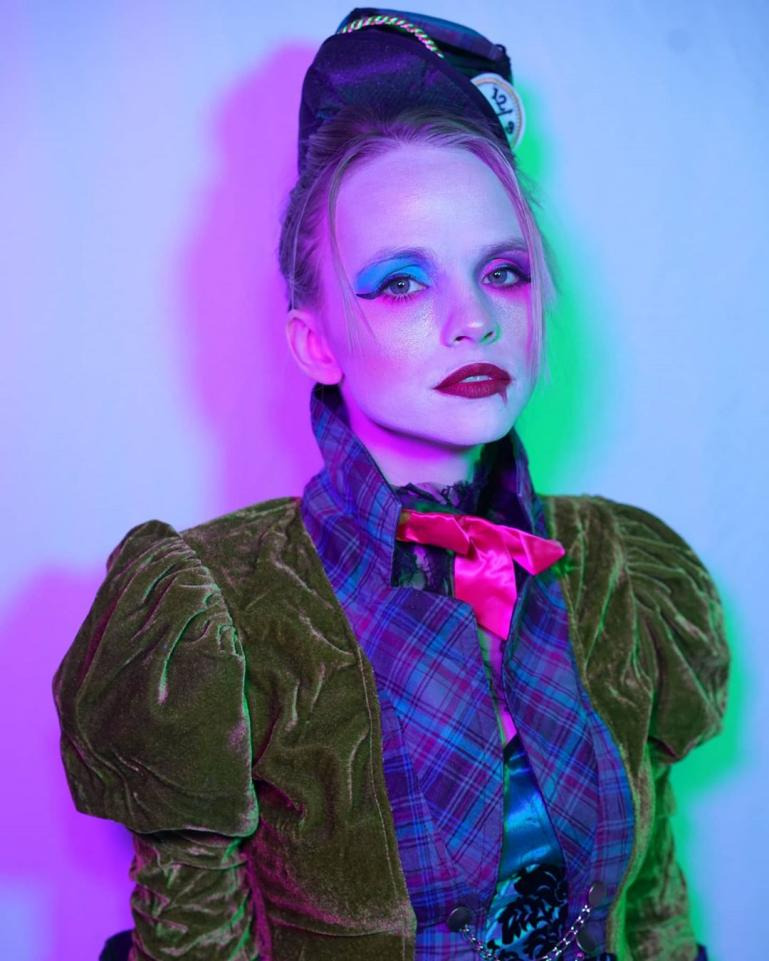
Fashion and beauty photography can benefit from daylight LED photography due to the natural-looking light it creates. Product photography can benefit from the consistent lighting and adjustable color temperature that daylight LED photography provides. Food photography can benefit from the addition of shadows and the natural look of the lighting. Outdoor and nature photography can benefit from the ability to mimic natural sunlight and create a soft, natural look.
Conclusion
Daylight LED photography is a powerful technique that can create stunning images. By understanding the science behind it, setting up your studio correctly, and experimenting with lighting techniques, you can create images that are visually interesting and unique. Remember to follow best practices, communicate with your subject, and have fun!

