Food photography? Angle, lighting, tripod must have!
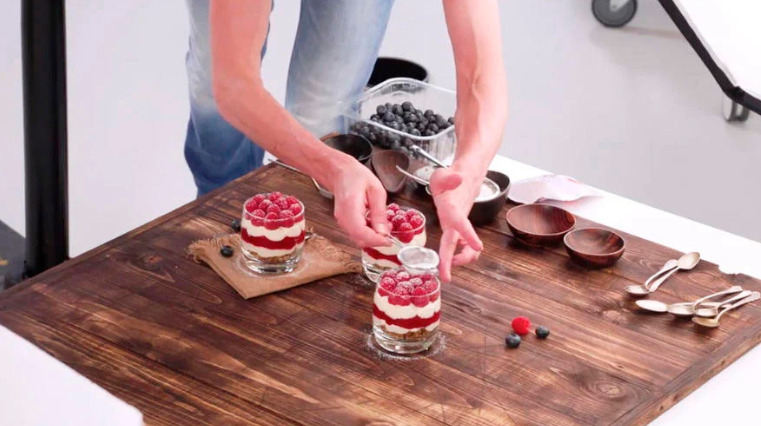
Food photography should not only highlight the freshness and deliciousness of the food, but also the texture of the food – soft, crisp, delicate, oily, etc., to arouse people’s appetite.
Before shooting, it is necessary to consider the influence of light and dark tones on the food, so the combination of various props should be considered according to the characteristics of the food being photographed. In the selection of lens focal lengths, food photography is usually used to capture the delicate details of dishes, and macro lenses are usually used to shoot close-ups.
In the process of shooting food, in addition to the set, the use of light determines the texture and atmosphere of the final work. For photographers who have not been in contact with them for a long time, they can use LED roll cloth lights for lighting. Because this continuous light source allows you to directly observe the visual effect, and can easily set the camera parameters.
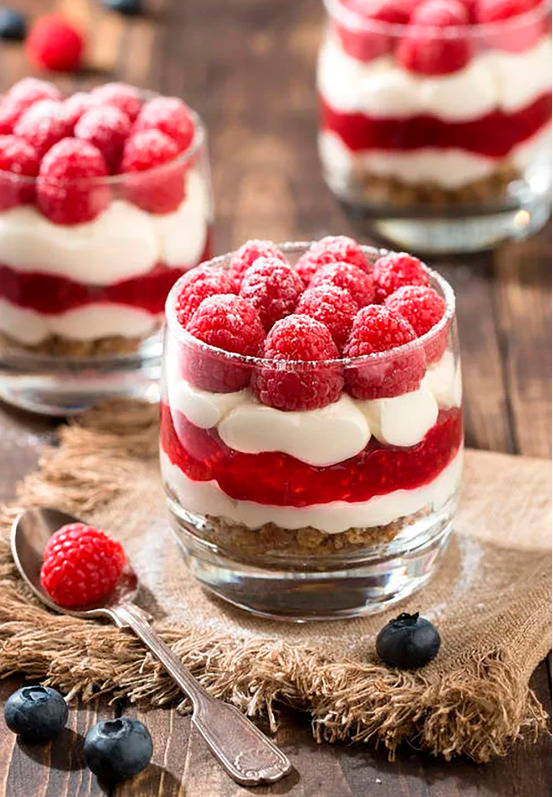
1. Before you press the shutter, ask yourself what you want to shoot
This title may seem silly, but it is actually a very critical step in food photography. The content that different subjects need to focus on expressing is completely different.
What is food photography? The simplest and most basic requirement is that the photos you take should make others feel appetizing after seeing them. Appetite is often caused by the angle of shooting, the intensity of the light, the texture of the object, and so on.
For example, if we need to shoot a bowl of noodle soup, then moderately retaining some highlights and reflections may improve the overall texture.
For another example, if we want to shoot a cream cake, we need to focus on the delicacy and smoothness of the cream part. Therefore, for different subjects, we need to pay attention to different places.

2. Establish layers and interrelationships for each element in the picture
I believe that what you ultimately want to present is a complete picture, rather than a simple and rough stacking of scattered props. Sometimes when we look at the works of photography masters, we feel that although the whole picture has a lot of props, it looks very comfortable and coordinated.
But when I came to shoot or even imitated the works of the great gods, I always felt that something was missing. This is most likely due to the lack of hierarchy and relationships between the props in your footage.
For example, another dinner plate or table cloth can be superimposed under the dinner plate to increase the level. For example, another prop can be placed diagonally behind the subject to help outline the outline, and for example, some knives, forks, paper towels, etc. can be placed. description of the story and plot.
However, please note that the props added to the screen should try to maintain the relevance of the main object. Cakes can be matched with egg beaters and flour sieves, Chinese dishes can be matched with some seasonings, etc. Don’t put some irrelevant props in the picture, which will make the viewers can’t distinguish the primary and secondary aspects of the picture.
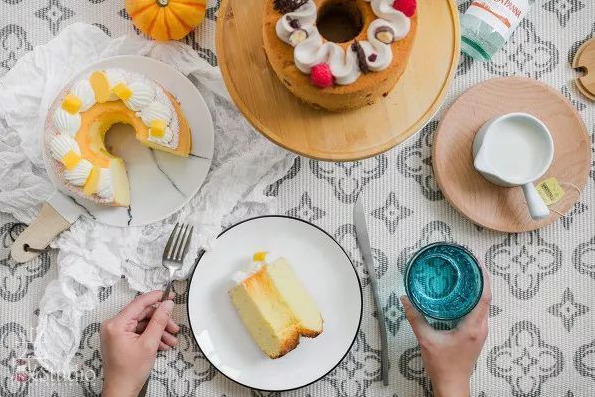
3. A beautiful table or background can add a lot of color to the picture
There is a saying in the food photography circle: Whoever gets the board wins the world. That is the importance of the background board.
If you are a food lover and just like to post your food in the social circle, then you don’t have to buy too many background boards. Sometimes clean tiles or beautiful wooden floors in your home can also make photos stand out. But if you want to make your photos look great, consider finding a nice board, searching online for the keyword old door boards, or going to your local thrift market to find plenty.
Of course, you can also find more styles of boards, such as marble boards, cement boards, tablecloths, curtains, napkins, etc. that match the style of the picture are all good choices.
Another suggestion is to try to choose a background with low brightness and not too fancy in the early stage of photography, which is relatively conducive to highlighting the main object in the picture and not overwhelmed.
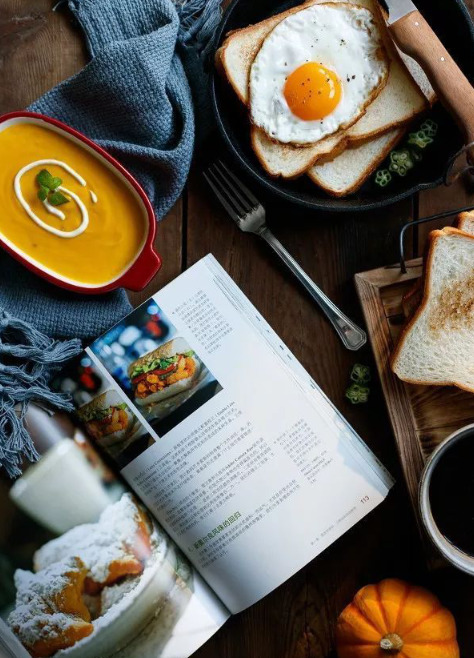
4. The second most important equipment in food photography is not a camera, but a tripod
As far as my own shooting habits are concerned, after I get a subject, I will try my best to imagine a general picture in my mind, and then find a suitable shooting location (such as whether it needs to be near the window, whether it needs to use different the wall or scene as the background), set up a tripod and set up the camera position, and then restore the picture in your mind little by little.
In this process, a tripod can effectively help me frame the range of the picture.
Imagine if we were painting on white paper, and this piece of white paper was always floating around but not willing to lie on the table quietly, then every stroke of yours would be impossible to start. You may recompose the picture countless times due to the change of the framing of the picture, or you may accidentally take a picture that looks good, but some corners need to be fine-tuned when shooting with a hand-held camera. It can’t go back to the “accidental” angle just now.
There’s a simple solution to all of these problems: invest in a trustworthy tripod.The GVM Aluminum Camera Video Tripod DX16 is a good choice. If your budget is not very sufficient, I recommend you a more portable and cost-effective desktop telescopic tripod. Just remember one thing: buy the best one you can afford and budget no less than 1/10 the price of the camera you own.
One more thing: If you choose a tripod with a horizontal axis, it will make it easy to shoot overhead.

5. Forget all the skills I just said, but don’t lose enthusiasm
After watching so much, now let me forget, are you kidding me?
It can be a serious distraction if you’re constantly juggling parameters, light ratios, composition, etc. before every shutter release.
The biggest advantage of digital cameras is that you can always see the photos you took before, so you can make adjustments when you shoot again. So forget all the rules and regulations, press the shutter boldly, then pick out the photos you are satisfied with and post them on various galleries or social media, carefully read those comments, and you will improve quickly.
The Stable and portable tripod
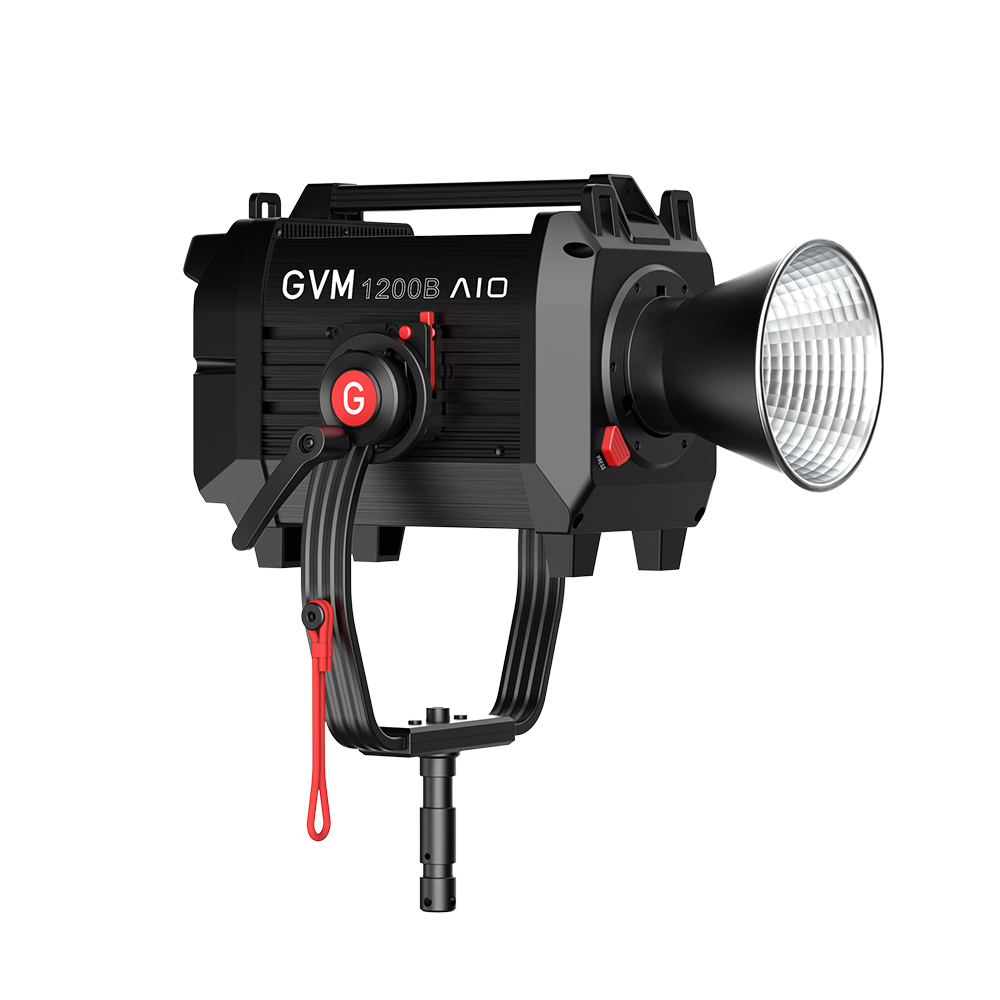
If you want to shoot attractive food, you need a good light. We recommend three lights that are most suitable for food photography:
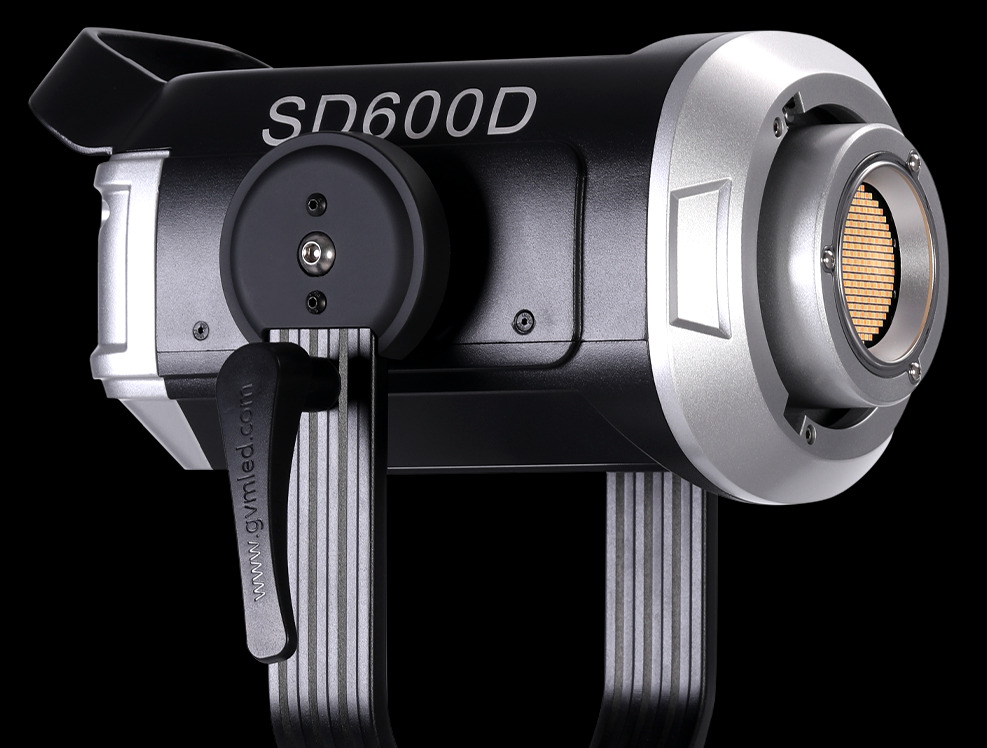
A professional studio LED light, the GVM-SD600D is an excellent all-rounder with a rich kick drum and numerous features. It’s a sturdy lamp attached to a sturdy metal yoke, while a lot of metal is used elsewhere. The SD600D has more than enough power for its needs, and the fan is quiet enough for video and photography work. This may not be the cheapest light, but you can get a lot of kits for a lot of money.GVM has really carved out a name for itself with LED lights in the last couple of years, and the SD 600D looks set to continue that trend. Because the SD600D delivers a variable color temperature range from 2,700-7,500K, GVM has designed the LED chip.
Color temperature: 2,700-7,500K
Illumination: 60,000 lux /0.5m ,19,000 lux /1m
Color Rendering Index (CRI): 97+
180°Rotation
Lighting scenes: 8 kinds
Heat dissipation modes: AUTO, QUIET, HIGH
You Can Get It Form
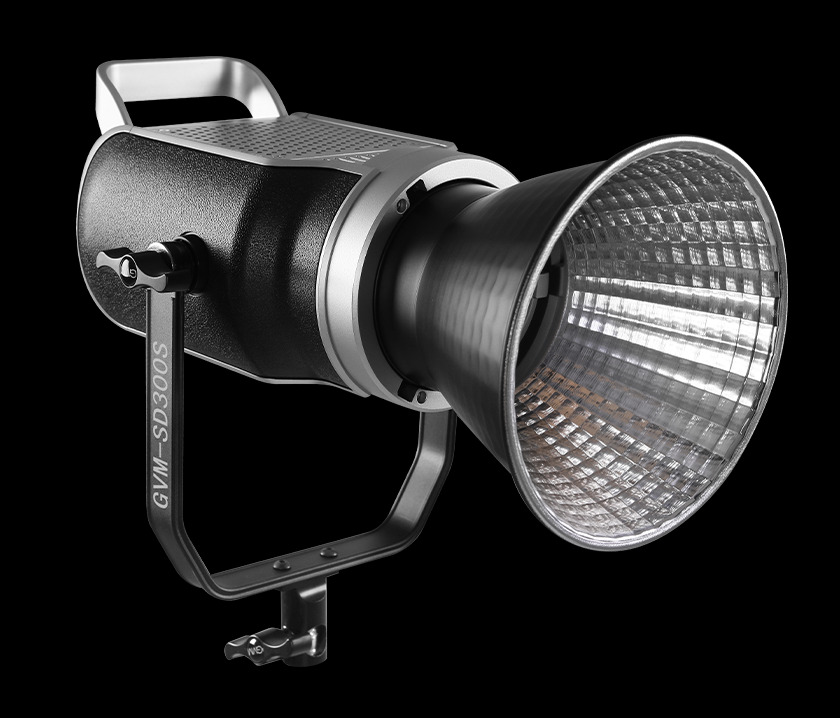
GVM video lighting kit professional creates an impressive bright light 43500 lux/1m and 0%~100% stepless adjustable bright. Perfect continuous output lighting for photography, YouTube, film recording, Vlog.Design with CRI97+, CT 5600K, COB Lamp Bead, GVM light help you accurately reproduce colors and naturally illuminate your photo. The 8 build in lighting effects also enrich your shooting scene. If you want to start a network platform career or video blogger, It’s a great photography equipment for beginners or Productions
Three ways to control this led video light: 1.Download the GVM APP and connect the bluetooth, adjust the paraments on your phone. 2.Pressing and Twisting the Mode Button & Compound Knob can operate the paraments which can read from Large-sized LCD panel. 3.Connect the DMX console to the light through the control cable, and set the light and DMX console to the same channel value then control through the DMX console. (don’t support umbrella)The SD300S features an understated design, with control inputs taken care of via the control box that the light connects to. There’s a quick-release clamp that means it’s easy to attach to the light stand.It’s also worth noting that you can control this light via GVM- APP (available for free for Apple iOS and Android) that offers an impressive level of control.
Accurate colour rendition for filmmaking, with Daylight-balanced CRI 97+
Plus DMX Control, Take your filmmaking to a whole new level
5600k colour temp matches the sun and blend seamlessly as white light for natural look
Function / Feature : LCD Screen, High Display, APP Control,
Master/Slave Mode Control, DMX Control
Power : 300W
Voltage : AC 100-240V
Power Supply Mode : DC Input
Power Supply : 32V/9.5A
Cooling : Radiator & fan cooling
Remote Ability: ≤100m
Product Net Weight: 3.15KG
Product Size (mm) : 228x123x349
Product Material: Aluminum Alloy + Plastic

