Is motion photography difficult? Maybe you didn't adjust the low light properly
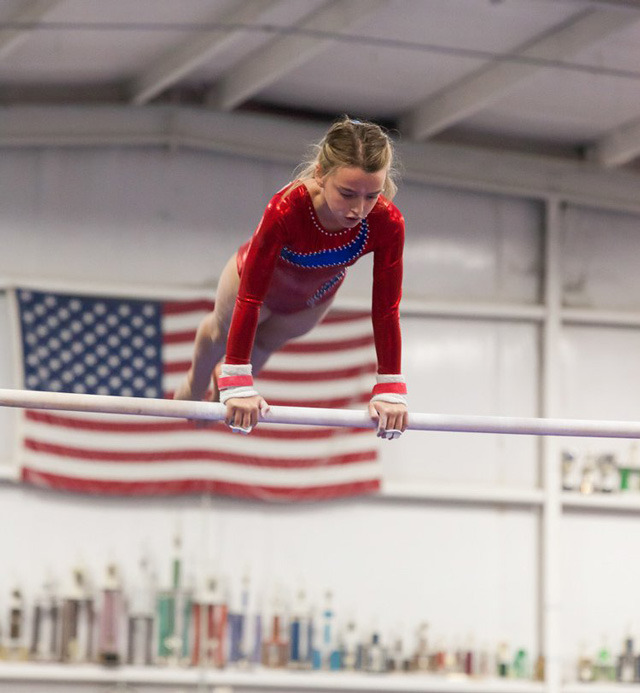
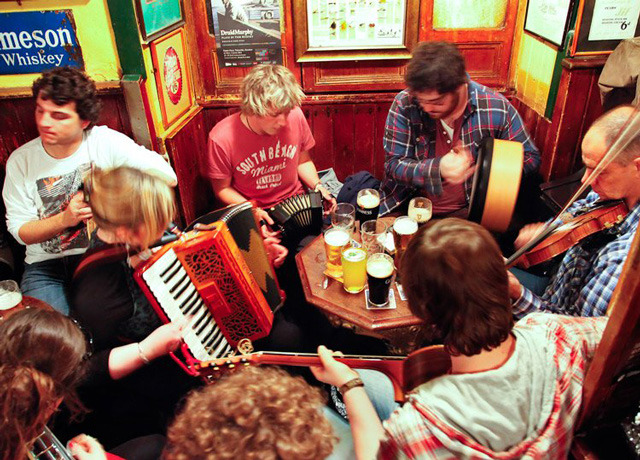
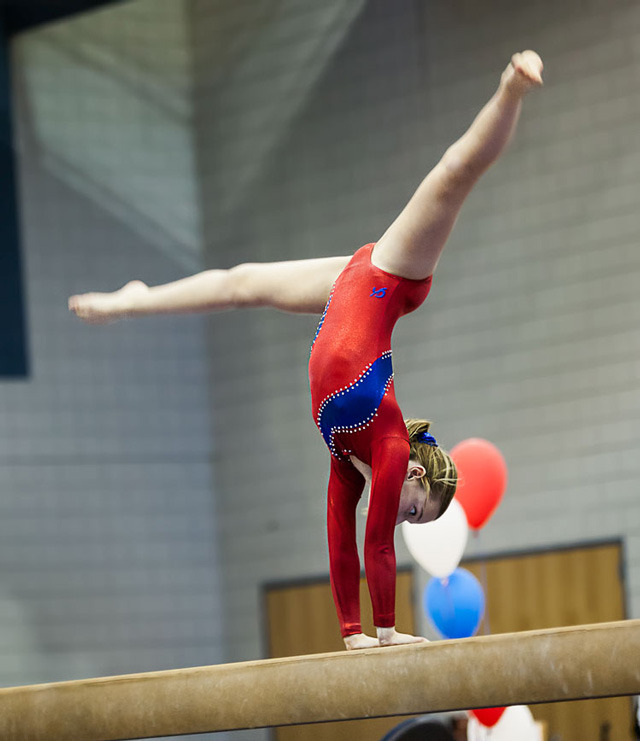
At times I felt as if I were under a curse. Like any other parent who likes to film their children, I wanted to capture their formative moments on camera, but my challenge was much more difficult. My eldest daughter is a gymnast, and for a photographer, shooting at high speed in a gym in bad light is a nightmare; Unfortunately, my middle daughter was not easy for me either. She was always in plays, which meant I had to catch her acting and dancing in worse light than the gym. As a result, I had to spend a lot of time trying to photograph moving objects in low light. After years of research and experience, I have come up with a few tips for tackling this problem, which I hope I can share to help others facing problems similar to mine.
1. Use manual mode
Before you start shooting, make sure the body is set correctly. Let’s start with shooting mode. No matter what mode you’re used to, in low-light motion photography, you need to use a mode that gives you more room to adjust. Manual mode (M gear) gives you more control over the body, so it’s a good choice for shooting. If you’re having A lot of trouble with the M-gear, or if the lighting on the set is unpredictable, then aperture priority mode (A-gear) is fine.

By using the M file, you can determine the exposure values for yourself, and some of these values may not be used in auto mode, but we will definitely need them at some point.
2. Use fast lenses
Next, we will face the problem of choosing a lens. It is important to use what is called a fast lens here, which is a telephoto lens with a large aperture. Low light means you need to shoot with the aperture wide open to let in more light. On the other hand, our subjects are usually far away from us, which requires us to use telephoto lenses. I personally prefer to use a 70-200mm f/2.8 lens.
You may be tempted to use extender lenses to gain extra focal length. If you are not familiar with extender lenses, you may forget that they increase the focal length of your lens by a factor of 1.4 to two, while also reducing the amount of light in one or even two stops, which is valuable in low-light environments. Let’s say you’re shooting at f/4, but with an extender lens your aperture will be f/8, and you’ll be better off later cutting the image to enlarge the main body.
3. Shoot with a wider aperture
Now it’s time to get ready to shoot. The first step in determining your exposure is to find the right aperture. Choosing the aperture size in low light doesn’t require too much trouble. Just use the maximum aperture and let’s embrace more light. The downside of this is that our depth of field will be very shallow, but we don’t need to care about it when we’re shooting this kind of stuff, and who doesn’t love a sharp focus with a well-blurred background?
4. Maximize the shutter speed
Then we need to set the shutter speed. The trick here is to use as fast a shutter speed as you can. Even if your subject isn’t moving much, you still need to consider the safe shutter range based on the focal length of the lens. According to the rules of interaction, the safe shutter is inversely proportional to the focal length of the lens. So, assuming we’re shooting with a 100mm lens, the shutter speed needs to be at least 1/100 of a second or more.
When your subject starts to move, the situation is a little different, and we can no longer settle for a safe shutter, but use higher shutter speeds to avoid unnecessary blurring of the subject. Don’t be too smart about this. Even if we didn’t find any blur when we looked back at the LCD, you might still be disappointed by the sharpness of the image when you get home and open it at full size on your computer.
5, appropriate use of high ISO
Before completing the exposure setting, we also need to determine the ISO. Since we already have the aperture and the shutter, ISO can help us get the right exposure without changing either of these. Don’t be afraid to use a high ISO, I often go up to 1600 or 3200, and sometimes I even use ISO 6400, which I would never normally use.
6. Test the exposure before the shoot
Don’t forget to test your exposure before shooting. Such checks are necessary to prevent our hands from accidentally changing the original exposure Settings during filming. In locations with variable lighting, we also need to check the exposure from time to time to make sure that we don’t have any regrets when we make a mistake.
7. Zoom
Now let’s focus on the photo part. In composition, the first rule is to highlight the subject, zoom in and get closer to the subject, don’t leave too much background, let the viewer focus on the subject.
8.Wait for orgasm
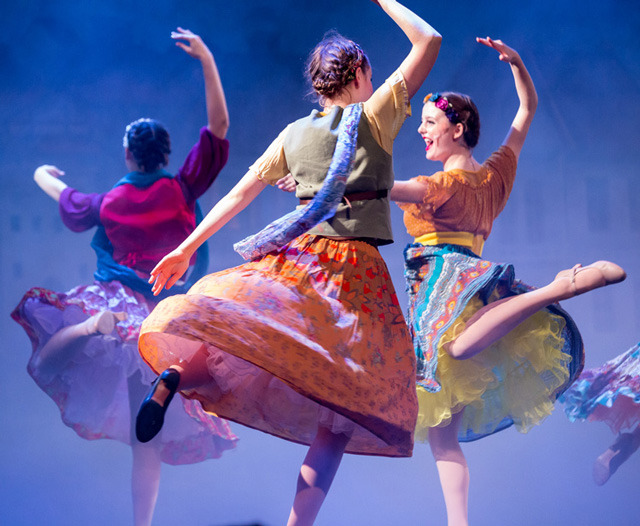
You might like to start the show by firing a lot of shots at the stage, and I know a lot of photographers get great shots that way, but personally, I prefer to anticipate the climax of the show and then carefully prepare for it. Usually after the climax, I use my camera’s high-speed continuous mode to take a quick shot, and then whenever I encounter an interesting scene, I take more shots. Try to predict the “rush hour” of a performance to get a better shot.
9. Don't ignore downtime
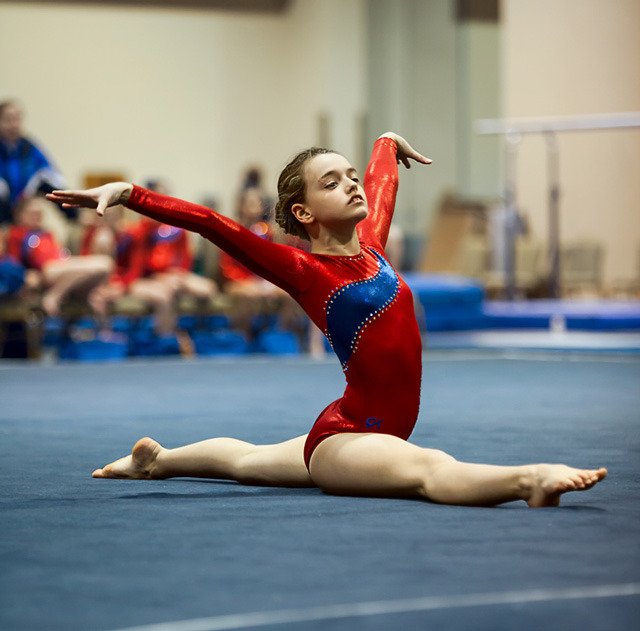
It may sound strange, but the interval between performances is often a good time to raise your camera. The interval or interval I mentioned here contains two meanings. The first layer refers to the moment when a movement stops. For example, gymnasts will end with a final POSE after finishing a set of difficult movements. At this point, recording this POSE would be a good subject for shooting. Another advantage is that our subject is relatively still when shooting this kind of photo, so we don’t have to be afraid of blurred photos.
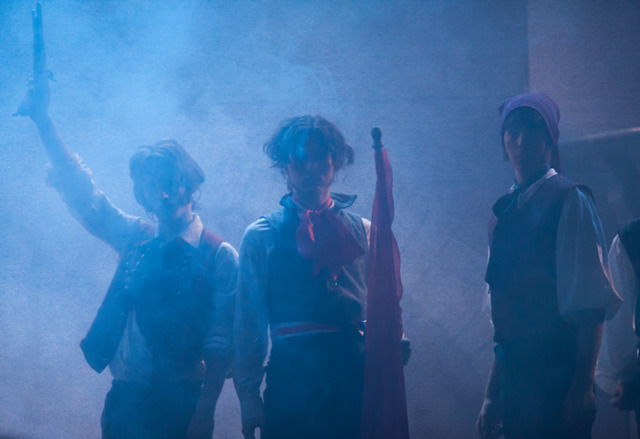
The second kind of interval is really the time like halftime, intermission, interinnings in a sports game, where there’s some warm-up activity, and I think that would be a good subject to shoot. In addition, we can usually have more freedom at this time and try to change the shooting position without worrying about disturbing others.
10. Pay attention to the accuracy of focusing
We also face the problem of shallow depth of field because we use the maximum aperture to shoot. This means that there is no room for error in focus, and if there is an out-of-focus problem, it cannot be remedied. So what do we need to focus on? If our subject is a person, then the focus should undoubtedly be on the eyes of the person. If the eyes are not in the same plane, it is a good choice to choose the closest one as the focus.
We can try to give more confidence to autofocus, which can make our shooting more comfortable. Most cameras come with single autofocus and continuous autofocus. Many photographers like to use continuous autofocus to shoot moving objects because the focus automatically adjusts depending on where the object is moving. Personally, I prefer to use the first mode, but don’t worry about it, just choose what you like.
