Learn to use these lights to make your food photos even more appealing!
To control the lighting for food photography, you must learn to use artificial light. The good news is that you can take great food photos with just one light.
Note that for this article, I’m not talking about advertising or professional food photography. These are highly professional and require more lighting and a lot of PS processing. It’s more about shooting food for blogs, restaurant review style photos, like seen in magazines. There are two types of artificial lighting you can use when taking food photos, each with their own advantages.
01 Simple setup with constant light
The always-on light source provides a steady light for your setup to shoot the scene, the benefit is that you can see the light and shadow in the scene accurately.
If you’re starting out with food or still life photography, an always-on light source might be a good choice. You can get decent lights for relatively cheap. If you’re interested in shooting videos for your blog or Instagram profile, you’ll need always-on lighting.
02 Adjust the lights
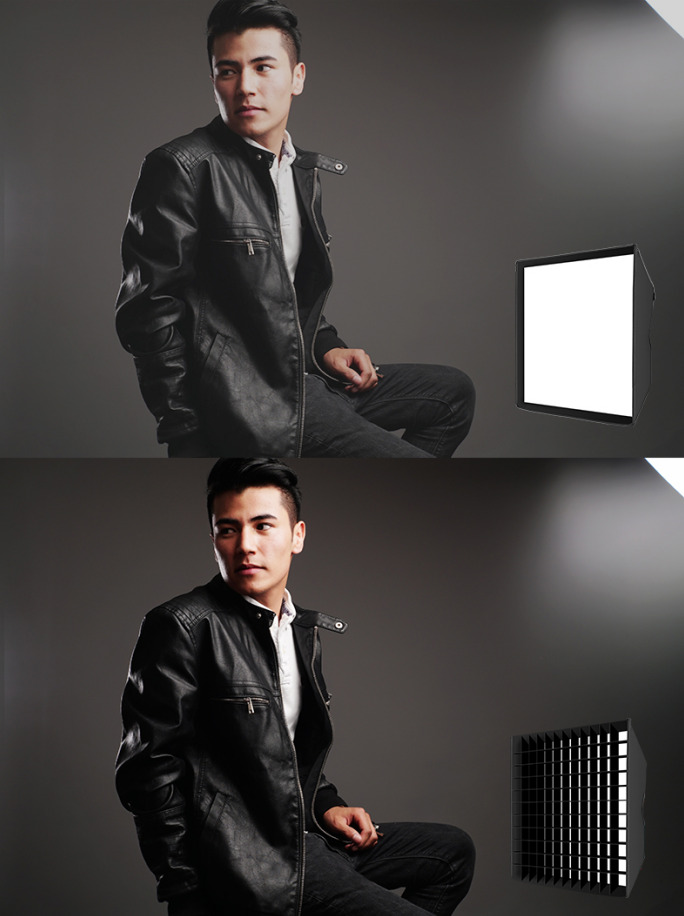
It’s not enough to just have an artificial light source, you need to get enough light on the subject and sculpt and adjust the light to find the best angle to display the food. Softboxes are one of the most common adjustments in food and still life photography. Another trick I use a lot is a reflector with a honeycomb grid.
Reflectors are a standard tool in photo studios. The inclusion of a honeycomb grid cuts off excess light and narrows the light source, creating strong contrast in food photos without being too harsh. I recommend using a 20 or 30 degree grid.
Another important tool in the kit is the diffuser. It’s a piece of white transparent material that you can place on the edge of the table to softly illuminate the light in the shooting scene. The light source of the flash is too strong, and if it is not diffused, the result will be too hard, which is often not an ideal look in food photography.
Meanwhile, you can buy a professional 5-in-1 reflector kit that includes foldable reflectors in a variety of materials. For example, silver can brighten your food, and gold will increase the color temperature, creating a warm and inviting atmosphere.
03 Soft light or hard light?
Before shooting, you should have a basic concept or vision for the final film. Do you want the lighting to look soft and three-dimensional, or do you want extreme contrast? The greater the contrast between light and dark, the more vivid your image will be.
Often, your subject will dictate the light you choose. The soft or hard light you choose will determine which tools you use. As mentioned before, a large softbox will give you soft light. A dish reflector will give you more contrast.
Whichever method you choose, you should diffuse the light in a way that gives a nice blur effect where the light meets the dark. For example, when I use a reflector with honeycombs, I shoot through an oversized softbox. The soft light becomes the main light source, not the flash. This mimics natural light as closely as possible, like the light from a window.
(1)Side lighting
I suggest you place a light on the left side and the reflector on the opposite side of the light. Our eyes are biased to pay attention to the brightest parts of the image. Side lighting is a great method for many food photography. It works with most setups and is easy to use.
A typical setup for side lighting is to use a softbox close to the table. The larger the light source, the softer the light. The resulting food has a more spatial sense and is very popular in food photography. Move the lights closer or further away, or use smaller or larger reflectors, depending on how much shadow you want to create on the side of the food. Note that even when shooting white and airy light scenes, we still need some shadows.
(2)Backlighting
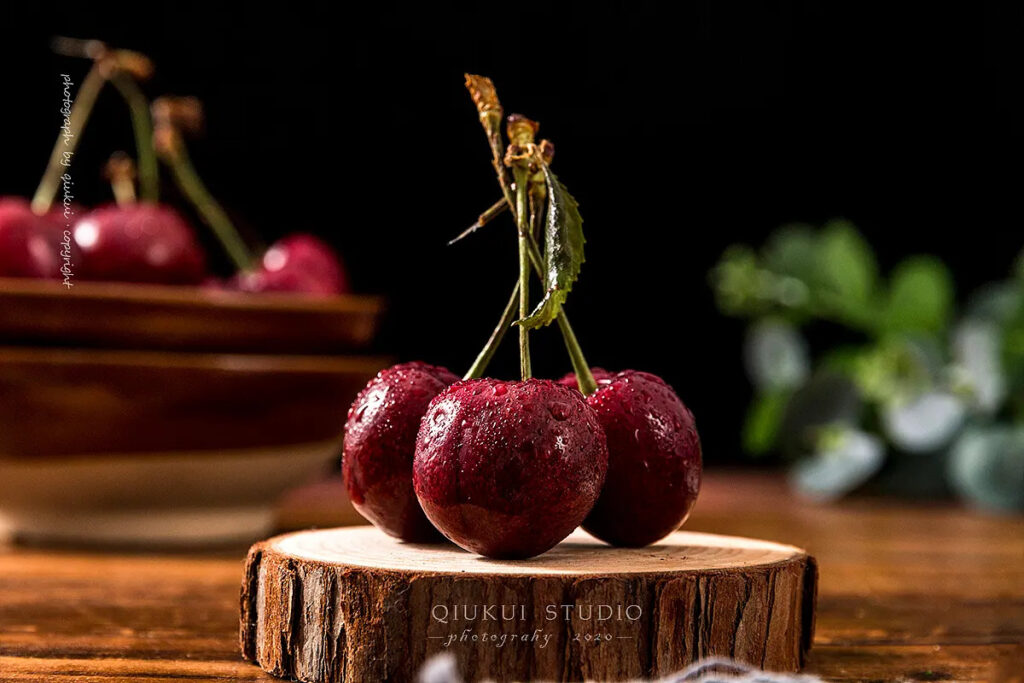
Background light is the light that you will place behind the food. This is the ideal lighting position for beverages or soups, which adds shine and accentuates the liquid character of the food. In general, background lighting is powerful for food photography, making food sparkle and bring out texture.
(2)Angled lighting
Diagonal lighting is a combination of the first two lighting. This is the best of both worlds and the easiest to use. Here, our lights are placed between the 10 o’clock and 11 o’clock directions. With this type of lighting, you can achieve the gloss of the surface provided by the light source without the risk of overexposure. You also don’t have to reflect as much light to the front of the food, since the light hits at a greater angle.
contrast can cause photos to be too dark or look washed out, which is what happens when you shoot with too much light.
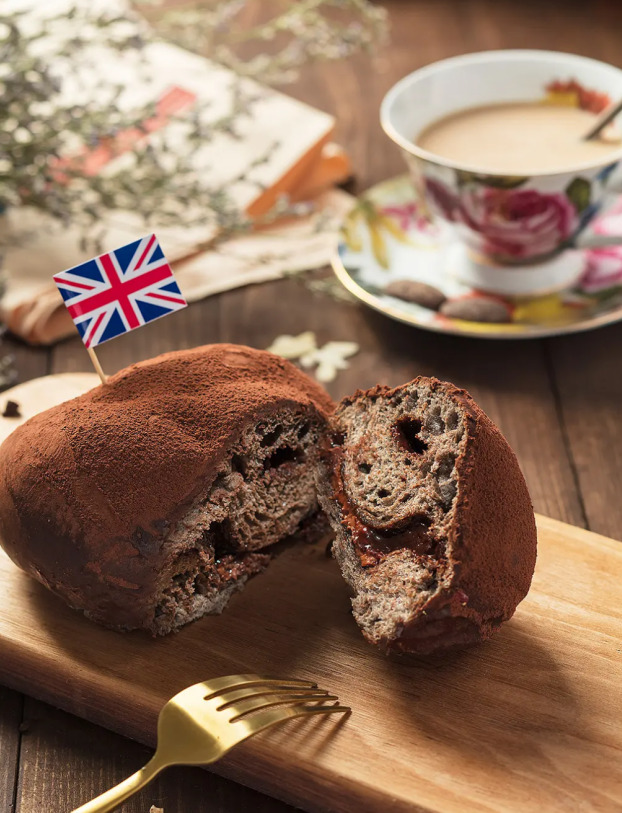
When using side backlighting, you have to adjust the height of the light according to the scene. It depends on where you want the shadow to be. Remember, the closer your light source is to your scene, the softer the falloff.
(4)Other lighting styles
Two types of lighting that are not suitable for food photography: front lighting and overhead lighting. Front lighting is when your light is in front of the subject and at the same level as the camera. It’s great for portraiture, but can overshadow food. Your image will look flat, without space and texture. Top lighting also makes the film feel flat. In fact, it used to be a popular lighting style in the 80s!
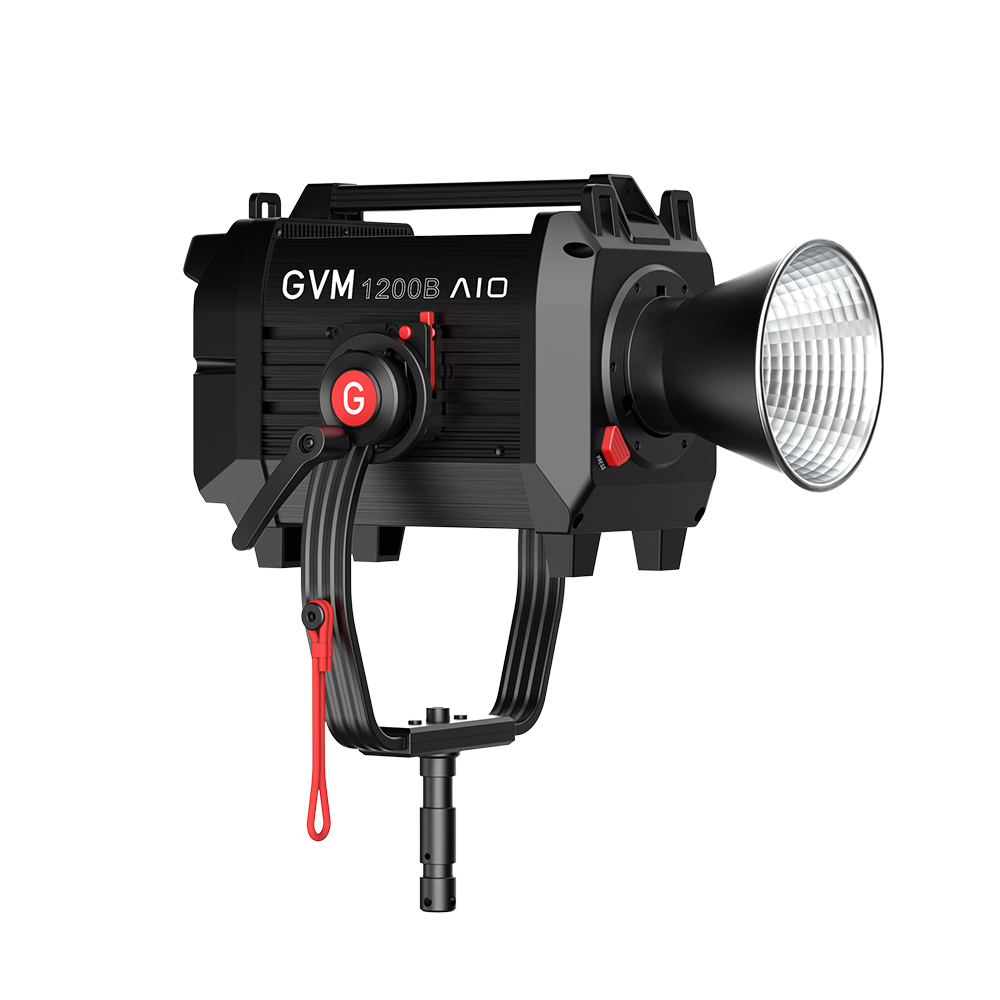
GVM recommends the easy-to-use photography light for you
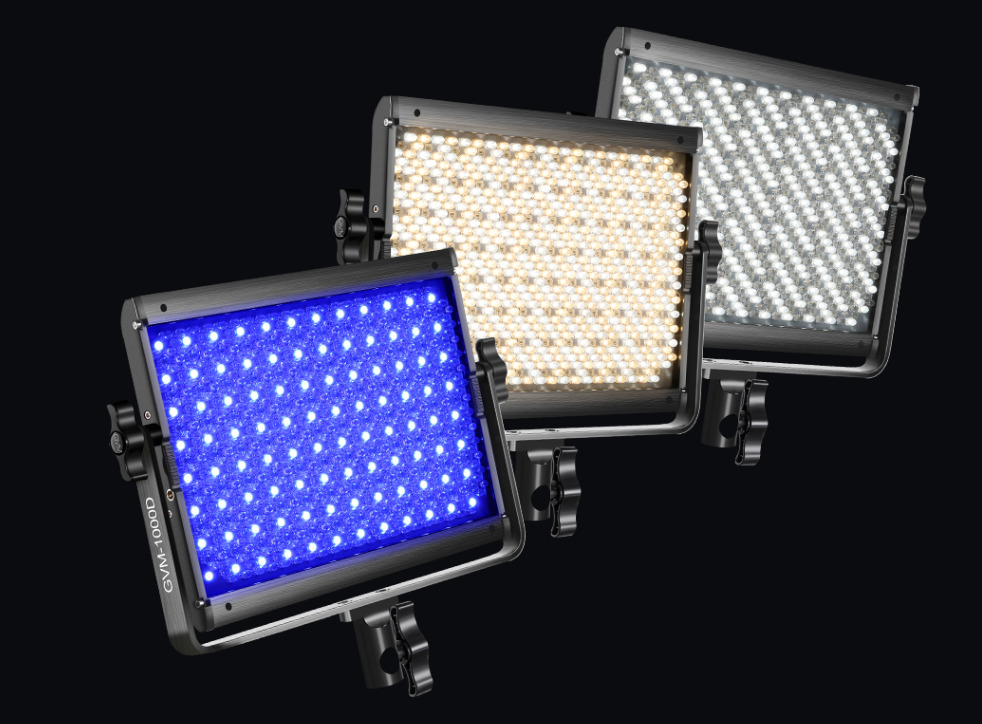
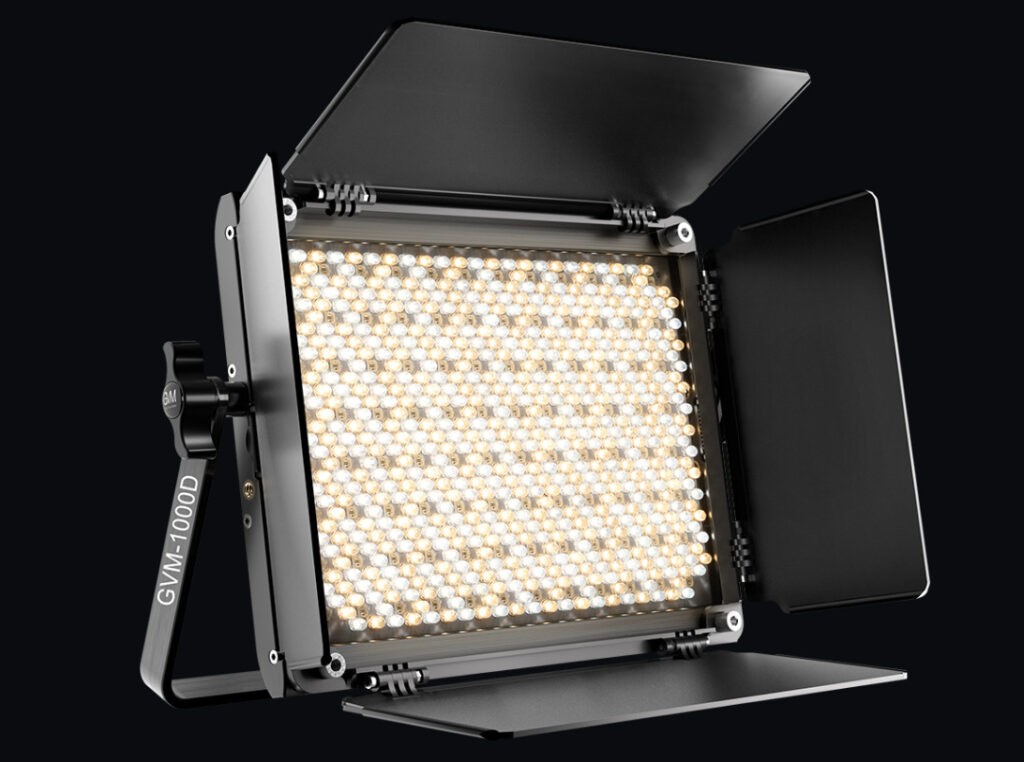
GVM-1000D
The 1000D RGB LED Studio Video Light Bi-Color
Soft Light Panel from GVM is a compact light source measuring
just 12.5 x 12.5 x 1.6″. The light’s high CRI rating of 97
is an indicator of advanced accuracy in rendering color.

The first mode is where the color temperature is
between 3200K and 5600K.
The second mode allows you to adjust the hue output
and color saturation of red, green,and blue from 0% to 100%
This means you can quickly match the current ambient with a knob.
45W High Power, lumens is 19000lux/0.5m, 6000lux/1m.
Super bright that can fill your studio room,
providing you a natural and vivid shooting effect.
8 Kinds of Scene Lights:
Lighting,Police Car,Candelight
TV,Bad Light Bulb,Disco
Paparazzi,Party
Featuring Mobile Bluetooth APP control function
can be controlled light by smart mobile device
Search the APP “GVM_LED” from major APP stores or the manual
RGB 1000D supports Master and Slave control mode.
You could set one light as the master mode
and other GVM lights as Slave mode
which you could easily control all lights with the master one.

Equipped with 736 led beads
(96 RGB SMD led beads, 640pcs spotlight led beads),
which are brighter than other RGB panel lights.


