Introduction
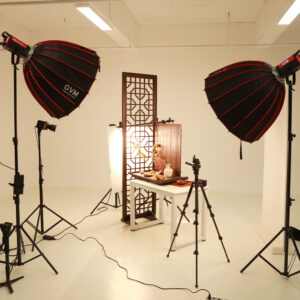
Imagine stepping into a studio, ready to capture the perfect shot. The subject is poised, the composition is flawless, and your camera is primed. But something is missing. The lighting. Studio lighting can make or break a photograph, and understanding how to set it up is crucial for achieving stunning results.
In this guide, we will explore the factors to consider when setting up studio lighting, the different types of lighting equipment available, and how to position and modify the lights for optimal results. Whether you’re a seasoned professional or just starting on your photography journey, this comprehensive guide will equip you with the knowledge to create captivating images.
So, let’s dive into the world of studio lighting and unlock the secrets to capturing the perfect shot!

Section 1: Factors to Consider When Setting Up Studio Lighting
Before you even begin setting up your lights, it’s essential to consider a few factors that will influence your lighting choices. The first factor to consider is the type of photography you’re pursuing. Portraits, still life, and product photography each have their own unique lighting requirements.
Another crucial consideration is the available space. If you’re working in a small studio, you may need to adjust your lighting setup accordingly. Additionally, the desired mood and atmosphere of your photographs will play a role in determining the type and placement of your lights. Are you aiming for a soft, romantic feel or a dramatic, high-contrast look?
Lastly, don’t forget to consider your budget. Lighting equipment can range from affordable to quite expensive. It’s important to strike a balance between your budget and the quality of equipment you invest in.

Section 2: Choosing the Right Lighting Equipment
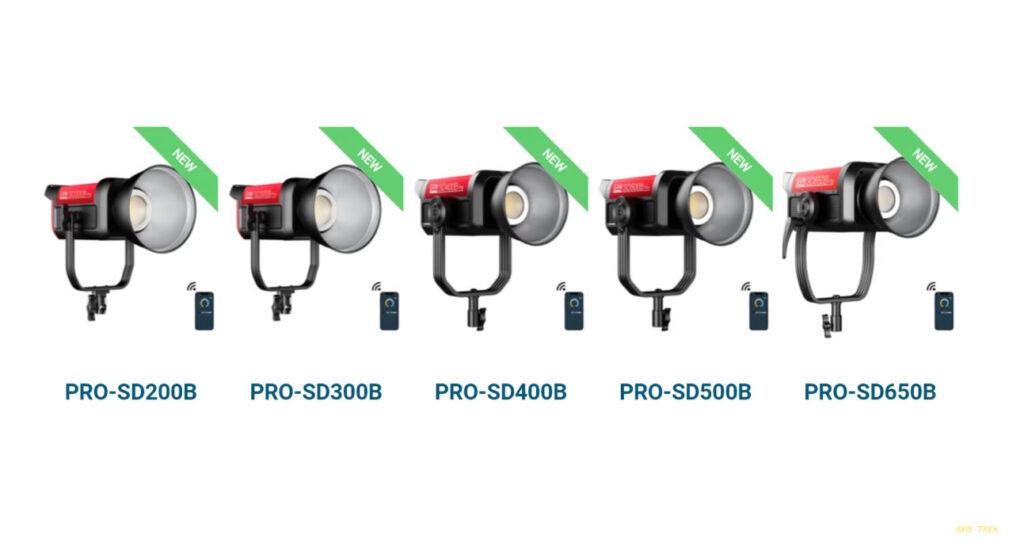
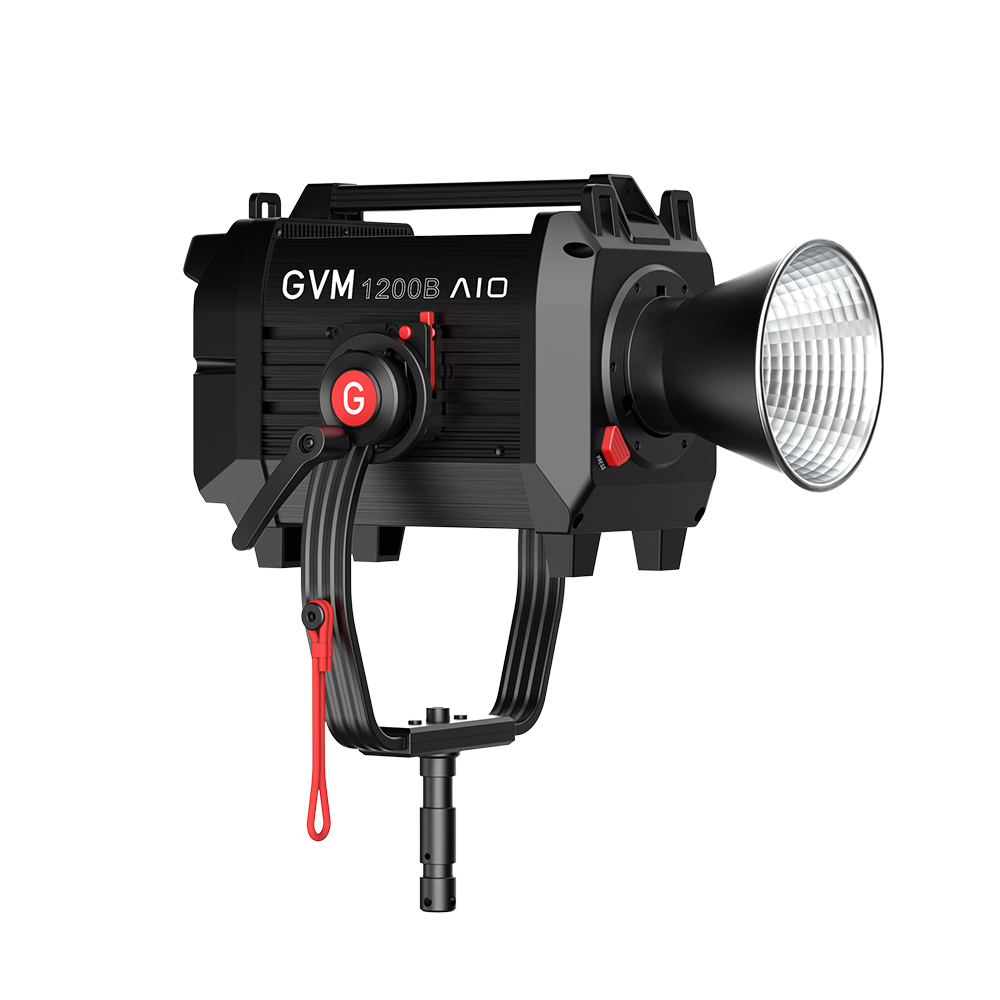
Once you’ve considered the factors that will influence your lighting setup, it’s time to choose the right lighting equipment. There are several types of lights commonly used in studio photography, including continuous lighting and strobes. Continuous lighting, as the name suggests, provides a constant source of light, making it easier to see how the light will fall on your subject. Strobes, on the other hand, provide short bursts of intense light, allowing you to freeze motion and capture crisp images.
When selecting your lighting equipment, it’s crucial to ensure compatibility with your camera. Look for lights that offer adjustable power settings, as this will give you greater control over the intensity of the light. Additionally, consider investing in a quality light meter to accurately measure the light levels and achieve consistent results.
Remember, the quality of your lighting equipment will directly impact the quality of your photographs. While it may be tempting to cut corners and opt for cheaper options, investing in high-quality lighting equipment will pay off in the long run.

Section 3: Setting Up the Key Light
The key light is the primary light source in your setup and plays a crucial role in defining the overall look and feel of your photograph. Its placement and intensity will determine the direction and quality of the light falling on your subject.
When setting up the key light, start by positioning it at a 45-degree angle from your subject. This angle creates depth and dimension, emphasizing the contours of the face or the shape of the object you’re photographing. Experiment with the height and distance of the light to achieve the desired effect.
It’s important to note that the intensity of the key light will impact the overall exposure of your photograph. If the light is too bright, it may create harsh shadows and blow out the highlights. Conversely, if the light is too dim, you may lose detail in the shadows. Adjust the power settings of your key light and use a light meter to achieve the perfect balance.

Section 4: Adding Fill Light for Better Illumination
While the key light provides the primary illumination, adding a fill light can help soften shadows and provide more even lighting. The fill light is typically placed opposite the key light, at a lower intensity.
The purpose of the fill light is not to eliminate shadows entirely but to provide a subtle fill that maintains the three-dimensional look of your subject. Adjust the intensity of the fill light to achieve the desired level of shadow detail. For a softer, more diffused look, consider using a light modifier, such as a softbox or an umbrella, to further soften the light.
Remember, the fill light should complement the key light and not overpower it. Aim for a balanced and harmonious lighting setup that enhances the subject without distracting from it.
Section 5: Using Backlight to Create Depth and Separation
Adding a backlight to your lighting setup can add depth and separation to your pho
tographs. The backlight is typically positioned behind the subject, aimed towards the camera.
The purpose of the backlight is to create a rim of light along the edges of your subject, highlighting their contours and separating them from the background. This technique is particularly effective in portrait photography, as it adds a beautiful glow and helps the subject stand out.
Experiment with the intensity and positioning of the backlight to achieve the desired effect. Be mindful of any potential flare or lens flare caused by the backlight and adjust accordingly.
Section 6: Positioning the Lights for Optimal Results
Once you have set up your key light, fill light, and backlight, it’s crucial to fine-tune their positions for optimal results. Small adjustments can make a significant difference in the overall look and feel of your photographs.
Start by studying how the light falls on your subject and make small adjustments to eliminate any unwanted shadows or harsh highlights. Pay attention to the angle and distance of the lights, as well as their height and tilt. Take test shots and review them on a computer or a larger screen to evaluate the lighting setup objectively.
Remember, lighting is an art form, and there are no hard and fast rules. Trust your instincts and experiment with different lighting setups to find the one that best suits your style and vision.
Section 7: Understanding Light Modifiers and Their Effects
Light modifiers are essential tools for shaping and controlling the quality of light in your studio. They come in various forms, including softboxes, umbrellas, reflectors, and grids.
Softboxes are popular modifiers that create a soft and diffused light by spreading it through a large surface area. They are particularly useful for portrait photography, as they produce flattering, even lighting. Umbrellas, on the other hand, provide a broader, less directional light and are great for creating a softer overall illumination.
Reflectors can be used to bounce light back onto the subject, filling in shadows and adding a subtle fill. They come in different colors and finishes, allowing you to control the color temperature and intensity of the reflected light. Grids, on the other hand, help narrow the spread of light, providing more control over where the light falls.
Section 8: Adjusting the Color Temperature for Desired Effects
Color temperature plays a crucial role in setting the mood and atmosphere of your photographs. It refers to the warmth or coolness of the light and is measured in Kelvin (K).
Daylight typically has a color temperature of around 5500K, which is considered neutral. Lower Kelvin values, such as 3200K, produce a warm, orange hue, while higher values, such as 6500K, create a cool, bluish tone.
Depending on the desired effect, you can adjust the color temperature of your lights using gels or by selecting different bulbs. For example, adding an orange gel can create a warm, sunset-like glow, while a blue gel can produce a cool, moonlit effect.
Experiment with different color temperatures to evoke different emotions and enhance the overall impact of your photographs.
Conclusion
Mastering studio lighting is an essential skill for any photographer. By considering the factors that influence your lighting choices, choosing the right equipment, and understanding how to position and modify the lights, you can elevate your photography to new heights.
Remember, practice makes perfect. Don’t be discouraged if your initial attempts don’t yield the desired results. Keep experimenting, learning, and refining your technique. Over time, you’ll develop an intuition for lighting that will enable you to create breathtaking images.
So, go forth and embrace the art of studio lighting. With patience, persistence, and a little creativity, you’ll be well on your way to capturing the perfect shot every time.


