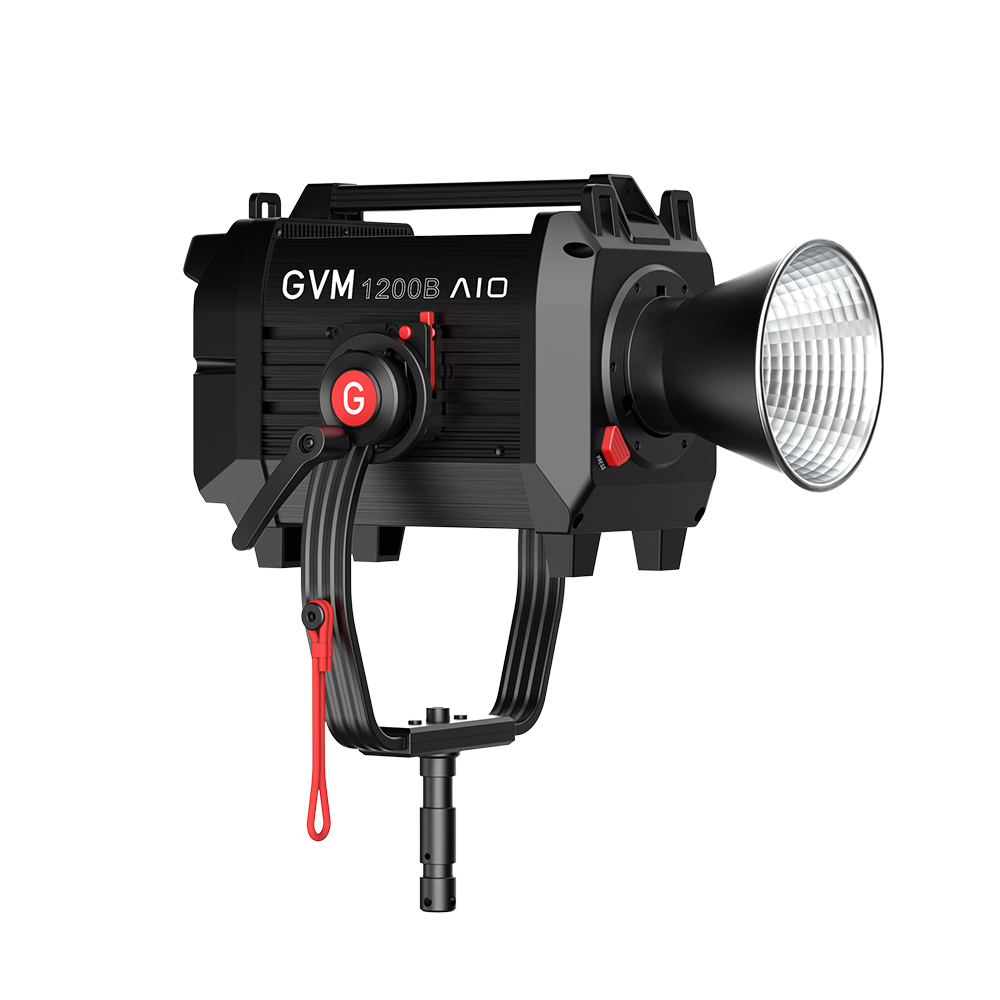
Install the GVM indicator
Once you have GVM lights, it’s time to set up some stellar photo shoots. The first thing you need to do is: rip open that box, dig out all the parts and accessories, you’ll find light panels, stands, power adapters and various accessories, give yourself a little time to digest it all, and then get ready for the blockbuster.
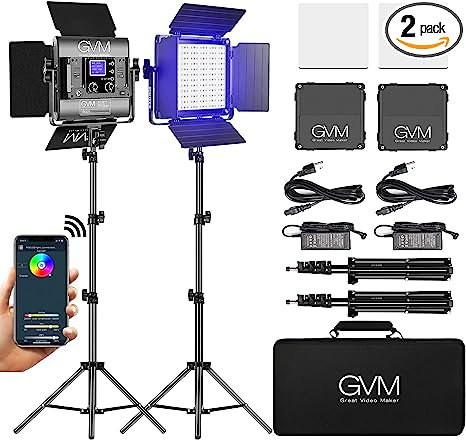
Assembling the GVM lights is a breeze, and the light panel comes with a U-shaped stand that can be easily slid onto. Once you have lined up the holes, insert the locking knob and tighten it. And just like that, your installation is almost complete.
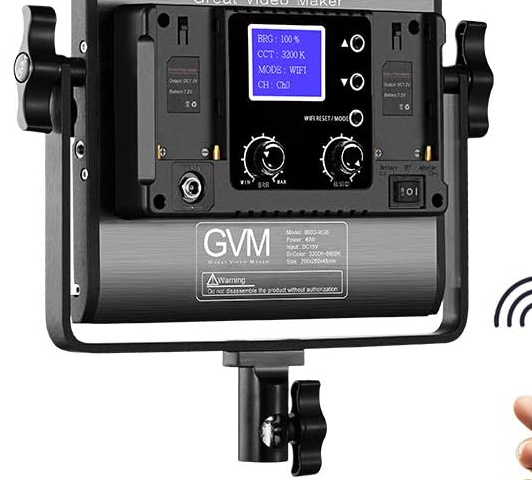
Now it’s time to turn on the GVM lights, connect the power adapter to the light panel and plug it into the wall, don’t forget to turn the power switch on or you’ll be locked in the dark. Finally, it’s time to get familiar with the basic Settings and controls of GVM Light. There are four buttons on the back of the panel – Power, Menu, dimmer and Mode.
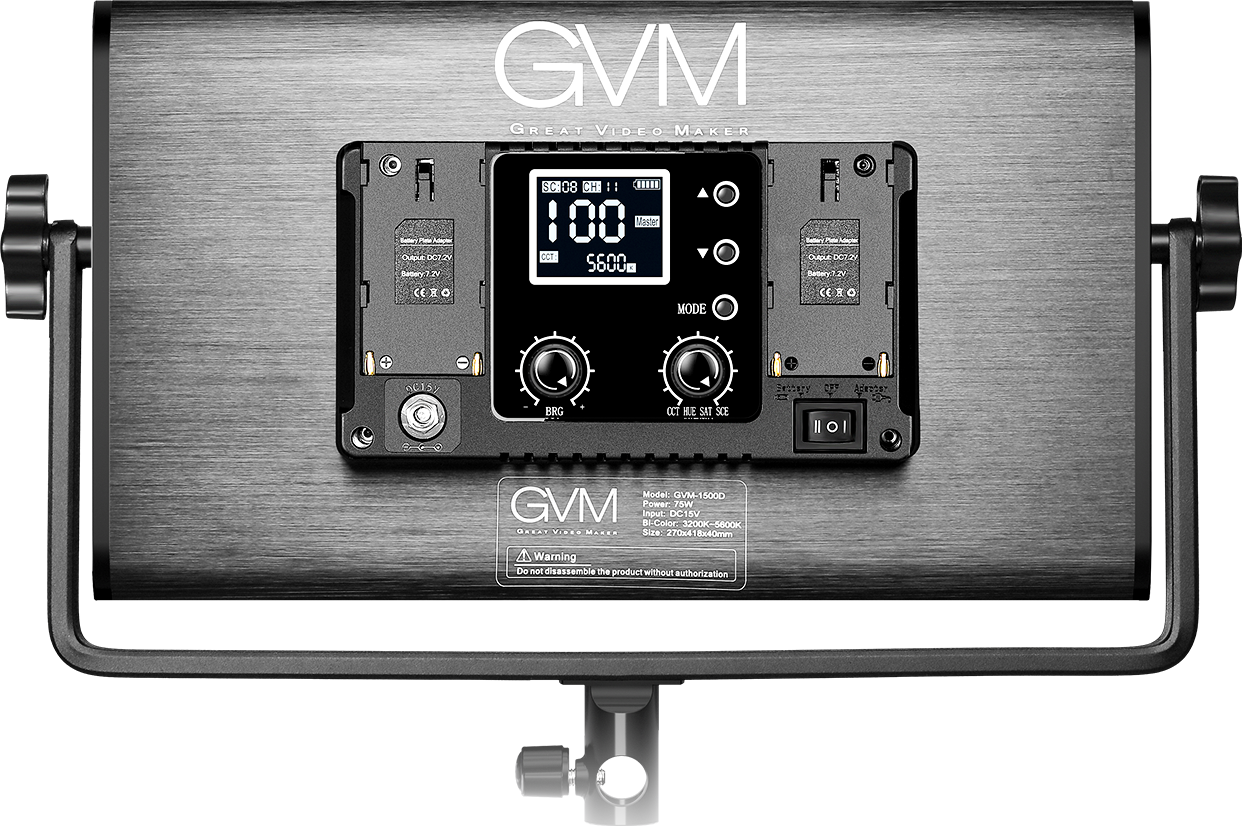
Use the dimmer to adjust the brightness level and the mode button to switch different color temperatures, and the menu button allows you to access advanced Settings such as flash mode, LED display and more. Installation options are rich with GVM lights. If you need more height, you can attach it to a stand, or attach it to a camera tripod. In addition, the GVM Light comes with a handy mobile APP for remote control.
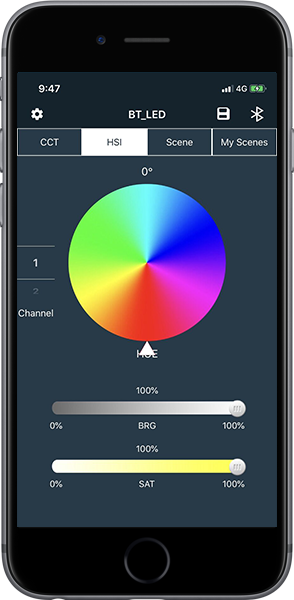
Photography with GVM lighting
Now that we’ve installed the GVM lights, let’s dive into how to use them for photography! Whether you’re getting into portrait photography, product photography or landscape photography, you can make the most of your lighting setup. Congratulations! Now you’re ready to use the power of GVM light and take your photos to the next level.
For portrait photography, you want to make sure your lighting is positioned in a way that compliments your subject features, try to use a soft light box or diffuser on your main light source to create a soft, flattering light, minimize any harsh shadows, and bring out their best features.
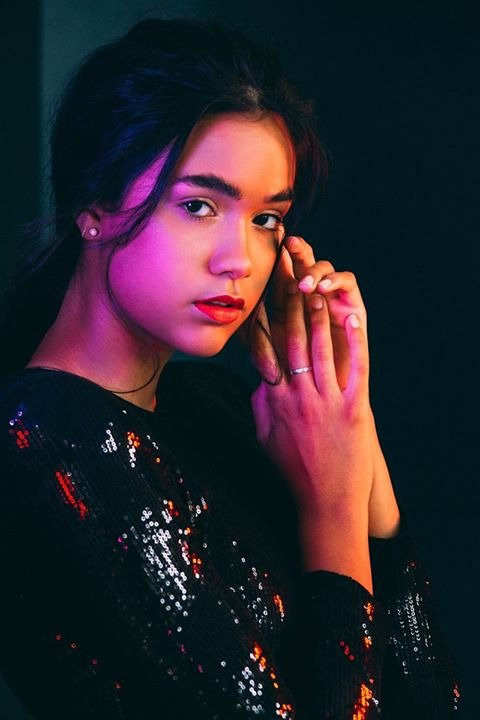
You can also add some drama by using a hair lamp or background light to create some separation between your subject and the background.
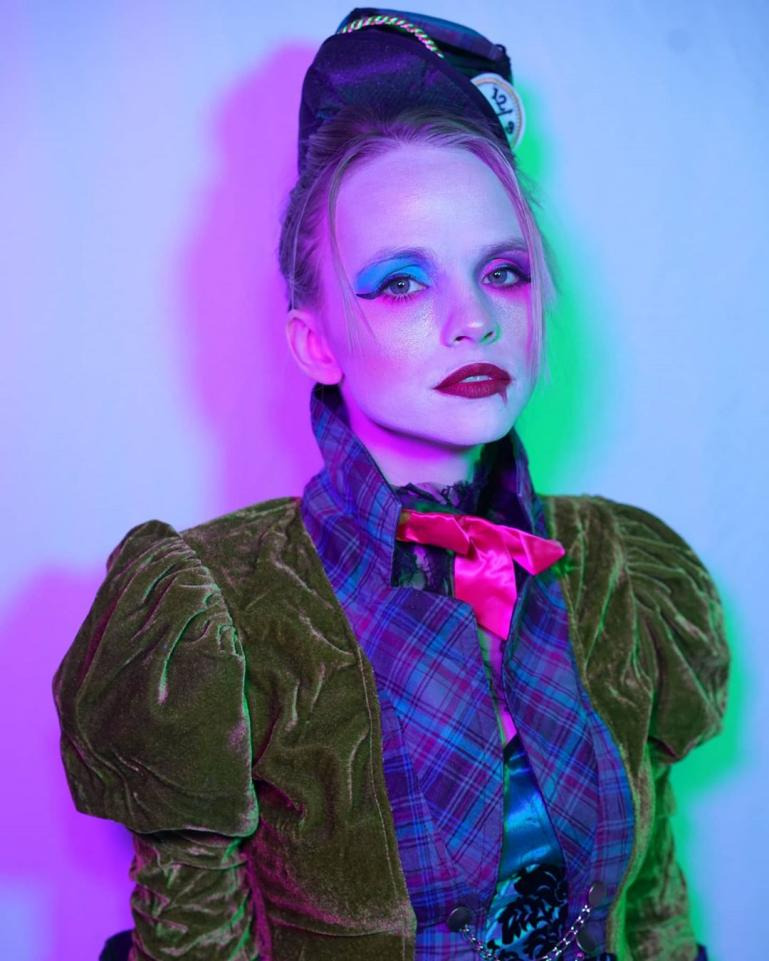
Product photography requires a slightly different approach, you want to make sure your lighting is even and consistent so that your product is the center of attention, use a soft light box or soft light umbrella to help create an even lighting that presents your product in the best possible way. You can also experiment with different angles and positions to find the perfect lighting setup for your specific product.
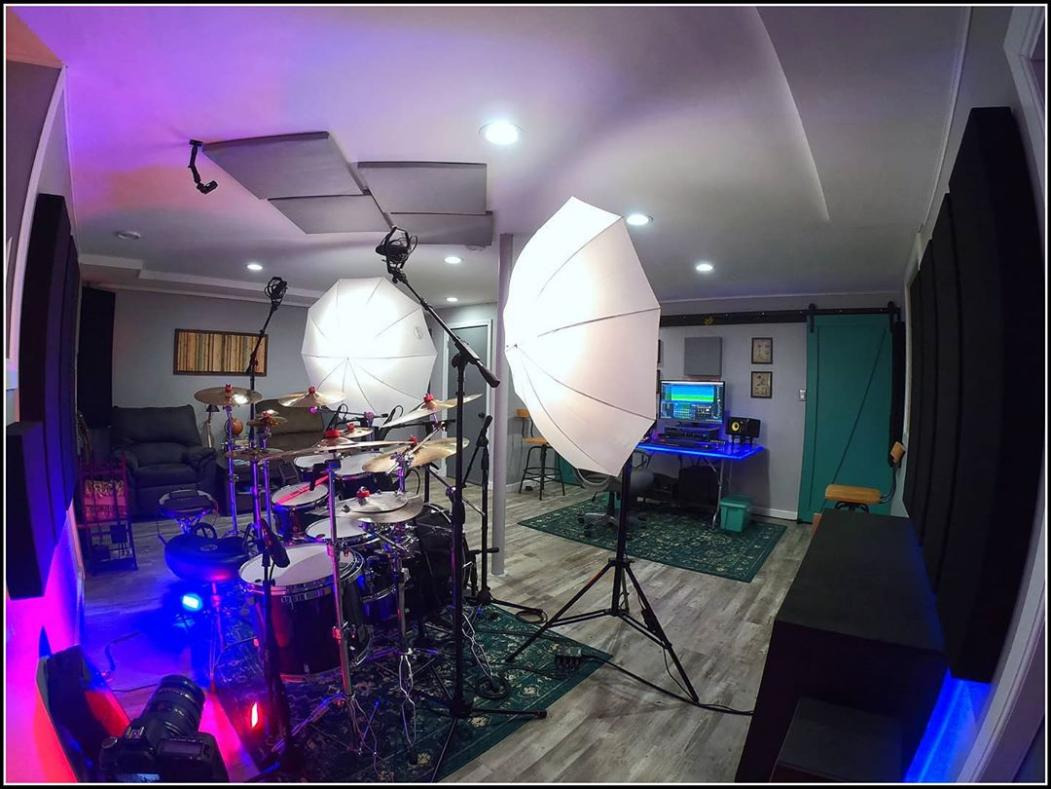
When it comes to landscape photography, natural light tends to shine the brightest, however, adding a little bit of artificial light can help add depth and interest to your photos. Use low-power GVM light to add a soft glow to specific elements of your landscape, such as trees or rock formations. This will help add some visual interest and help connect your audience with the scene.

Finally, for those who are particularly creative, there are many lighting techniques that can be used to create unique and interesting photos. Use different colors and gels to create a unique mood, or use high-powered GVM light to create bold, high-contrast shots that will really grab your audience’s attention.
Remember, photography is about experimentation, so don’t be afraid to use your lighting creatively! You know that. With a little practice and experimentation, you can use your GVM lights to transform your photography and take your skills to the next level. Happy photography!


