Table of contents
• Introduction
• Understanding the Basics of Product Photography
• Mastering Lighting Techniques
• Composition and Styling
• Editing and Post-Processing
• Promoting Your Product: Showcasing Your Work
• Conclusion
Introduction
Product photography is like the forbidden art of the creative world. It’s a skill that many aspire to master, but few actually achieve. Well, fear not my fellow aspiring product photographers, because today I’m here to guide you on your journey towards becoming a pro!
Now, before we dive into the nitty-gritty, let’s start with a quick introduction. Product photography is all about capturing the essence of a product in an enticing and visually appealing manner. Whether you’re shooting for an e-commerce website or simply showcasing your creations on social media, having eye-catching product photos is crucial.
In this blog, we’ll cover everything from understanding the basics of product photography to mastering lighting techniques, composition and styling, editing and post-processing, and even promoting your stunning works of art. So buckle up, grab your cameras, and let’s get started on this wild ride!
First things first, we’ll delve into the basics of product photography. We’ll explore the importance of choosing the right equipment, setting up a proper shooting environment, and even the art of product research and analysis. Trust me, you don’t want to skip this part. After all, a good foundation is essential if you want to build a sturdy house (or in this case, create jaw-dropping product photos).
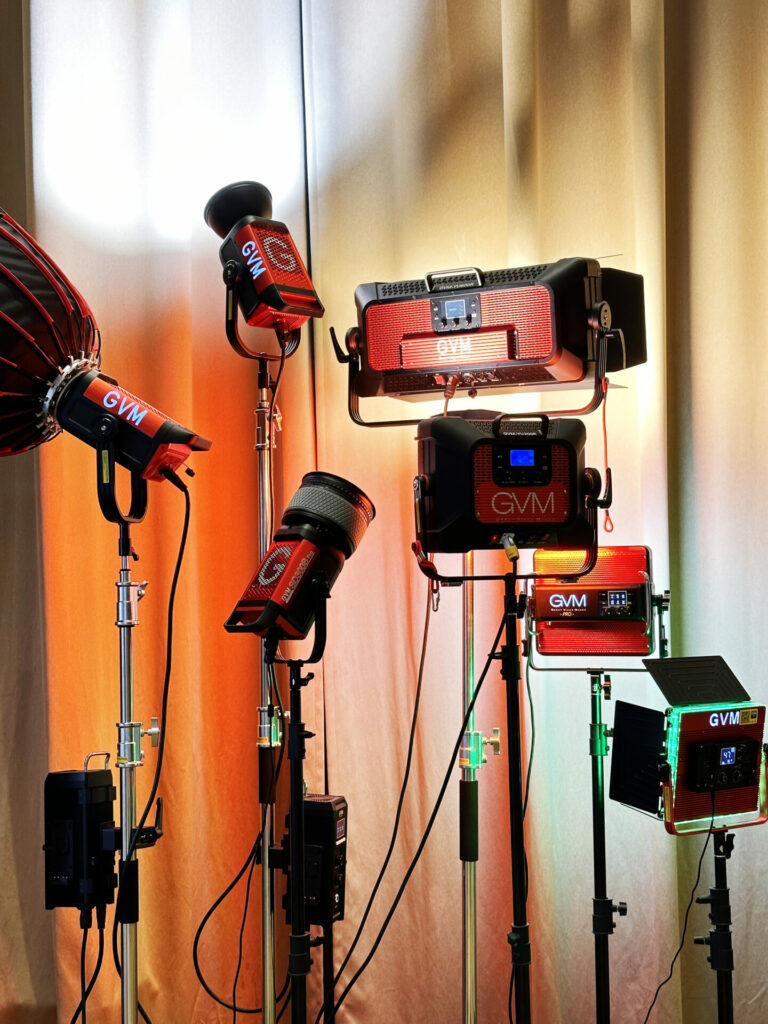
Once we’ve laid the groundwork, we’ll move on to lighting techniques. We’ll uncover the power of natural lighting and how you can harness the sun’s rays to your advantage. Then, we’ll dive into the world of artificial lighting, where we’ll uncover different types of light sources and how they can transform your images. Lighting modifiers will also be our trusty sidekicks as we enhance the overall look and feel of our product photos, creating dimension and depth with shadows and highlights.
But wait, there’s more! We’ll explore the realm of composition and styling, where we’ll discuss how to create engaging compositions, choose the perfect background, and utilize props and accessories to add visual interest. Styling tips will also be shared to help you showcase the best features of your products, because let’s face it, not every product can pull off a signature smize like Tyra Banks.
Once you’ve captured the perfect shots, we’ll venture into the world of editing and post-processing. You’ll discover the differences between Photoshop and Lightroom and how to choose the right software for your needs. We’ll also cover essential editing techniques such as cropping, straightening, color correction, retouching, and optimizing file formats and compression. Because let’s be real, even the most perfect photos can use a little digital magic.
Last but certainly not least, we’ll explore how to promote your product photos and showcase your work to the world. Building an online portfolio, using social media to your advantage, collaborating with influencers and bloggers, and leveraging product photography for marketing purposes will all be covered. Because what’s the point of creating stunning product photos if no one sees them, right?
So there you have it, the ultimate guide to mastering the art of product photography. Stick with me, and I promise you’ll be wowing everyone with your beautiful product photos in no time. Just remember, practice makes perfect, so don’t be discouraged if your first attempts don’t turn out quite as expected. Rome wasn’t built in a day, and neither was a photography career. Grab your camera, embrace the challenges, and let’s embark on this creative journey together!
Understanding the Basics of Product Photography
Understanding the Basics of Product Photography
Ah, product photography! The art of making a mundane object look like a work of art. Who would have thought that capturing the essence of a product could be so challenging and yet, so rewarding? If you’re ready to embark on this adventurous journey of product photography, then let’s dive right in!
Choosing the Right Equipment
Now, before you start clicking away, you need to make sure you have the right equipment in your arsenal. A camera, of course, is a no-brainer. However, don’t just settle for any random point-and-shoot. Invest in a good quality DSLR or mirrorless camera with manual settings. Trust me, you’ll thank me later.
Setting Up a Proper Shooting Environment
Now that you have your trusty camera, it’s time to set up a shooting environment that would make even the most photogenic models jealous. Find a well-lit space where you can control the lighting. Avoid those harsh, unflattering fluorescent lights unless you want your product to look like it’s in a cheap convenience store. Natural light is your best friend here, so try to take advantage of it as much as possible.
Knowing Your Subject: Product Research and Analysis
Don’t be like the paparazzi who blindly snap pictures without knowing anything about their subjects. Do your homework! Take the time to understand the product you’re shooting. What are its unique features? What emotions or messages do you want to convey through your photographs? By getting to know your subject inside out, you can create images that truly capture its essence.
Let’s be honest, no one wants to look at boring product photographs. So, get creative, experiment with different angles, and show off the features that make your product shine. Take the example of a sleek, shiny smartphone. Rather than capturing it head-on, why not try a dynamic shot from a low angle, emphasizing its sleekness and sophistication? Remember, your goal is to make your product stand out in a sea of mediocrity.
With a well-equipped shooting environment, proper lighting, and an intimate knowledge of your subject, you’re well on your way to becoming a product photography pro. But wait, there’s more! Mastering the art of lighting techniques is the next step in your journey. Don’t worry, we’ll cover that in the next section. Stay tuned, my fellow photography enthusiasts!
Mastering Lighting Techniques
So, you’re looking to become a master of lighting techniques in the world of product photography, huh? Well, my friend, you’ve come to the right place. In this section, we’ll dive into the fascinating realm of lighting and explore how it can transform your product images from meh to mesmerizing. Get ready to harness the power of the sun, explore different types of light sources, play around with lighting modifiers, and create dimension and depth with shadows and highlights. Let’s shine a light on this topic, shall we?
First up, let’s talk about natural lighting. Ah, the sun, nature’s very own lighting studio. When it comes to product photography, natural light can be your best friend or your worst enemy, depending on how you use it. The key here is to find that sweet spot where the lighting is just right. You want to avoid harsh shadows or overblown highlights that can distract from your product. So, open those curtains, find a nice spot near a window, and let the sun work its magic.
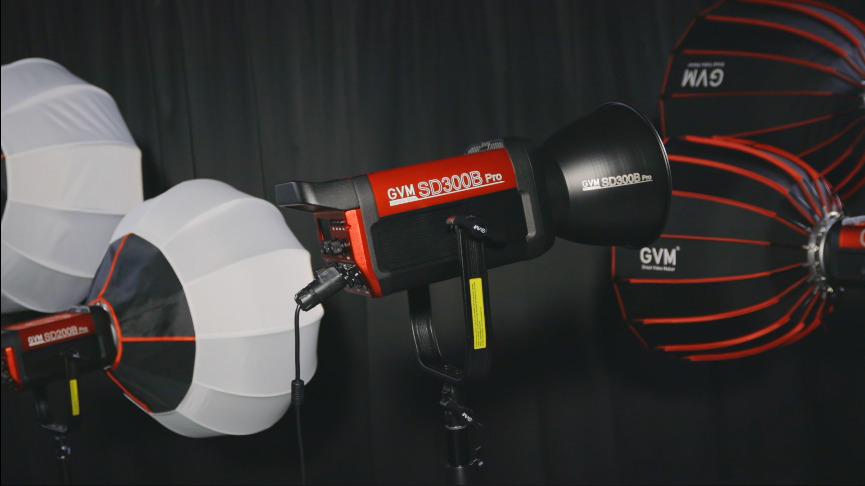
Now, let’s switch gears and dive into artificial lighting. From strobes to continuous lights, there are a plethora of options at your disposal. Each type of light source has its own unique characteristics and can create a different look and feel in your images. Experimenting with different light sources can help you achieve the desired mood and highlight the best features of your product. So, don’t be afraid to play around and explore the wonderful world of artificial lighting.
But wait, there’s more! Lighting modifiers are here to take your images to the next level. Whether it’s softening the light with a diffuser, adding drama with a snoot, or creating beautiful patterns with a gobo, these handy tools can enhance the look and feel of your product. They give you the power to shape and mold the light to suit your creative vision. So, grab your modifiers and get ready to sculpt some stunning product photos.
Now, let’s not forget about shadows and highlights. These two elements are essential in creating depth and dimension in your images. Shadows can add a sense of mystery and drama, while highlights can bring attention to certain areas of your product. By carefully positioning your lights and manipulating their intensity, you can create striking visuals that draw the viewer in. So, embrace those shadows and highlights, and let them work their magic.
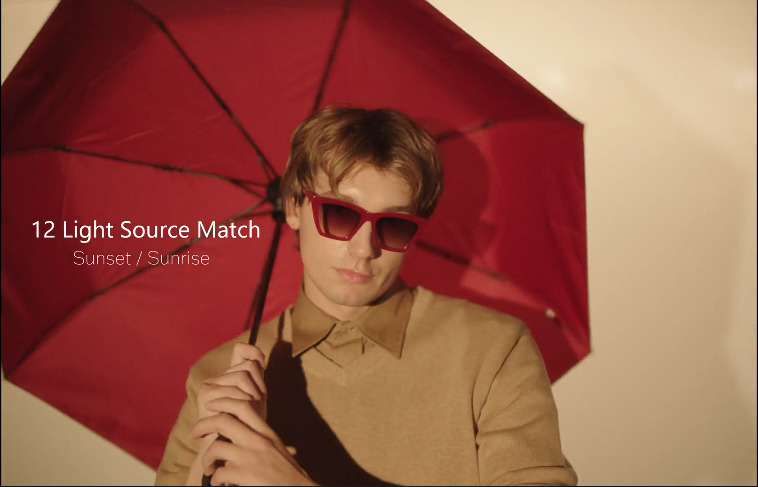
Congratulations, my friend! You’ve now mastered the art of lighting techniques in product photography. You’re ready to take on any lighting challenge that comes your way. Just remember to experiment, be creative, and have fun with it. So, go forth and create stunning product images that will leave your audience in awe. Now, onto the next chapter of this epic journey into the world of product photography. Stay tuned!
Composition and Styling
Are you tired of scrolling through countless product photos that all look the same? Well, my friend, it’s time to break the monotony and master the art of product photography! In this section, we’ll dive deep into the essence of creating captivating compositions, selecting the perfect background, adding visual interest with props and accessories, and showcasing the product’s best features with some brilliant styling tips. So, let’s get started!
Creating an Engaging Composition:
When it comes to product photography, a well-composed image can make all the difference. You want to capture your audience’s attention and make them want to reach through the screen and grab that product. Experiment with different angles, perspectives, and framing techniques to find the most visually appealing composition. Remember, symmetrical doesn’t always mean interesting, so don’t be afraid to play around with asymmetry and negative space.
Choosing the Right Background:
The background you choose can significantly impact the overall feel and mood of your product photos. A clean and simple background, such as a white or neutral-colored surface, can help your product stand out and take center stage. On the other hand, a textured or patterned background can add depth and visual interest. Just make sure the background doesn’t overwhelm or distract from the main subject.
Props and Accessories: Adding Visual Interest:
Props and accessories can be a game-changer in product photography. They not only add visual interest but also help tell a story and create a context for your product. Think about how you can incorporate objects that complement your product or enhance its features. For example, if you’re shooting a camera, you could include a vintage lens or a photographer’s bag to create a sense of nostalgia or professional prowess.
Styling Tips: Showcasing the Product’s Best Features:
Styling is an art, my friend, and it can make or break your product photos. Pay attention to the details and highlight the best features of your product. For example, if you’re photographing jewelry, consider using a hand model to showcase how it looks when worn. Experiment with different lighting angles to accentuate textures and create intriguing shadows. Don’t be afraid to think outside the box and add a touch of quirkiness or personality to your styling choices.
Remember, my fellow product photography enthusiast, the goal is to create images that not only grab attention but also evoke emotion and eventually lead to conversions. Balance is key—don’t overcrowd your composition or overwhelm your audience with too many props and accessories. Keep it simple, yet visually captivating.
Now that you have the secret formula for creating stunning product photos through composition and styling, it’s time to put it into practice. So grab your camera, gather your props, and let your creativity flow. Happy snapping!

Editing and Post-Processing
Editing and post-processing play a crucial role in perfecting your product photography. After capturing your stunning shots, it’s time to bring them to life through software manipulation. But wait, don’t panic! This isn’t a tedious task that will make you want to pull your hair out. Trust me, it’s actually quite enjoyable, and you’ll soon be wielding the power of Photoshop or Lightroom like a pro!
Choosing the Right Software:
The first step is deciding which software to use – Photoshop or Lightroom. It’s like choosing between Batman and Superman; both have their unique strengths. Photoshop is a powerhouse when it comes to advanced retouching and manipulation. Lightroom, on the other hand, is a speed demon for organizing, managing, and quickly editing large quantities of photos. So choose wisely, young grasshopper, based on your specific needs and preferences.
Cropping, Straightening, and Resizing:
Now that you’ve chosen your weapon of choice, it’s time to get down to business. First up, cropping. This technique allows you to emphasize the focal point of your image and eliminate any distracting elements. Straightening is next on the agenda, ensuring that those horizons are perfectly level (unless you want a skewed perspective, of course). And let’s not forget resizing – crucial for web uploads or printing your masterpieces.
Color Correction: Achieving Accurate and Consistent Tones:
Color is a language in itself, and it’s essential to speak it fluently in your product photography. Color correction is your secret weapon for achieving accurate and consistent tones. So bid adieu to that pesky orange cast and bring out the true colors of your product. Adjusting the white balance, tweaking saturation, and balancing the hues will give your images that professional touch they need.
Retouching: Enhancing Details Without Overdoing It:
Now, we venture into the realm of retouching. Here’s where you can make those minor imperfections disappear without leaving a trace. Remove blemishes, tidy up backgrounds, and even out skin tones (if applicable). Remember, though, subtlety is key. You don’t want your product to go from fabulous to fake in the blink of an eye. Enhance the details, but don’t go overboard with airbrushing. It’s all about finding that delicate balance.
Optimizing File Formats and Compression:
Last but not least, we have the optimization of file formats and compression. This step ensures that your images are web-friendly and load quickly without sacrificing quality. JPEG is your go-to format for most product photography, offering a good balance between file size and image quality. Just make sure not to compress your images too much, as it can lead to loss of detail and clarity. Ain’t nobody got time for blurry products!
Now that you’ve conquered the world of post-processing, your product pho


